

In monthly lates, you can keep monthly late information of employees. You can update and delete the information.
Adding new Entries in Monthly Lates.
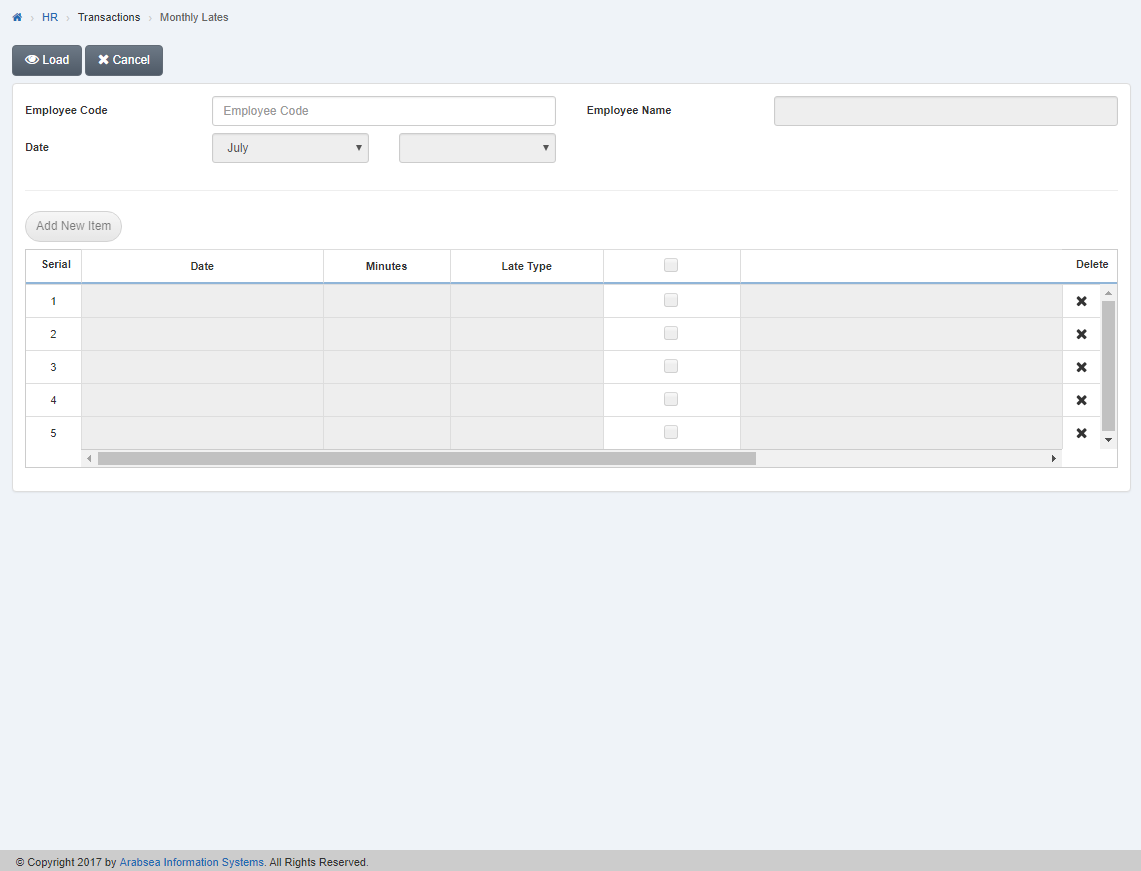
To add new “Entries in Monthly Lates”, click on the “HR”, then “Transactions”, then click “Monthly Lates”. Monthly Lates page will be displayed.
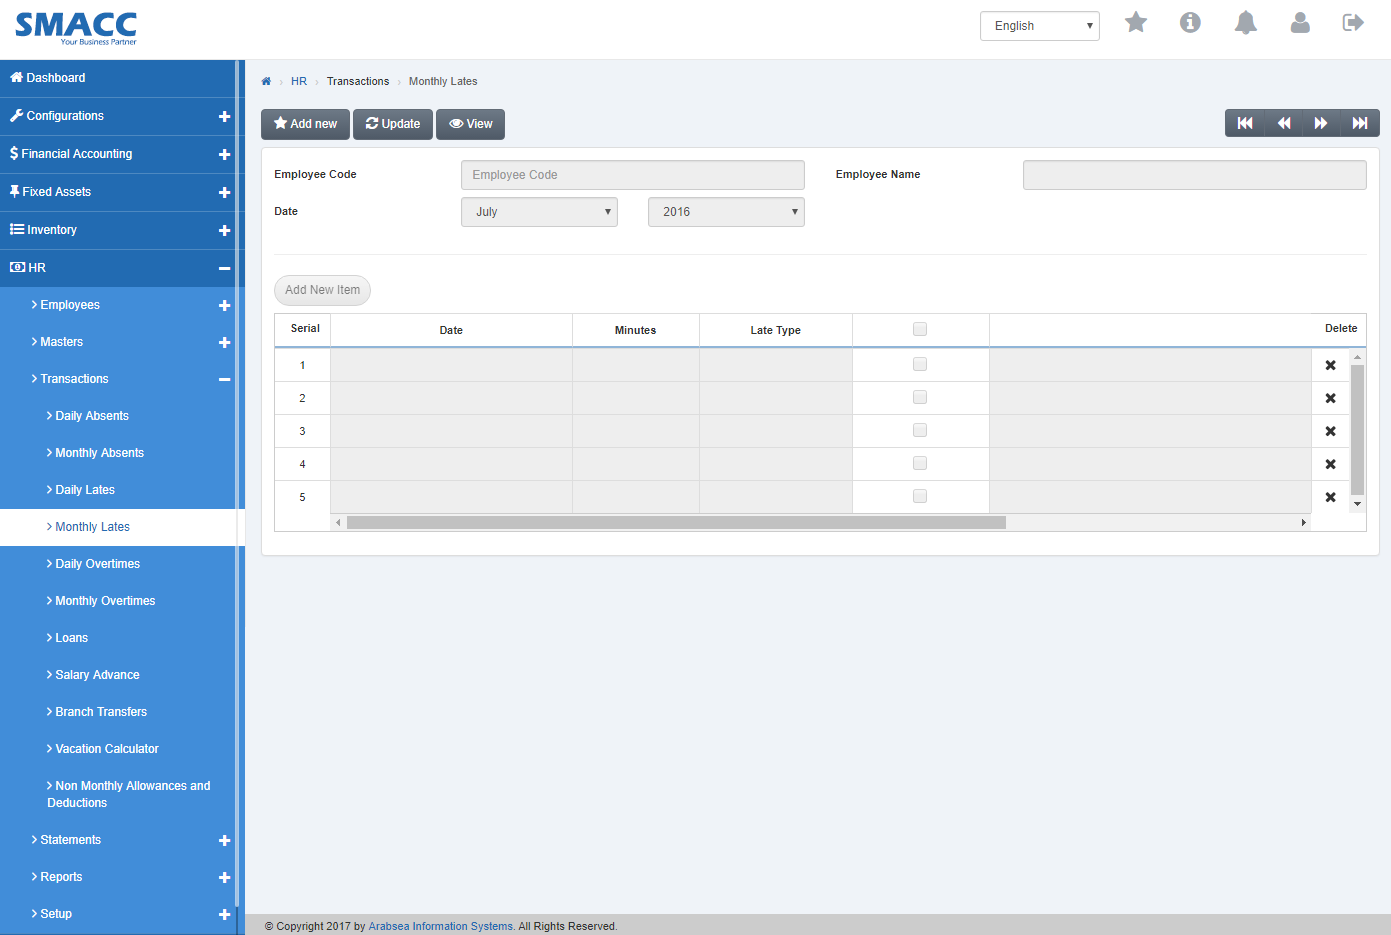
Click the “Add new” button on the top of monthly lates page.
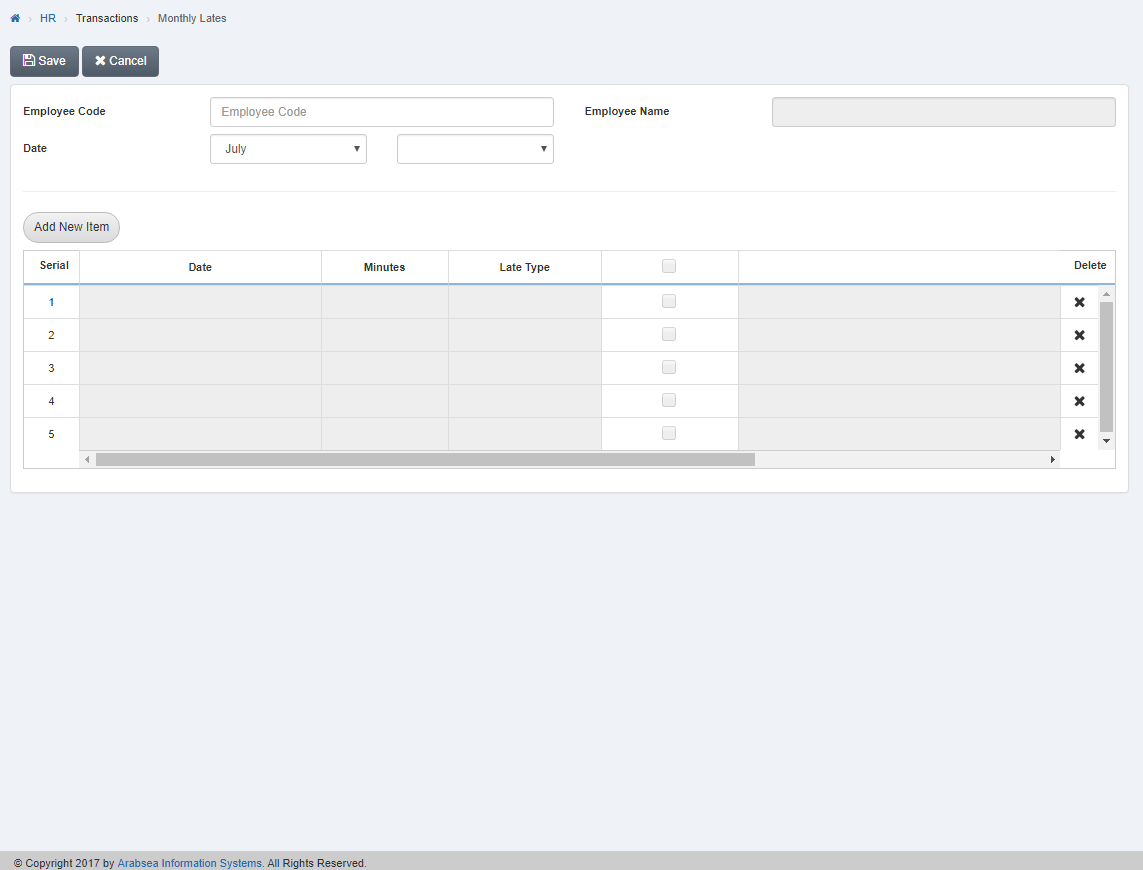
Enter employee code or click in “Employee Code” input box then employee code list will be drop down. Select your desired employee code then select employee name will be appeared in “Employee Name” input box.
Click in “Date” input box then month list will be drop down. Select your desired month then click in year input box. Year list will be drop down. Select your desired year.
Click “Add New Item” button then pop-up will be appeared.
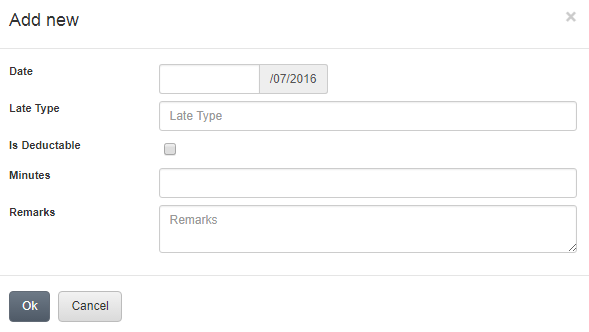
Enter date in “Date” input box.
Enter late type in “Absent Type” input box
If absent is deductible then check “Is Deductible” check box or if you do not want to deduct on absent then uncheck “Is Deductible” check box.
Enter minutes in “Minutes” input box.
Enter remarks in “Remarks” input box.
Click “OK” button to save the information then all the information will be shown in the grid in monthly absents page.
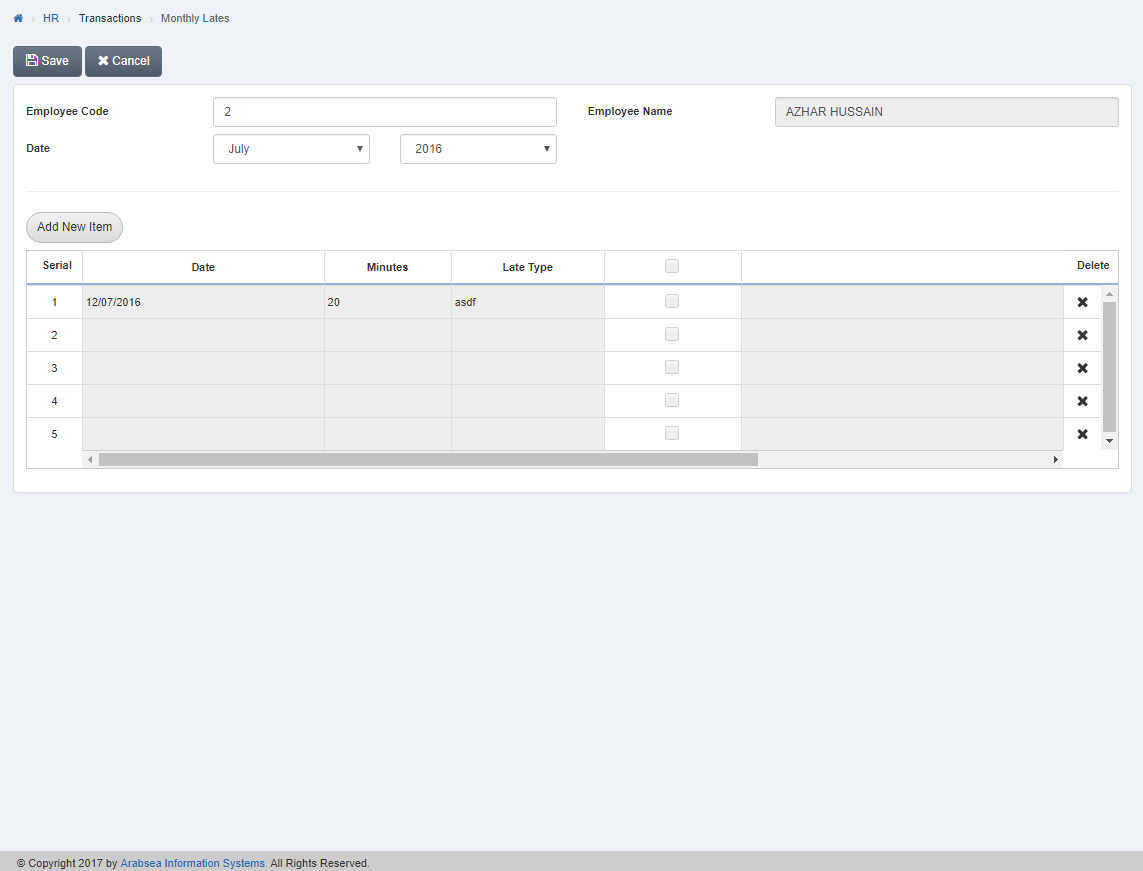
Click “Save” button to save the information.
Deleting Entries in Monthly Lates details.
To “Delete Entries in Monthly Lates details”, click on the “HR”, then “Transactions”, then click “Monthly Lates”. Monthly Lates page will be displayed.

Select the employee by navigation bar or click the “Update” button on the top of monthly lates page.
Enter employee code or click in “Employee Code” input box then employee code list will be drop down. Select your desired employee code then select employee name will be appeared in “Employee Name” input box.
Click in “Date” input box then month list will be drop down. Select your desired month then click in year input box. Year list will be drop down. Select your desired year.
Click “Load” button on the top of monthly lates page.
In the grid , click “Delete” icon in column “Delete” against the desired entry then it will delete the entry.

Click “Save” button to save the information.