

In invoices, you can add, update, delete and print any information of invoices. These invoices can include items other than the system’s items from the item card.
Adding a New Invoice
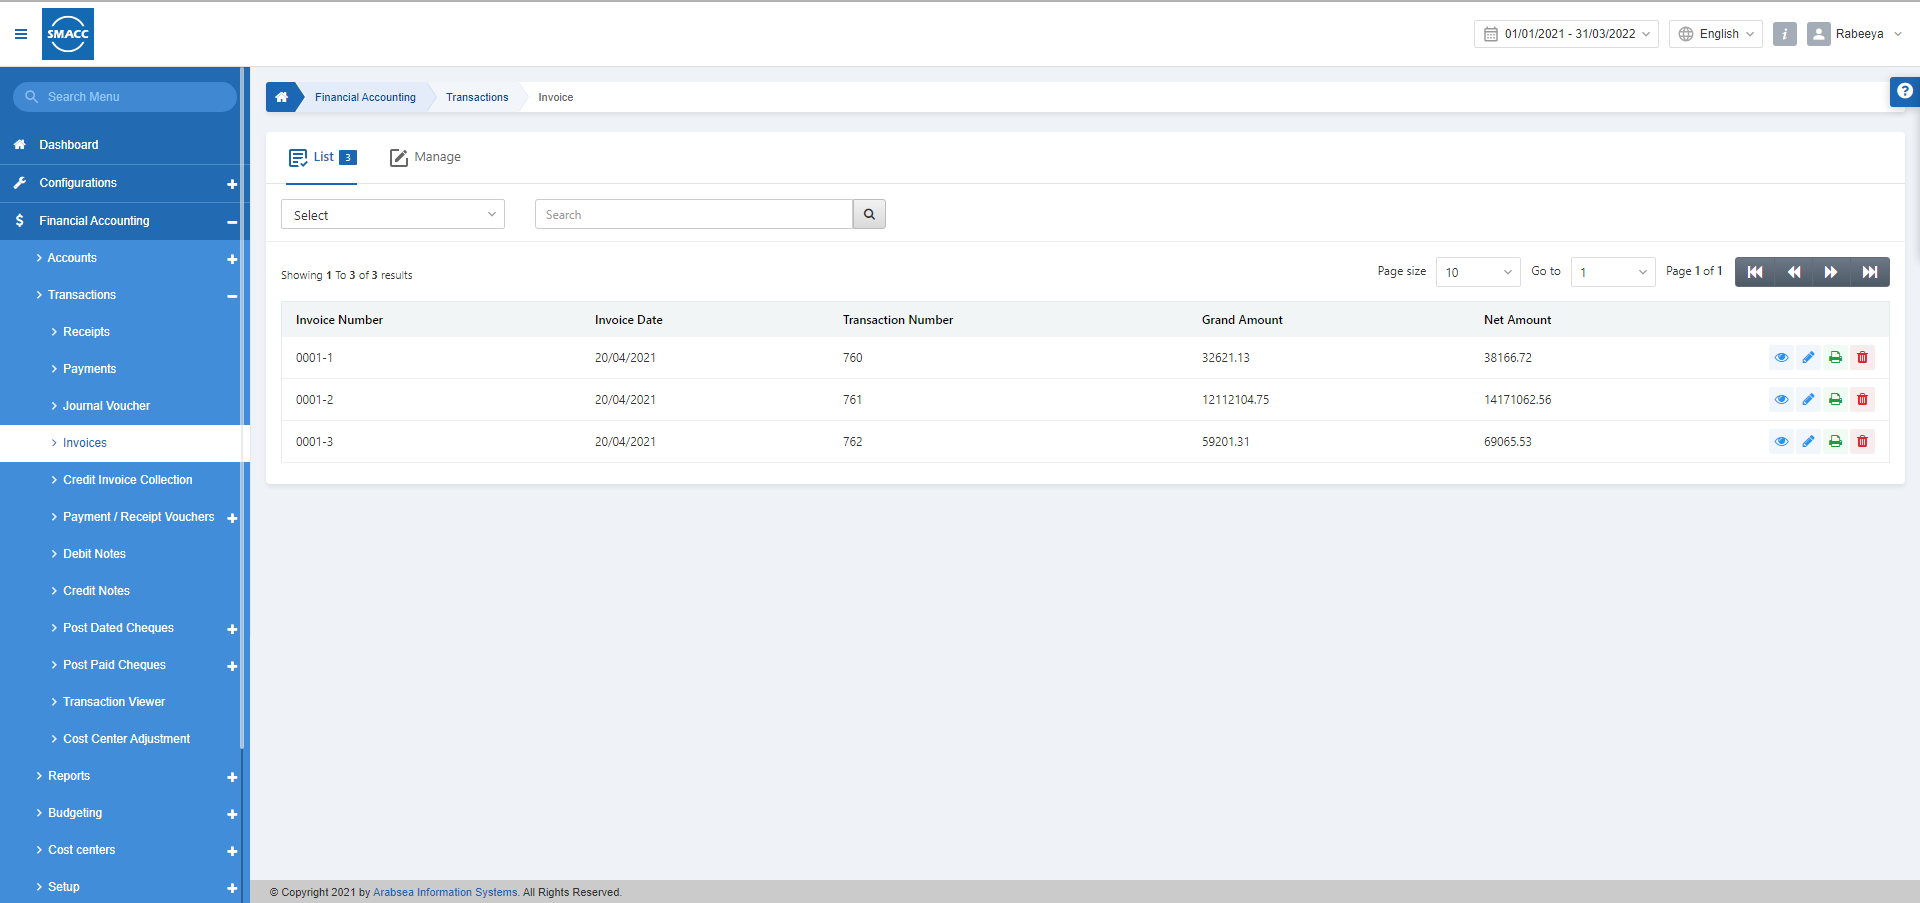
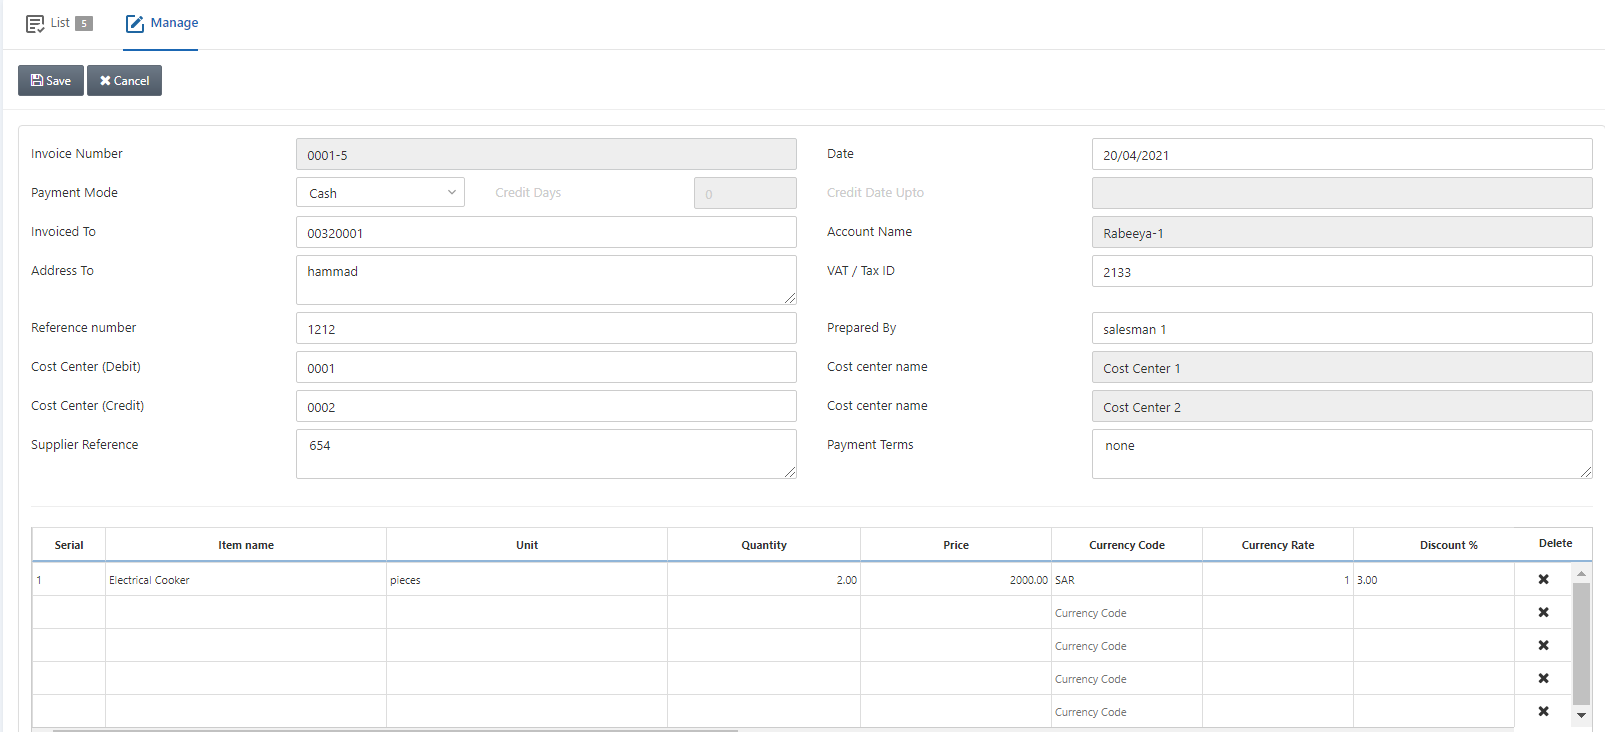
To add a new invoice in Financial Accounting, go to Financial Accounting > Transactions > Invoices, the invoices page is displayed.
Click on the Manage icon at the top of the page.
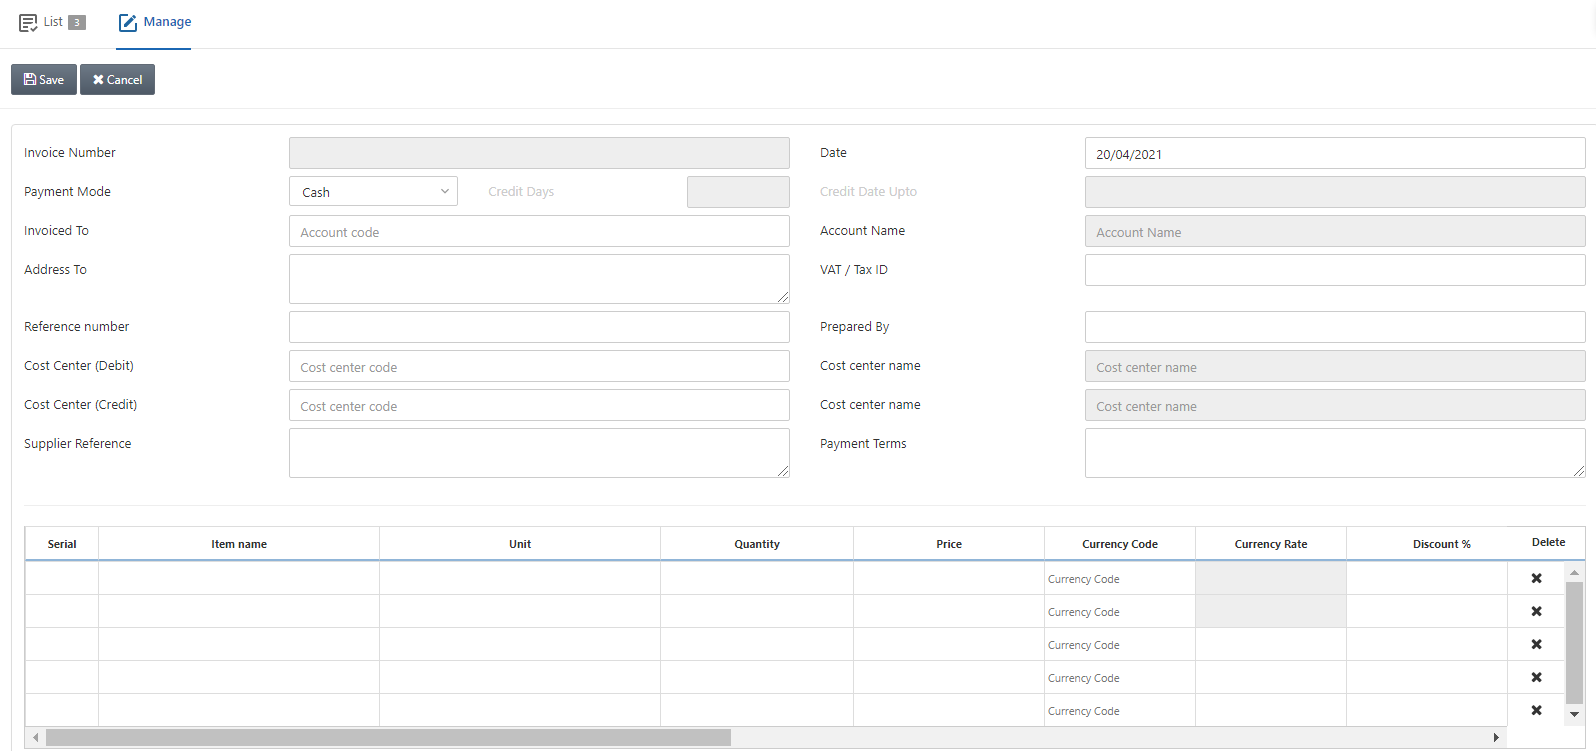
Invoice Number: This field is auto-generated by the system.
Date: Enter the date. By default, this field shows the current date.
Payment Mode: Select the payment mode from the drop-down list.
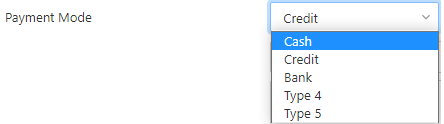
Note: There are 5 types of payments: Cash, Credit, Bank, Type 4, and Type 5.
Cash: It means the customer is paying in cash.
Credit: It means the customer is paying in credit points.
Bank: It means the customer is paying through electronic transfer.
Type-4 and Type-5: These are customized payment methods.
Credit Days: In case you select the credit payment, this field is enabled, and enter the credit days.
Credit Days Upto: This field is auto-fetched by the system based on the credit days.

Invoiced To: Enter the account number in which you want to store the money for this invoice.
Account Name: This field is auto-fetched based on the account number of Invoiced To.
Address to: Enter the name of the relevant person.
VAT/Tax ID: This field is mandatory and enters the VAT/Tax ID for the person addressed.
Reference Number: Enter the reference number.
Prepared By: Enter the person’s name preparing this invoice.
Cost Center (Debit): This field is auto-fetched based on the account number of Invoiced To.
Cost Center Name: This field is auto-fetched by the system based on cost center (debit).
Cost Center (Credit): This field is entered like 0002 in this case.
Cost Center Name: This field is auto-fetched by the system based on cost center (credit).
Supplier Reference: Enter the supplier reference number.
Payment Terms: Enter the payment terms if any applicable.

Serial: Enter the serial number like 1,2,3, etc.
Item Name: Enter the item name.
Unit: Enter the unit.
Quantity: Enter the quantity of items.
Price: Enter the price.
Currency Code: Select the currency code from the drop-down list.
Discount: Enter the percentage of the discount.
Scroll to the right side of the grid:

VAT/Tax ID: Enter the Tax implemented on this invoice from the drop-down list.
Note: The next 8 fields are auto-fetched by the system.
Description: Enter the description or detail of the invoice.
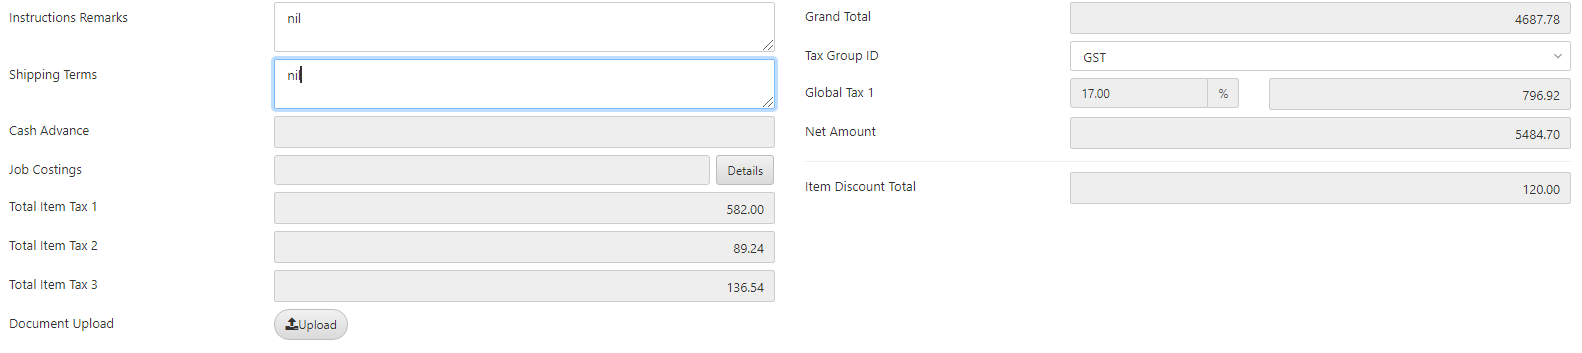
Instruction Remarks: Enter any instructions in case of fragile equipment like handle with care.
Grand total: This field is auto-fetched by the system.
Shipping Terms: Enter the shipping terms if applicable.
Tax Group ID: Select the global tax from the drop-down list.
Cash Advance: Enter the cash advance if applicable.
Job Costings: Click on the Details button. A pop-up is shown.
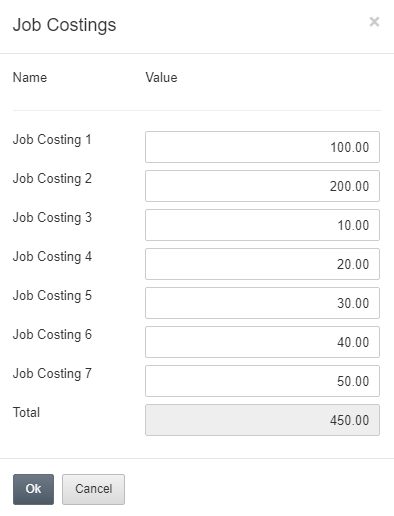
Click on the Ok button.
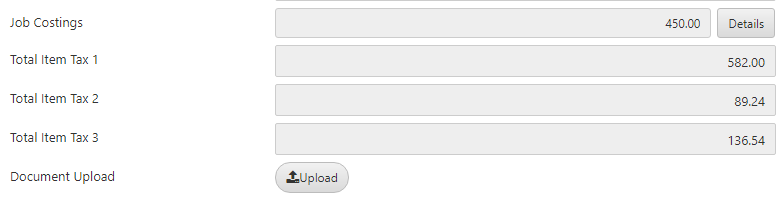
Total Item Tax 1, 2, and 3 are auto-fetched by the system.
Document Upload: Click on the Upload button.
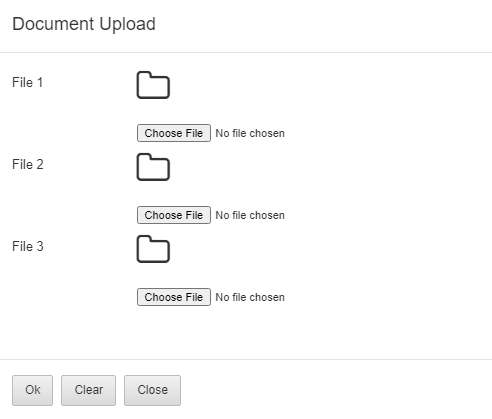
You can click on the Choose File button to attach any relevant files or images with the invoice.
Click on the Save button at the top of the page.
Updating the Invoice
To update the invoice in Financial Accounting, go to Financial Accounting > Transactions > Invoices, the invoices page is displayed.
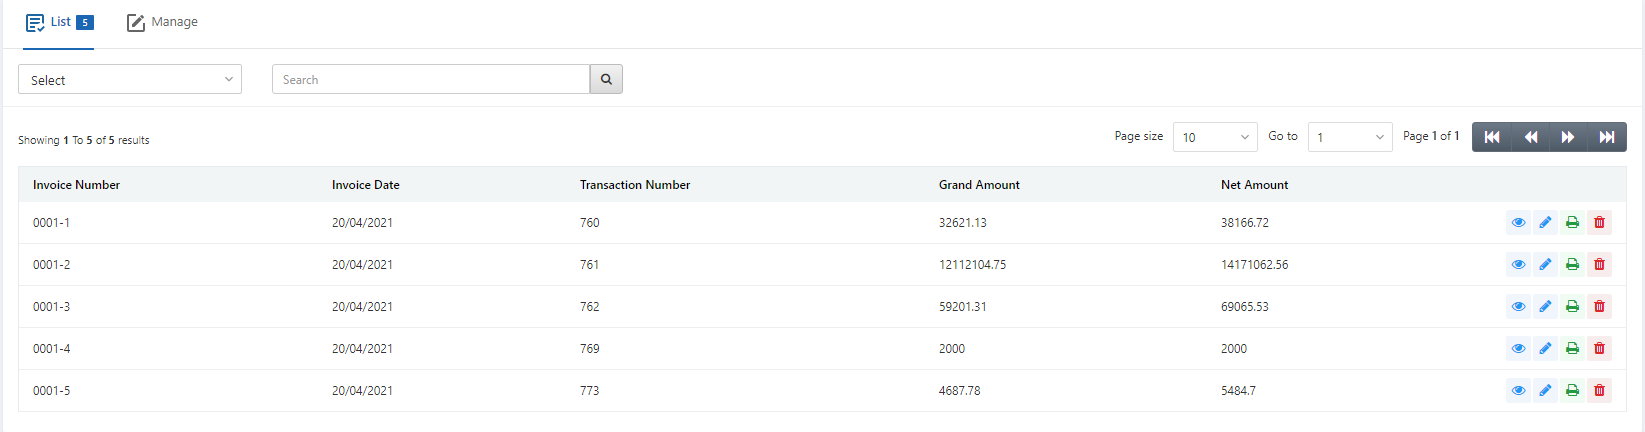
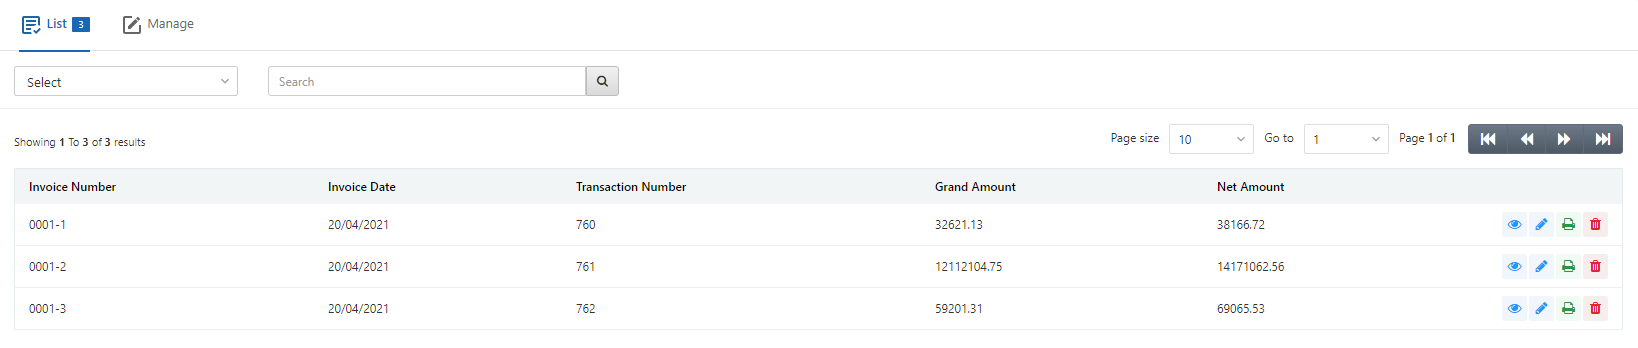
Select the desired row of invoice.
There are four icons in front of each row: Load, Edit, Print and Delete.
![]()
Click on the Edit (blue pencil) icon to update the invoice.
You can update the invoice as per requirement.
Deleting the Invoice
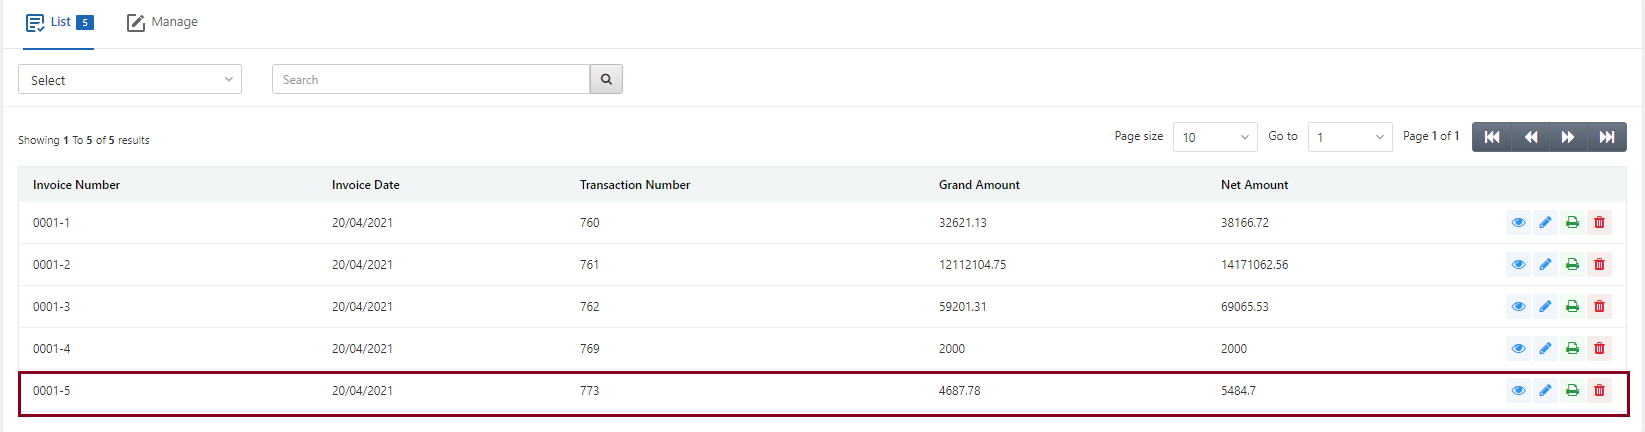
To delete the invoice in Financial Accounting, go to Financial Accounting > Transactions > Invoices, the invoices page is displayed.
Select the desired row of invoice.
There are four icons in front of each row: Load, Edit, Print and Delete.
![]()
Click on the Delete (red) icon to delete the invoice.
Click on the Yes button to confirm the deletion.
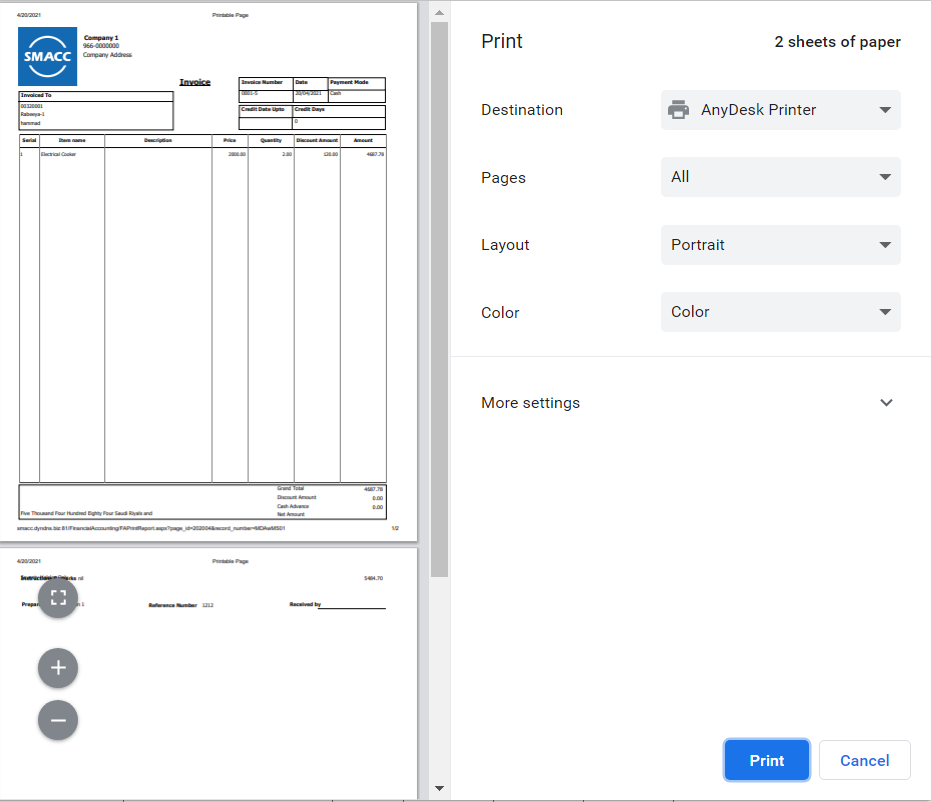
Printing the Invoice
To print the invoice in Financial Accounting, go to Financial Accounting > Transactions > Invoices, the invoices page is displayed.
Select the desired row of invoice.
There are four icons in front of each row: Load, Edit, Print and Delete.
![]()
Click on the Print (green) icon to print the invoice.

Note: You can add any items regardless of the items defined in Inventory > Masters > Item Card, in the invoice.

Page Size: It shows the entries per page.
Go to: It shows the page number.
Navigation Bar: It allows you to check your last pages of invoices.