

The item group contains information about specific items. In the item groups, you can add, update, delete, and view item group information. The item groups made in this section will be fetched in the desktop application of POS. Item groups are also used in the Android and iOS applications.
Adding New Entries in Item Group
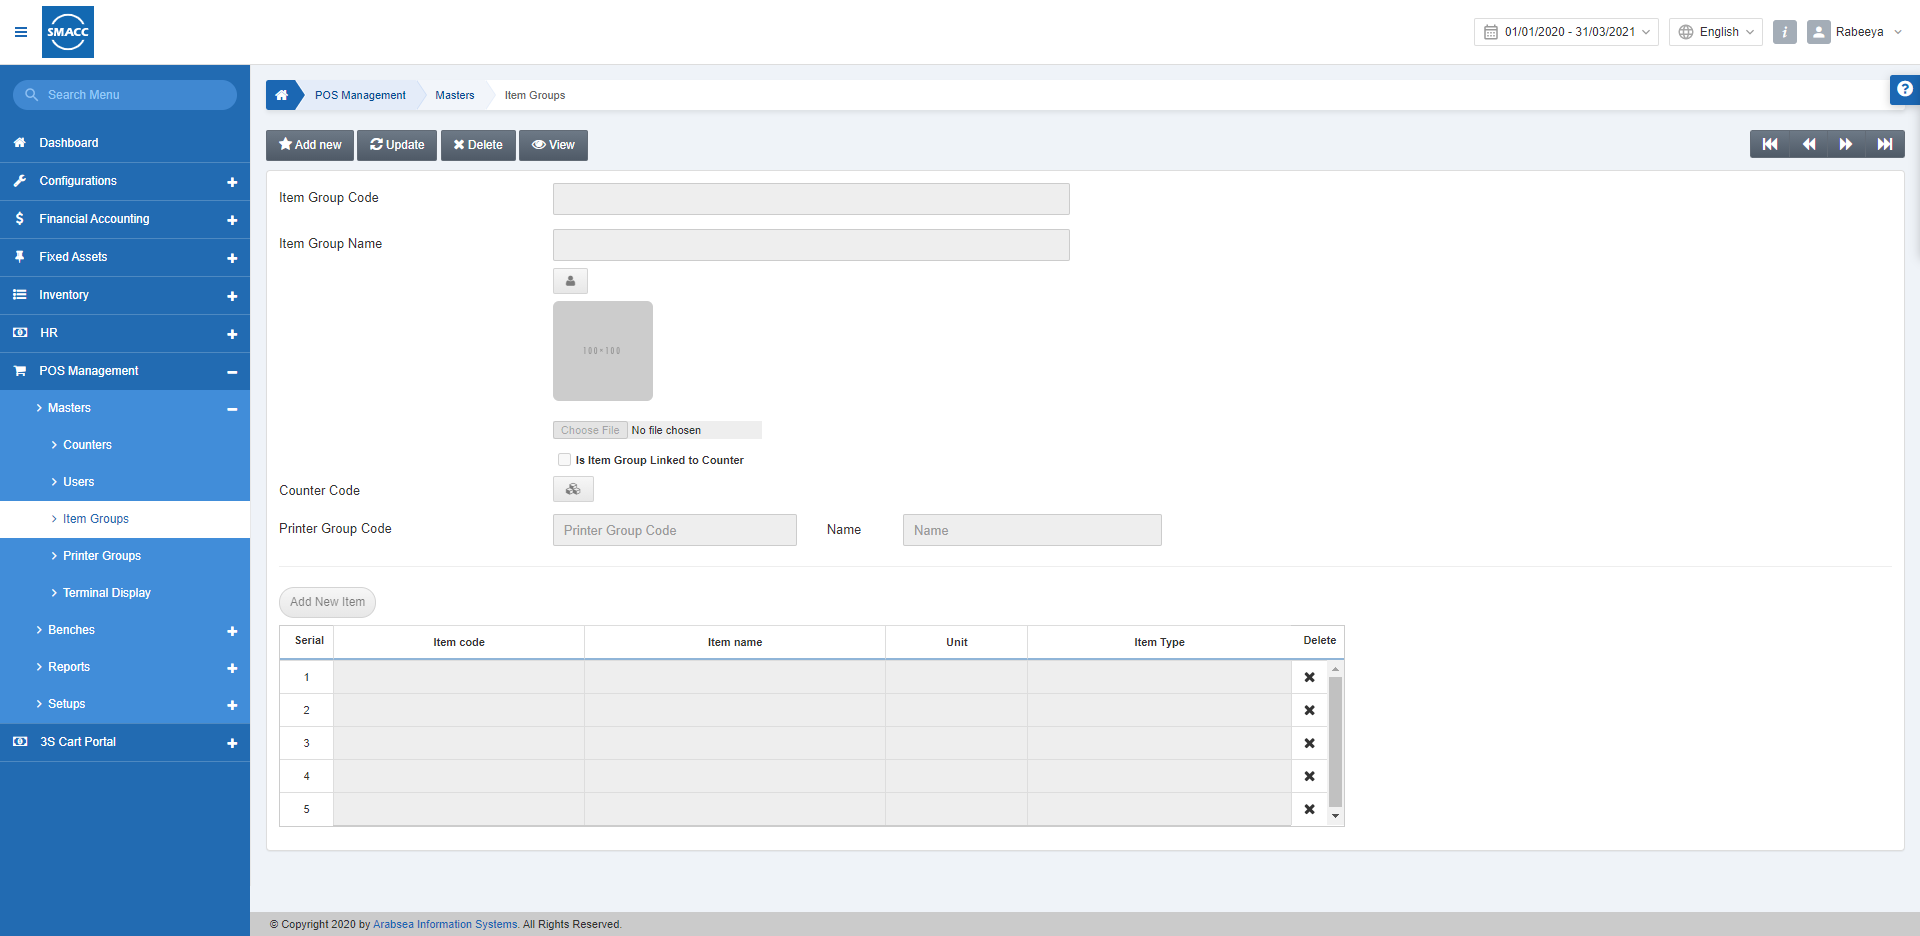
To add New Entries in Item Group, go to POS Management > Masters > Item Groups, the Item Groups page is displayed.
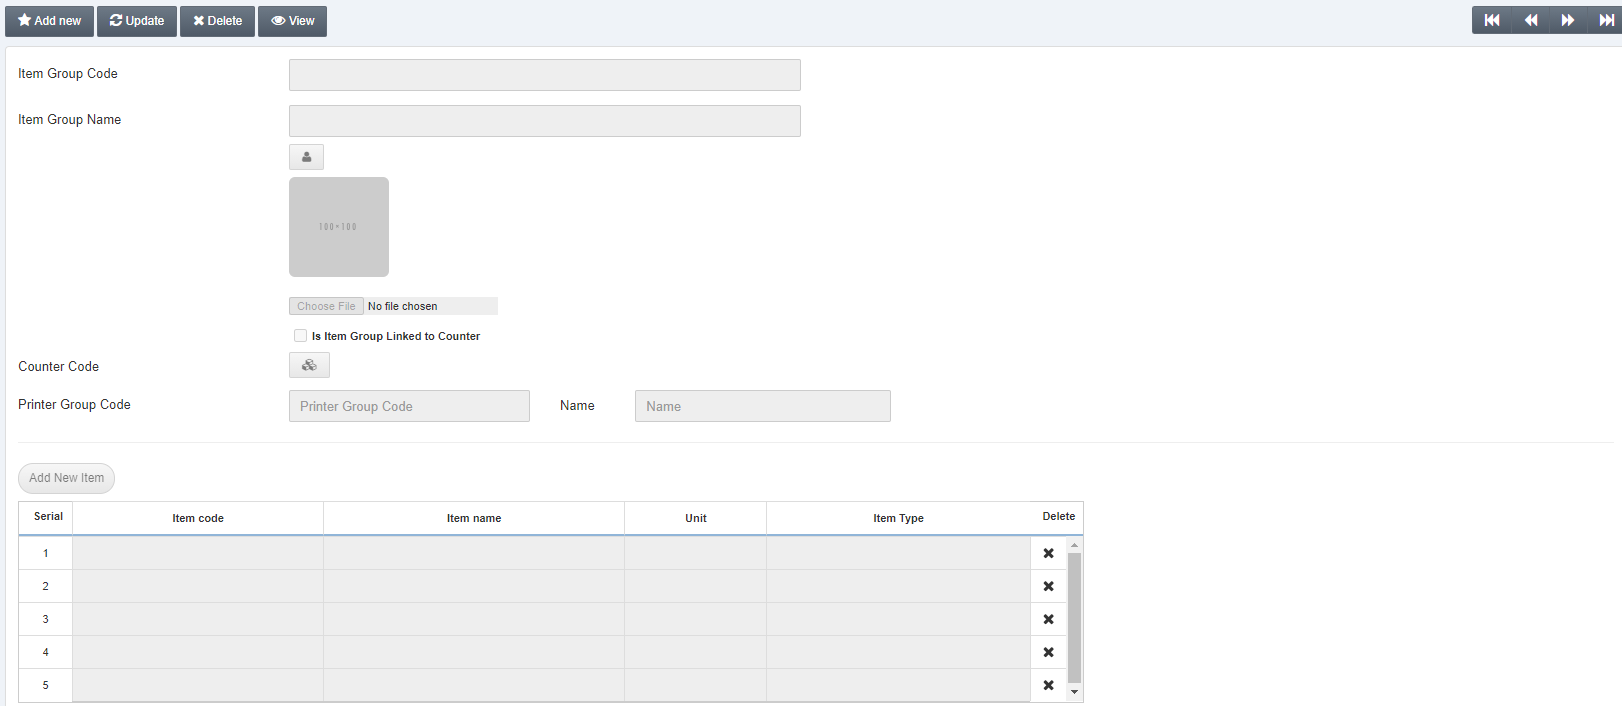
Click on the Add New button on the top of the page.
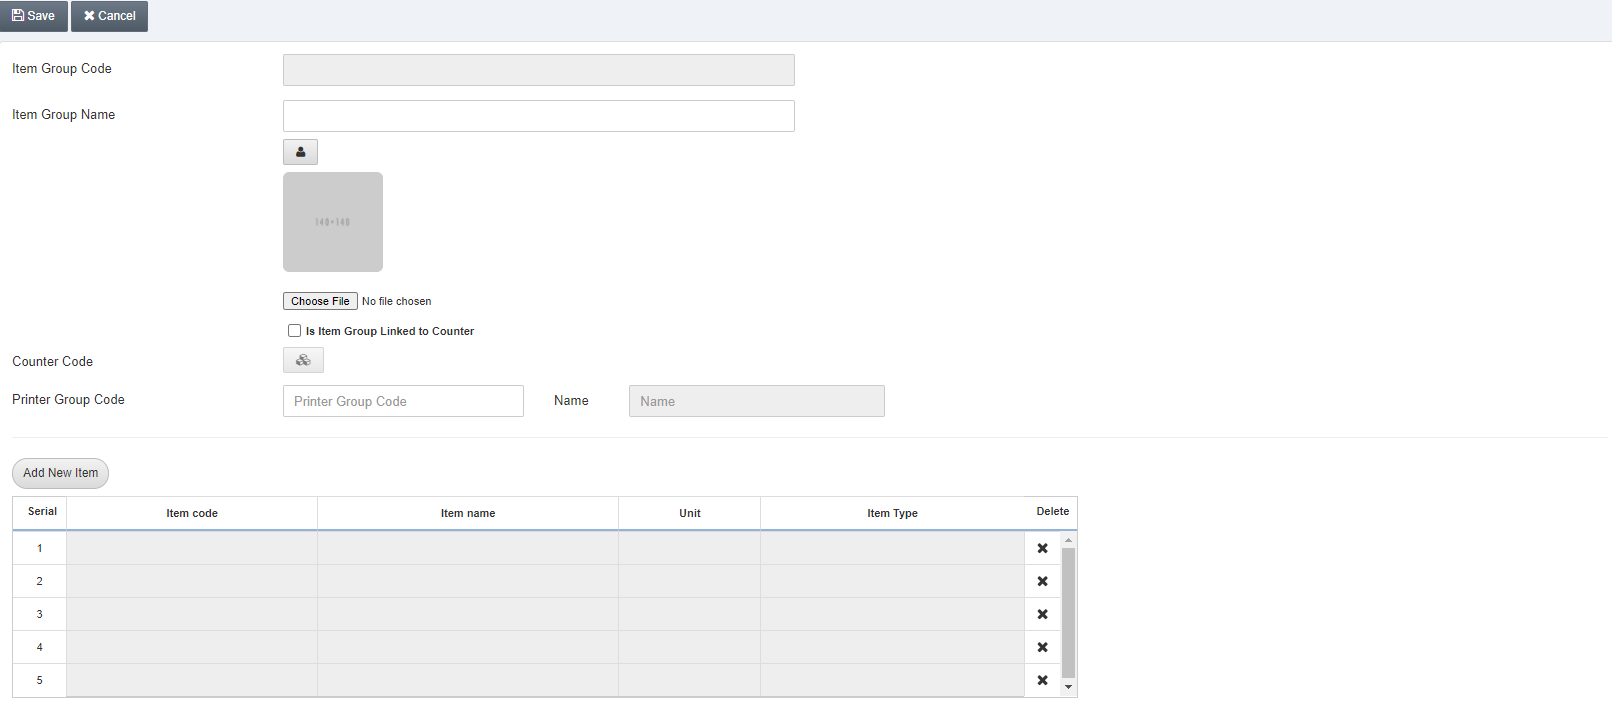
Item Group Code: This code is auto-generated by the system.
Item Group Name: Enter the item group name of your choice.
Choose File: You can select the image file for your item group.
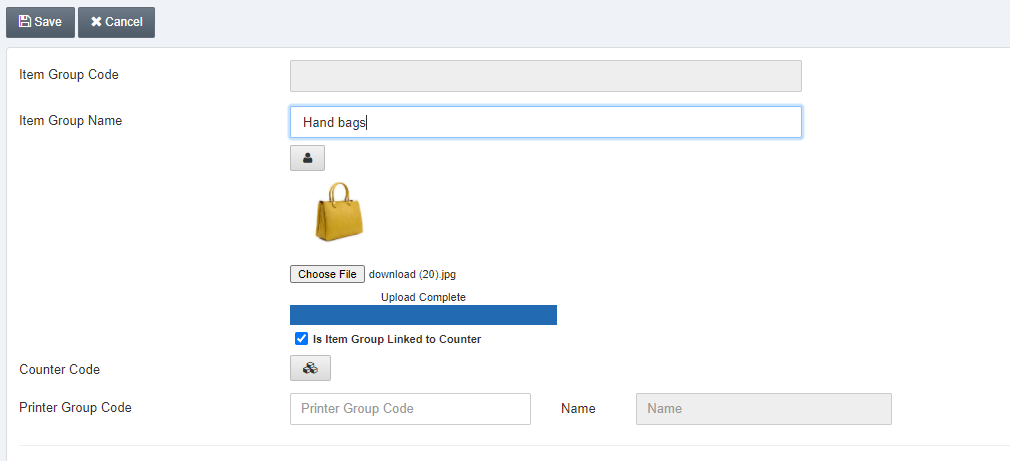
Is Item Group Linked to Counter: If checked, the item group will only be available on linked counters.
Counter Code:
Counter(s) can be linked by checking the checkbox(es).

Click on the button and the following display is shown:
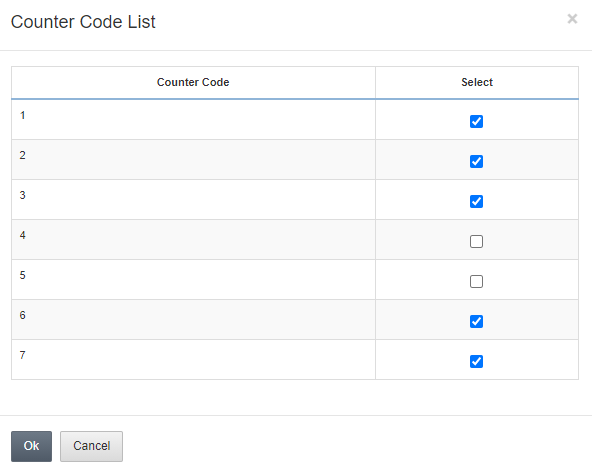
Click on the OK button to save the linking information.
Printer Group Code:
Item Group can be linked with the printer for group printing of items.

Add New Item:
Click on the Add New Item button to add the items in Item Group:
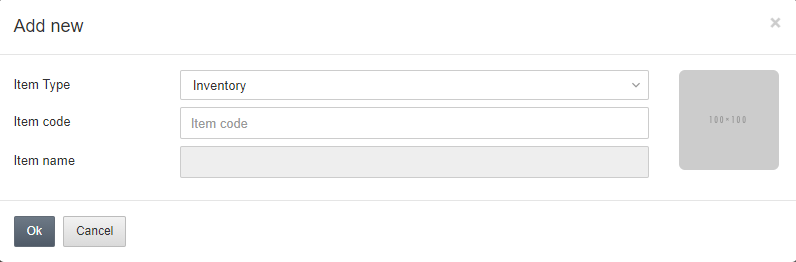
Item Type: This field is mandatory “Inventory or Service or Sales Group”.
Item Code: Enter the item code or select from the drop-down list.
On clicking the OK button the item will be added to the item group.

Note: You can delete items individually by clicking on the X icon Under Delete.
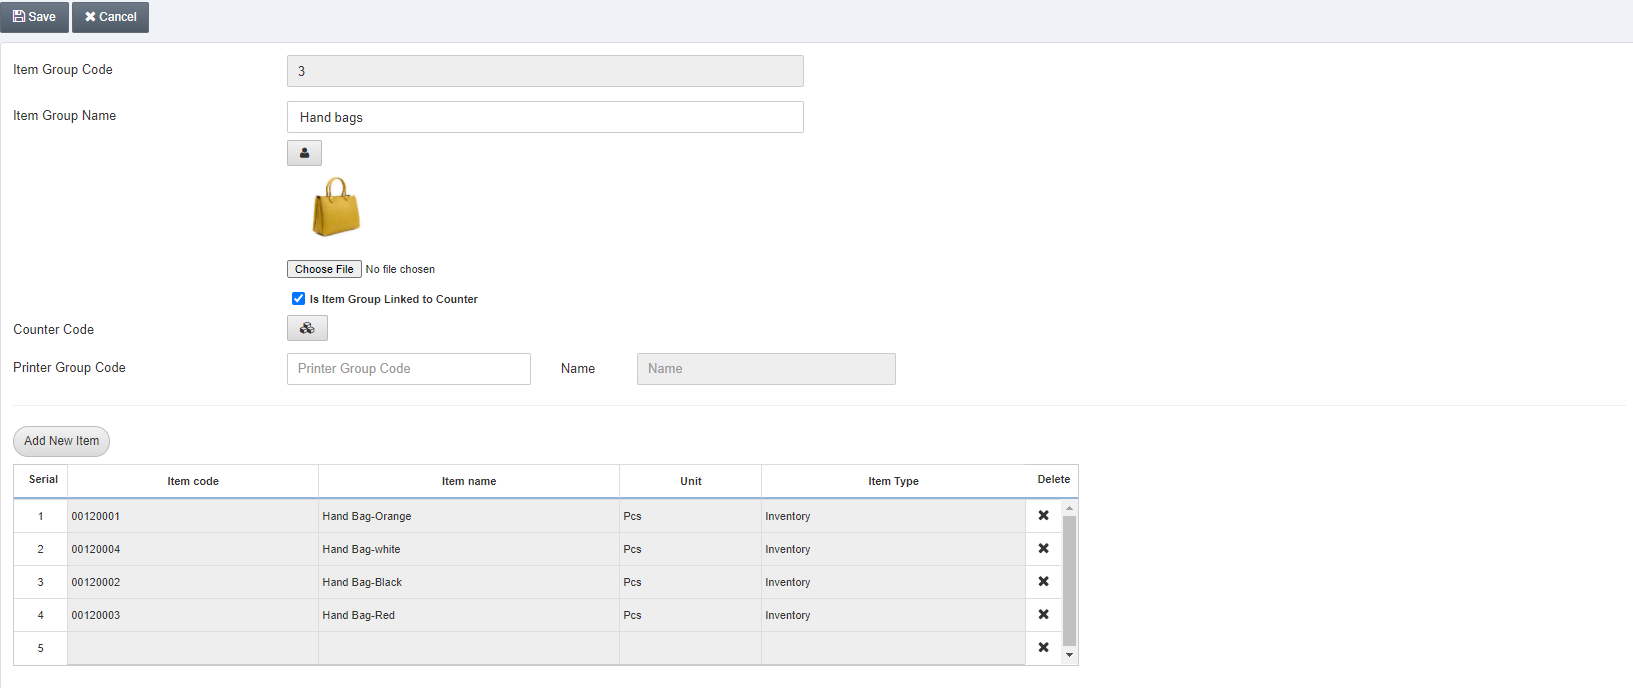
Click on Save at the top of the page.
Your item group will be saved in the system along with its picture.
Updating the Item Group
To update the Entries in Item Group, go to POS Management > Masters > Item Groups, the Item Groups page is displayed.
Click on the Update button at the top of the page.
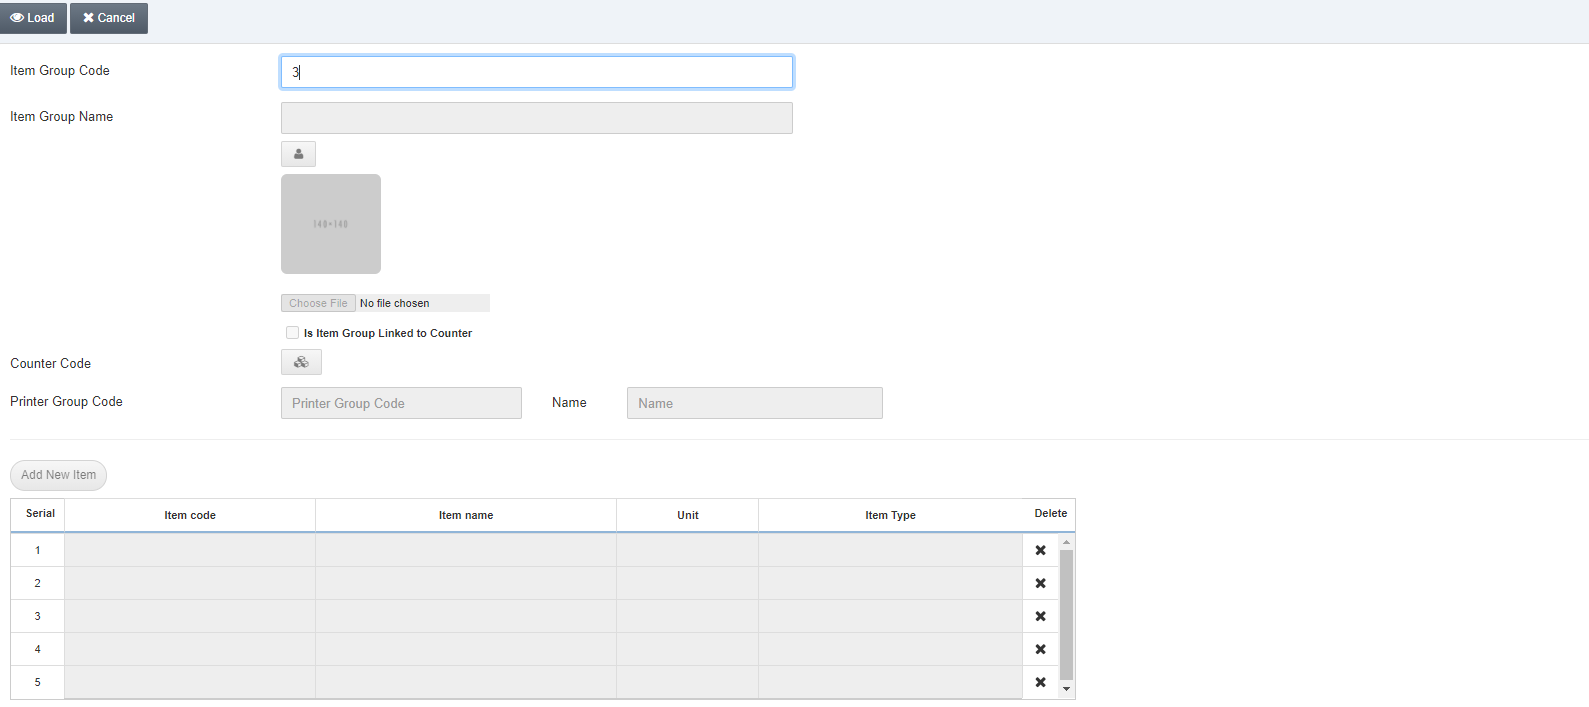
Item Group Code: Enter the Item Group Code, for example, 3. Click on the Load button.
Make the changes by updating the data of the item group and then click on the Save button.
Deleting the Item Group
To delete a specific Item Group, go to POS Management > Masters > Item Groups, the Item Groups page is displayed.
Click on the Delete button at the top of the page.
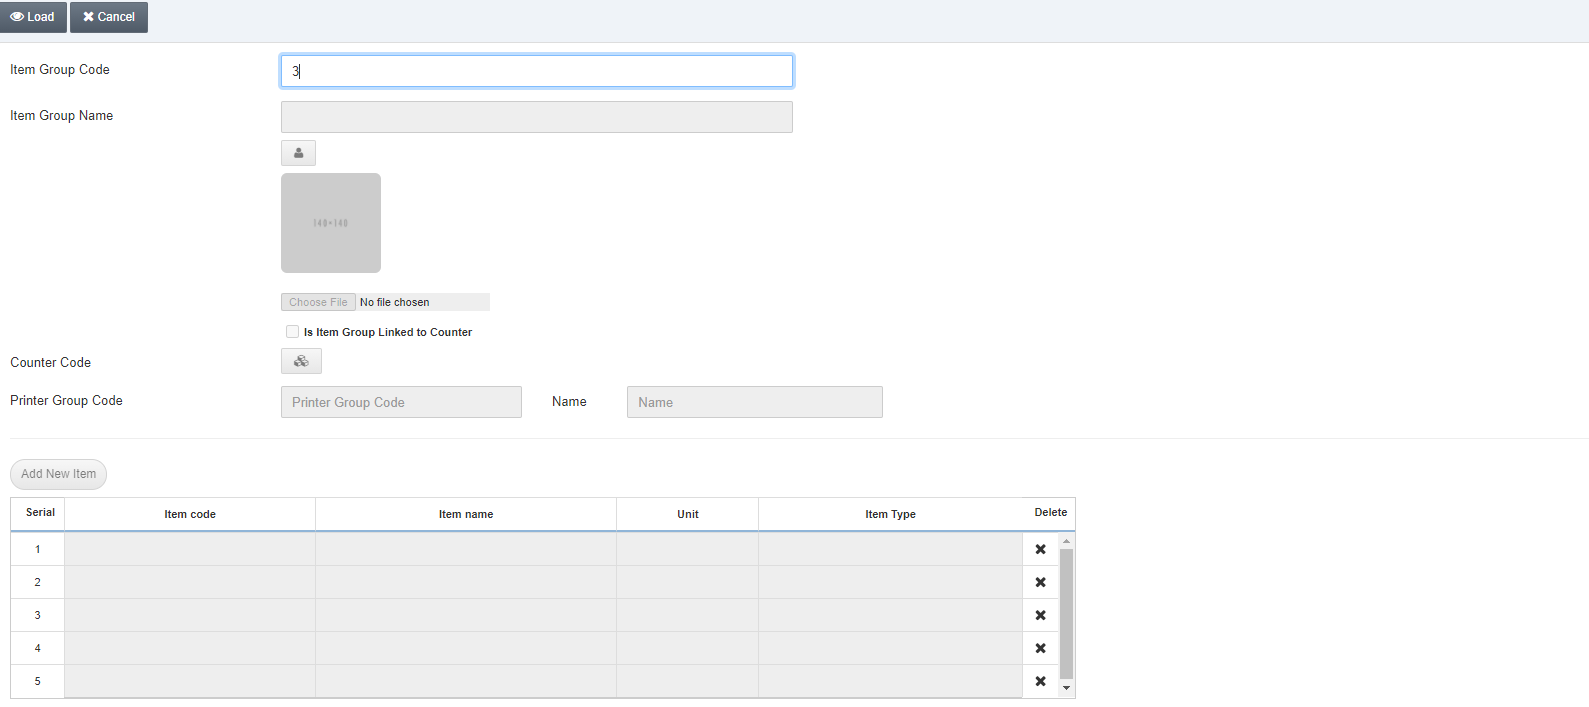
Item Group Code: Enter the Item Group Code, for example, 3. Click on the Load button.
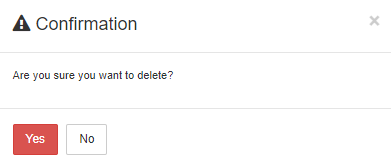
Click on Yes to confirm the deletion of the item group.
Note: Same procedure is followed when you try to view an item group by clicking on the view button and then the load button at the top of the page.