In data entry, you can add new data entries of post-paid cheques. You can update, delete, print, or view the information.
Adding a New Data Entry
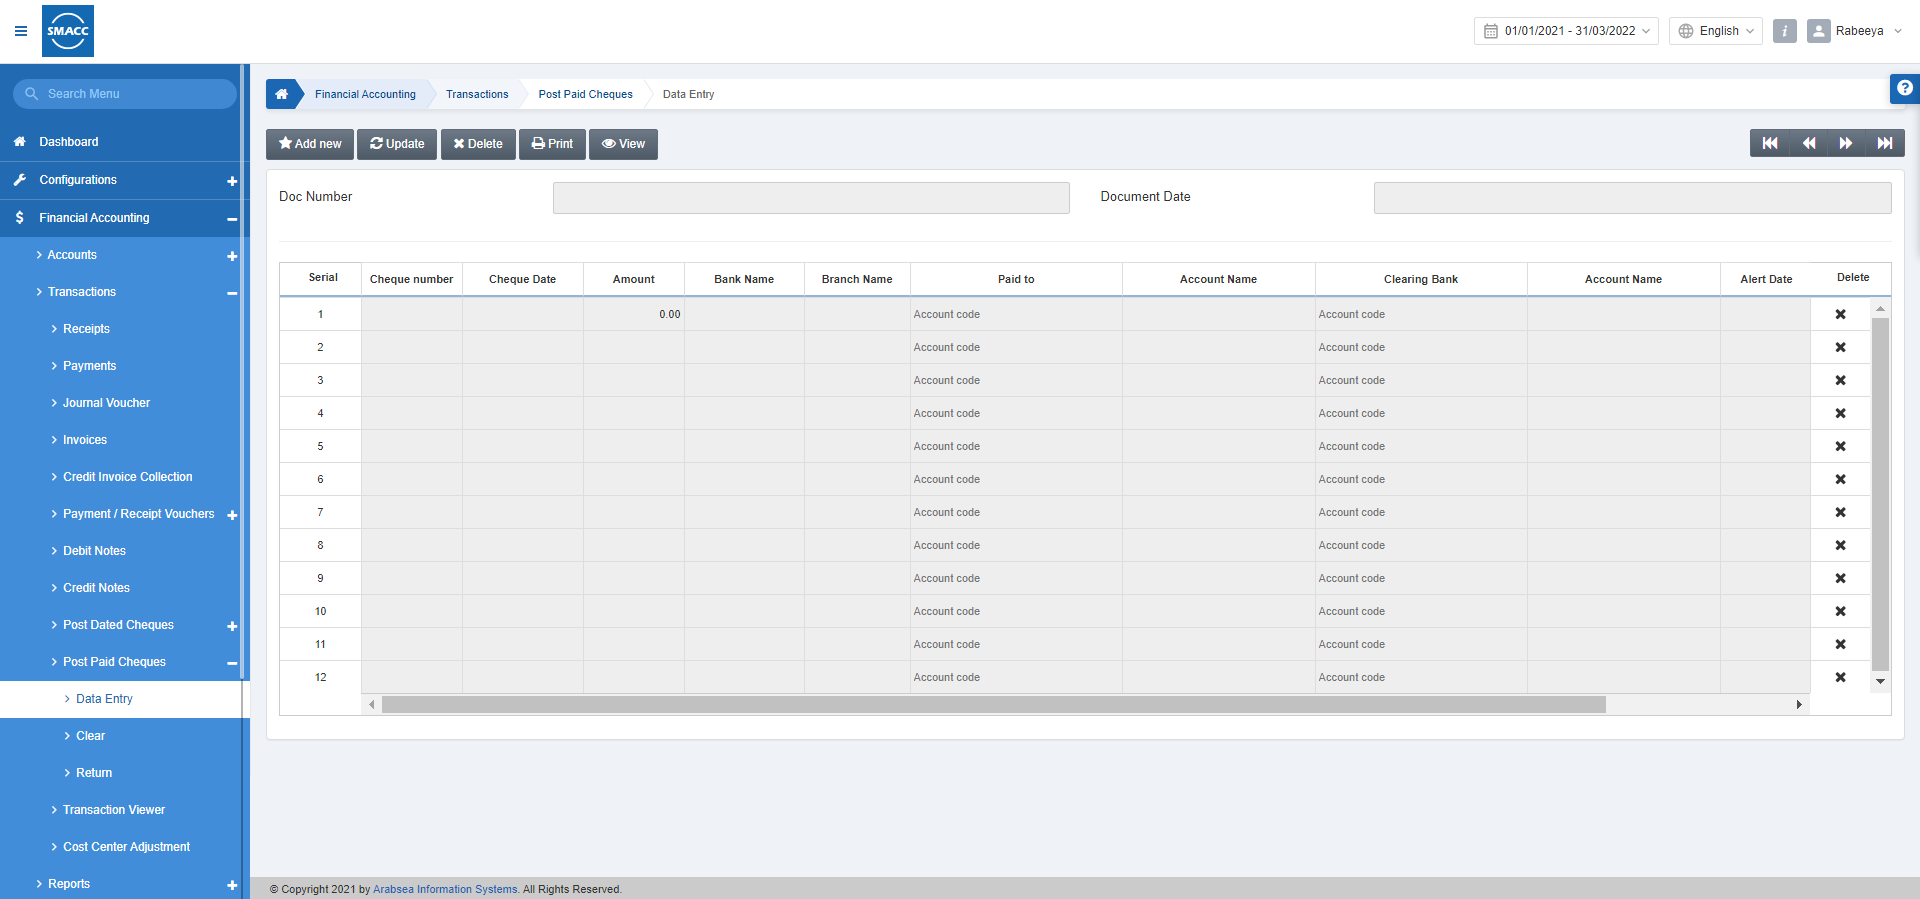
To add a new data entry in the post-paid cheques, go to Financial Accounting > Transactions > Post Paid Cheques > Data Entry, the data entry page is displayed.
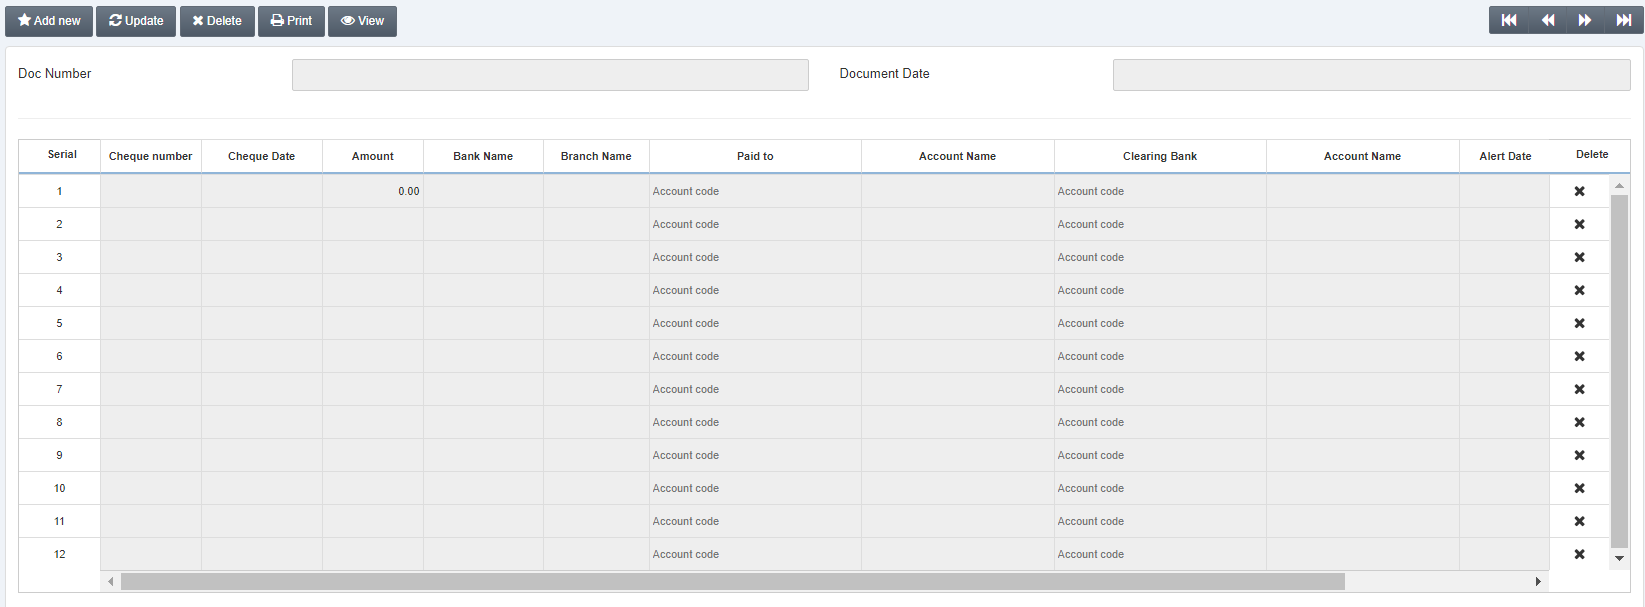
Click on the Add New button at the top of the page.
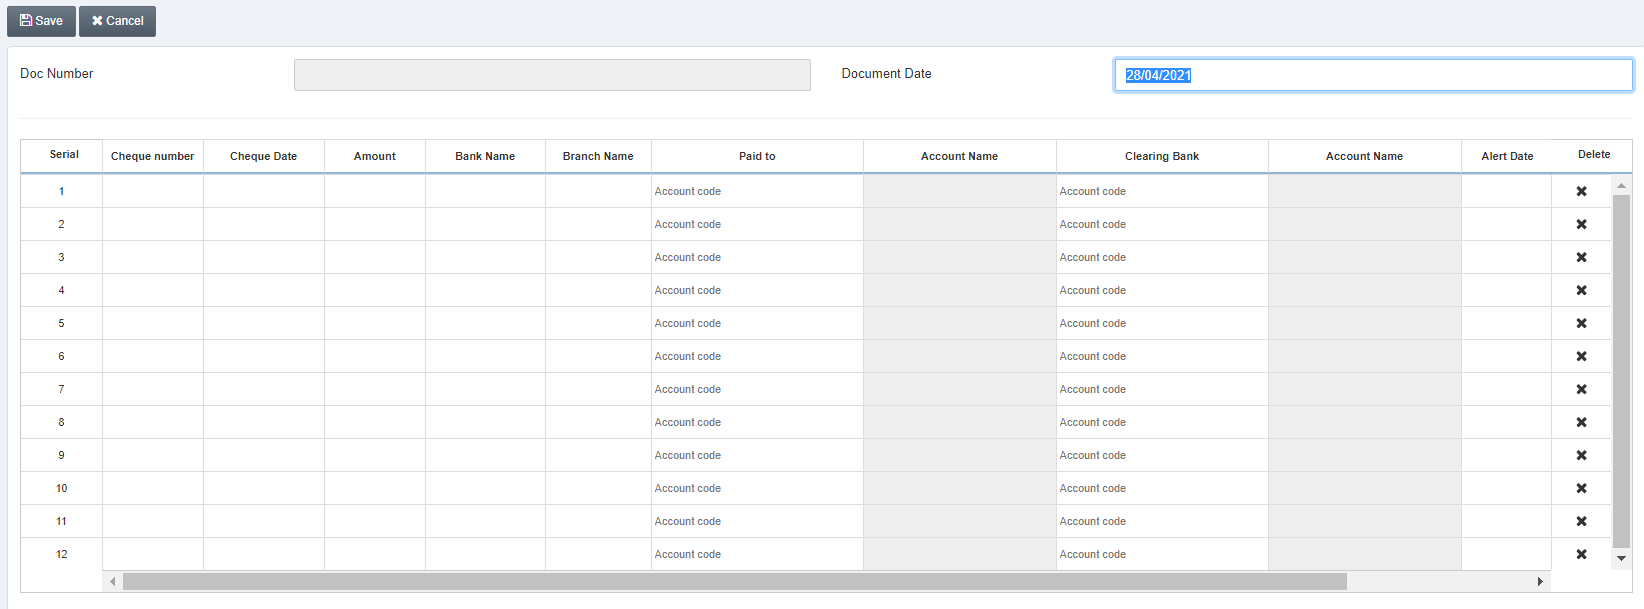
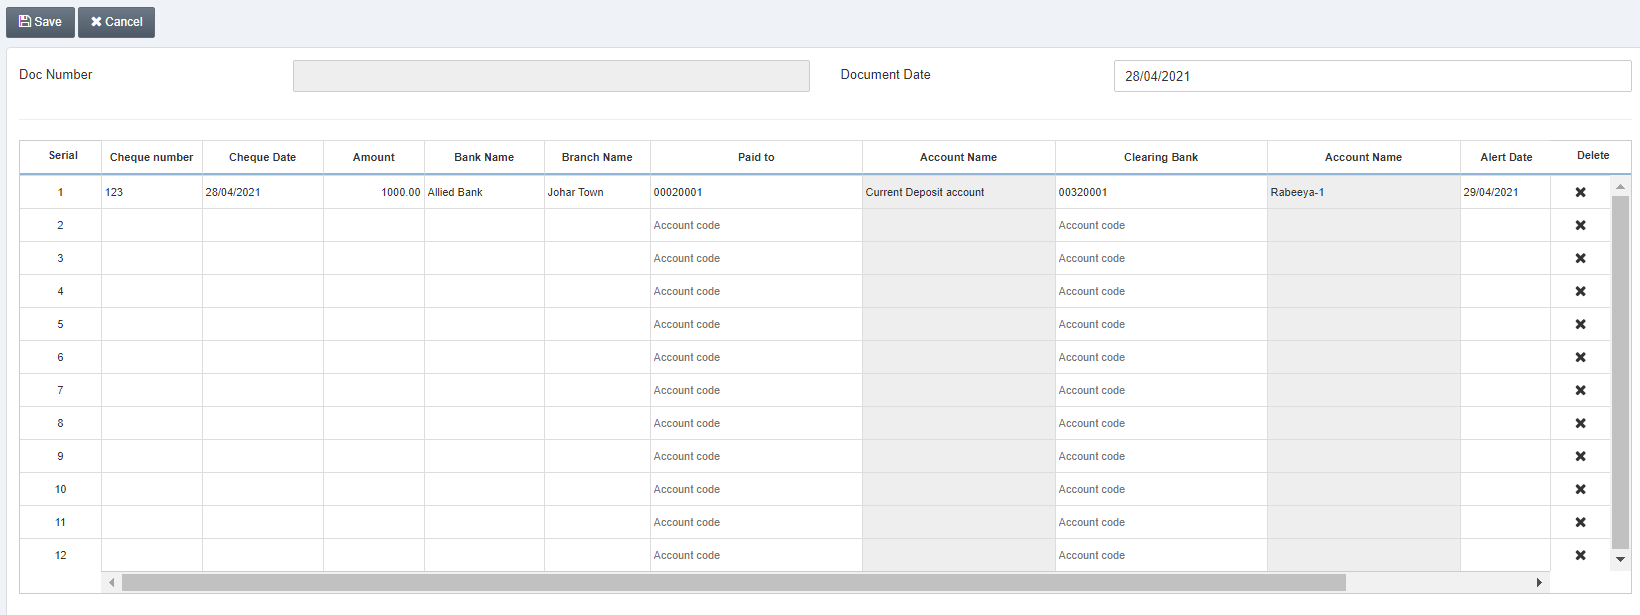
Looking at the entries of the given grid.
Cheque Number: Enter the cheque number
Cheque Date: Enter the cheque date
Amount: Enter the amount
Bank Name: Enter the bank name
Paid To: Select the paid to account from the drop-down list.
Clearing Bank: Select the clearing bank account from the drop-down list.
Alert Date: Enter the date of the alert.
Description: Enter the description of this data entry.
Delete: Click on the x button to delete any row of entries.
Updating the Data Entry
To update the data entry in the post-paid cheques, go to Financial Accounting > Transactions > Post Paid Cheques > Data Entry, the data entry page is displayed.
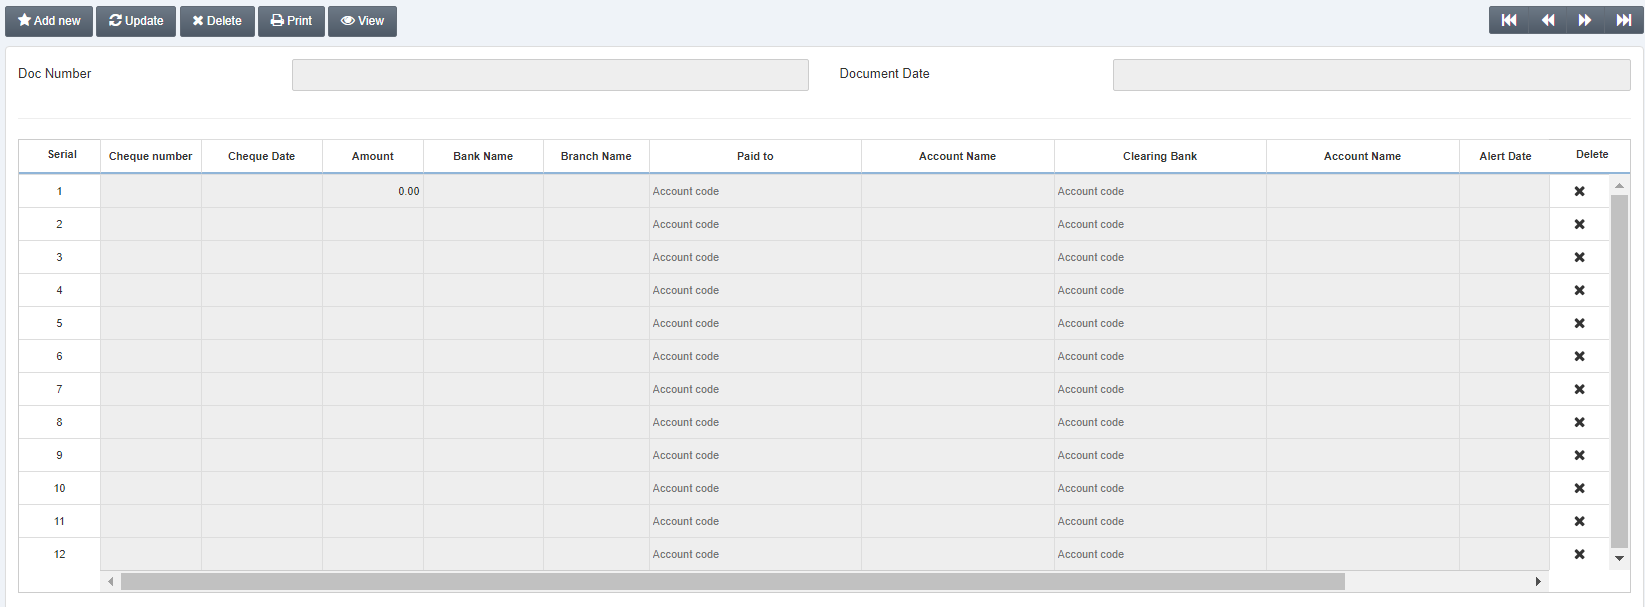
Click on the Update button at the top of the page.
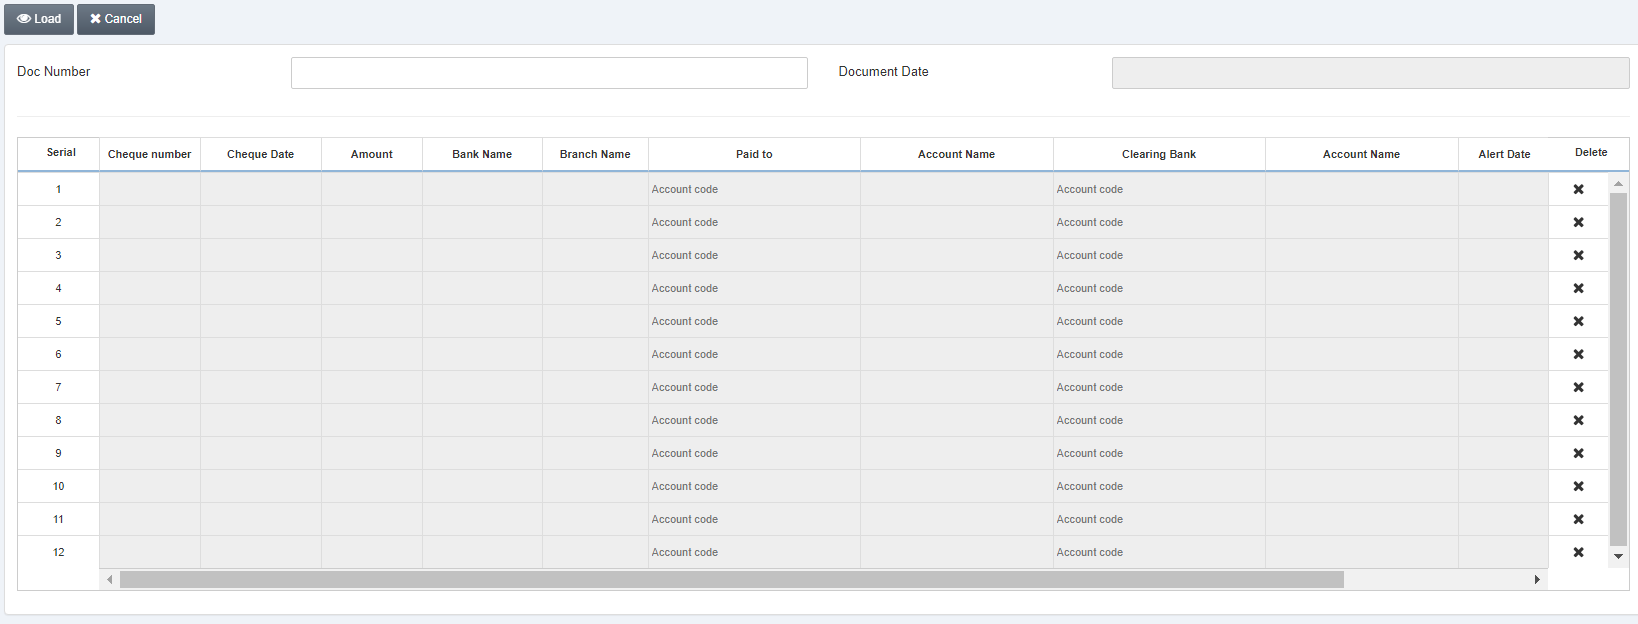
Doc Number: Enter the document number.
Click on the Load button.
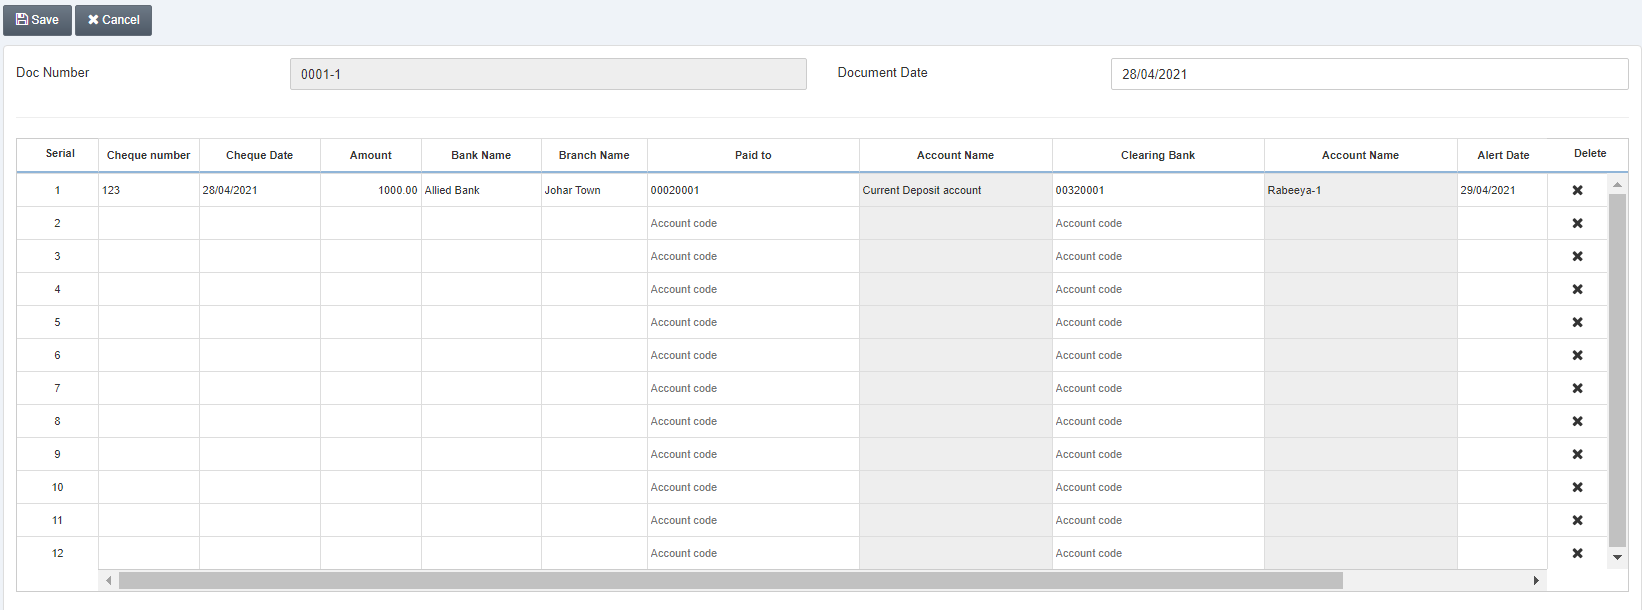
You can update the data entry as per the requirement. Click on the Save button at the top of the page.
Deleting the Data Entry
To delete the data entry in the post-paid cheques, go to Financial Accounting > Transactions > Post Paid Cheques > Data Entry, the data entry page is displayed.
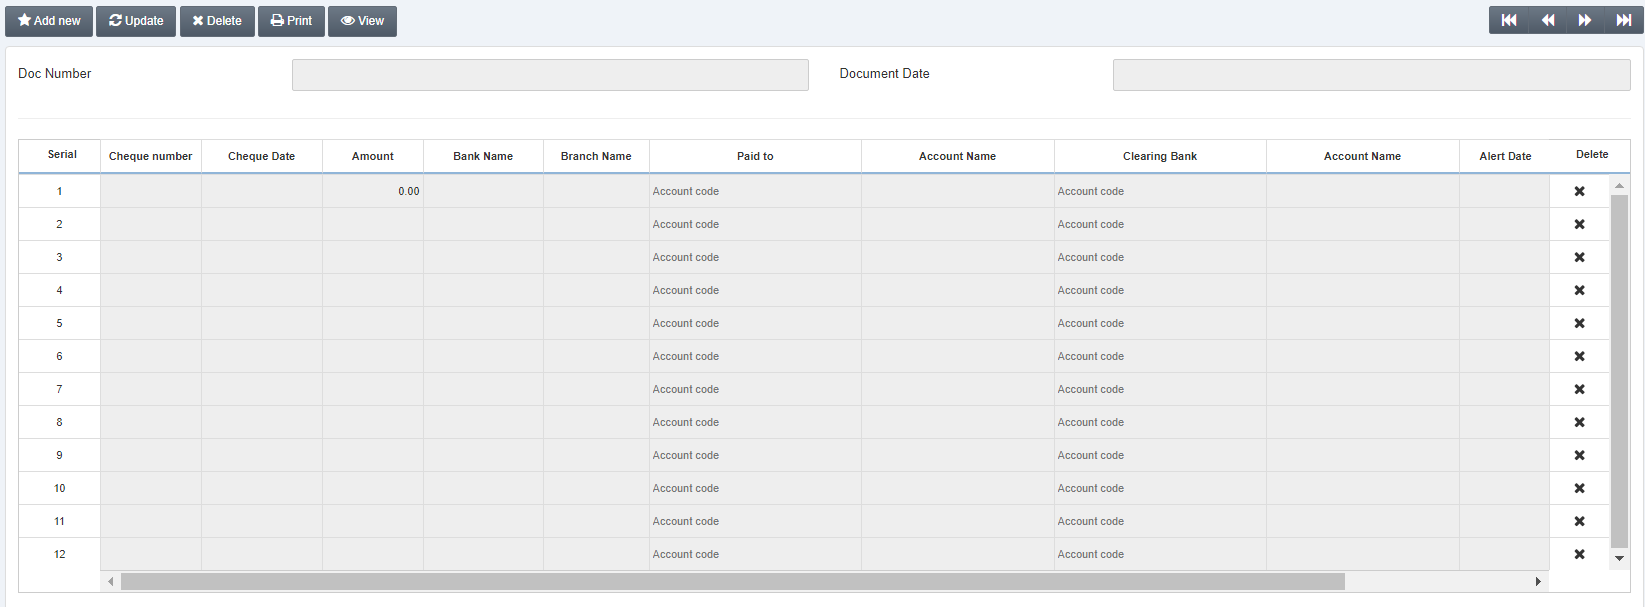
Click on the Delete button at the top of the page.
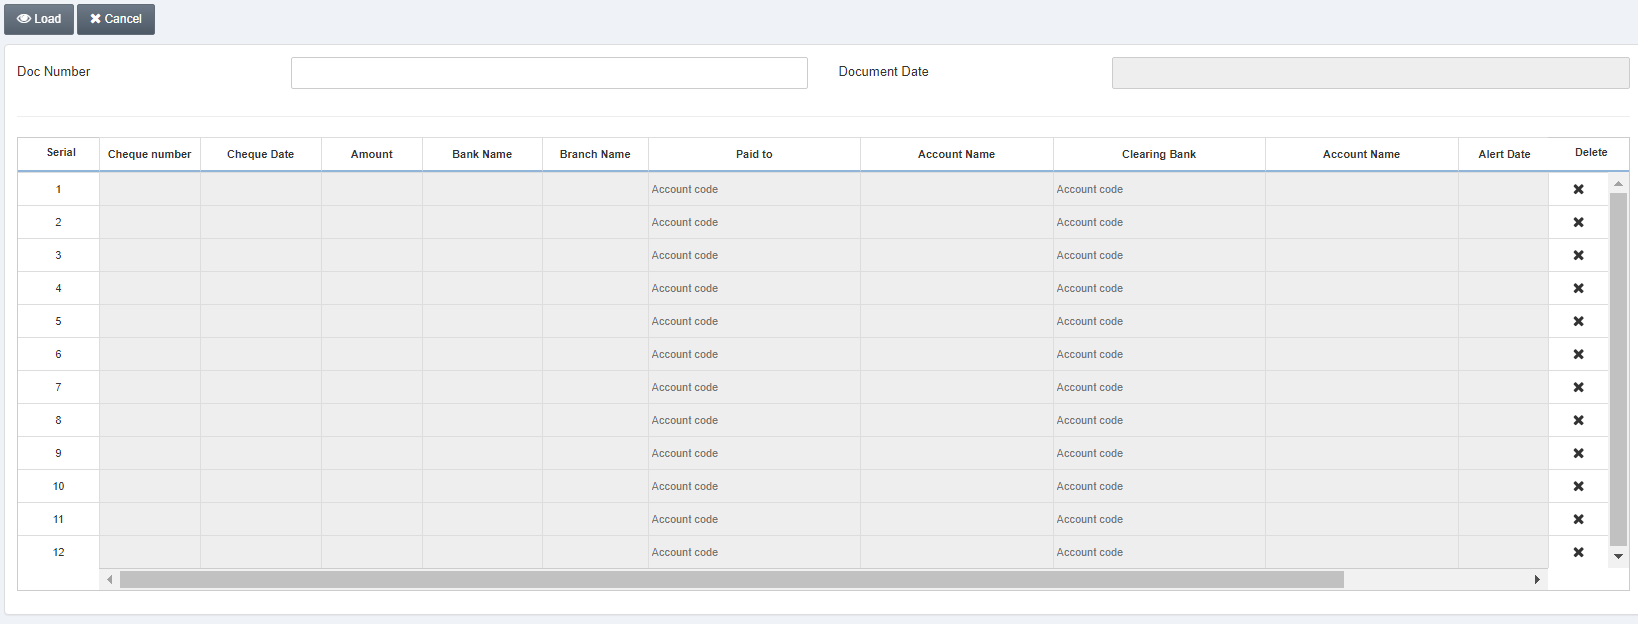
Doc Number: Enter the document number.
Click on the Load button.
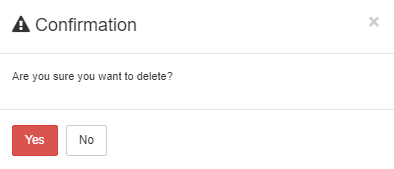
Click on the Yes button to confirm the Deletion.
Printing the Data Entry
To print the data entry in the post-paid cheques, go to Financial Accounting > Transactions > Post Paid Cheques > Data Entry, the data entry page is displayed.
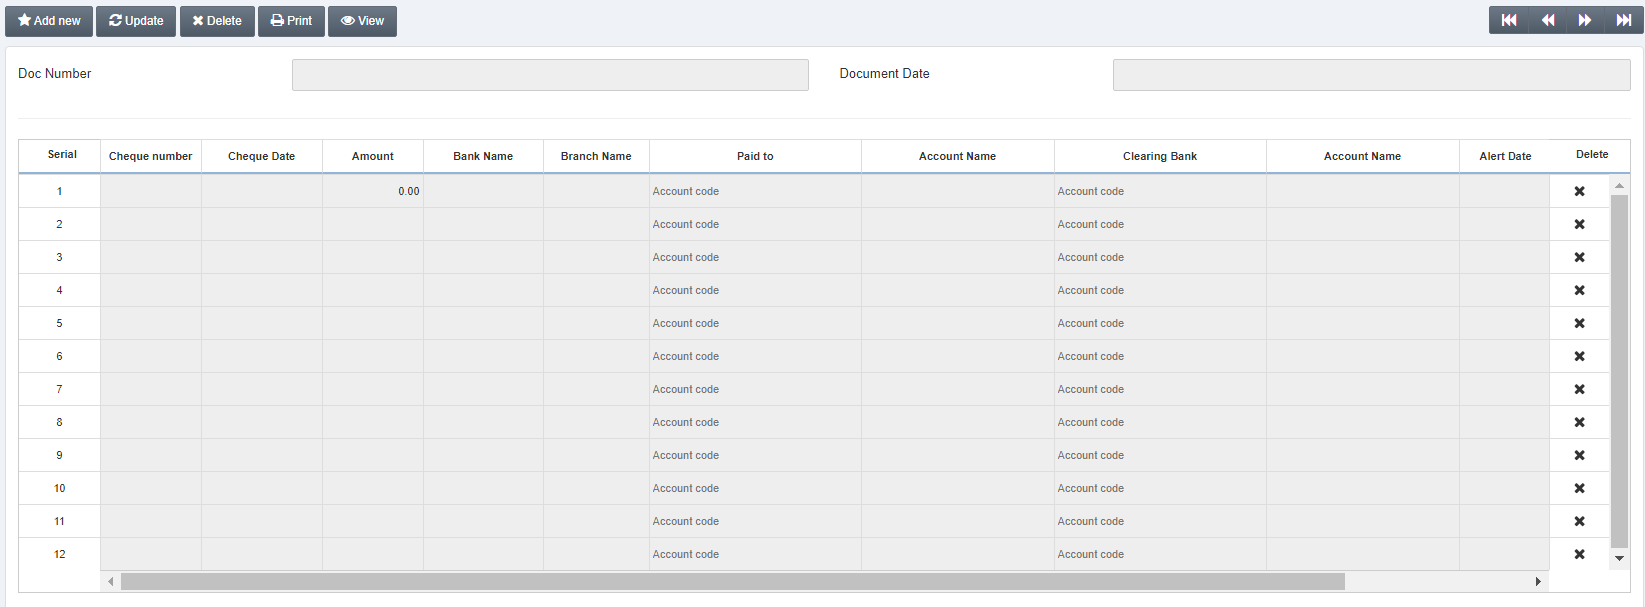
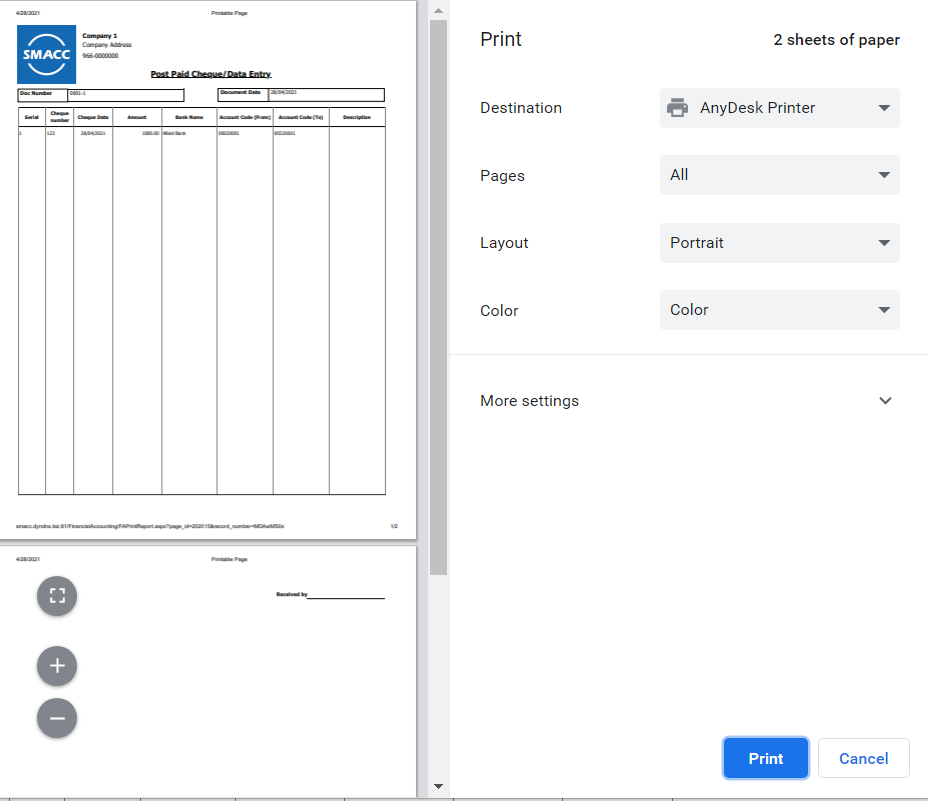
Click on the Print button at the top of the page.
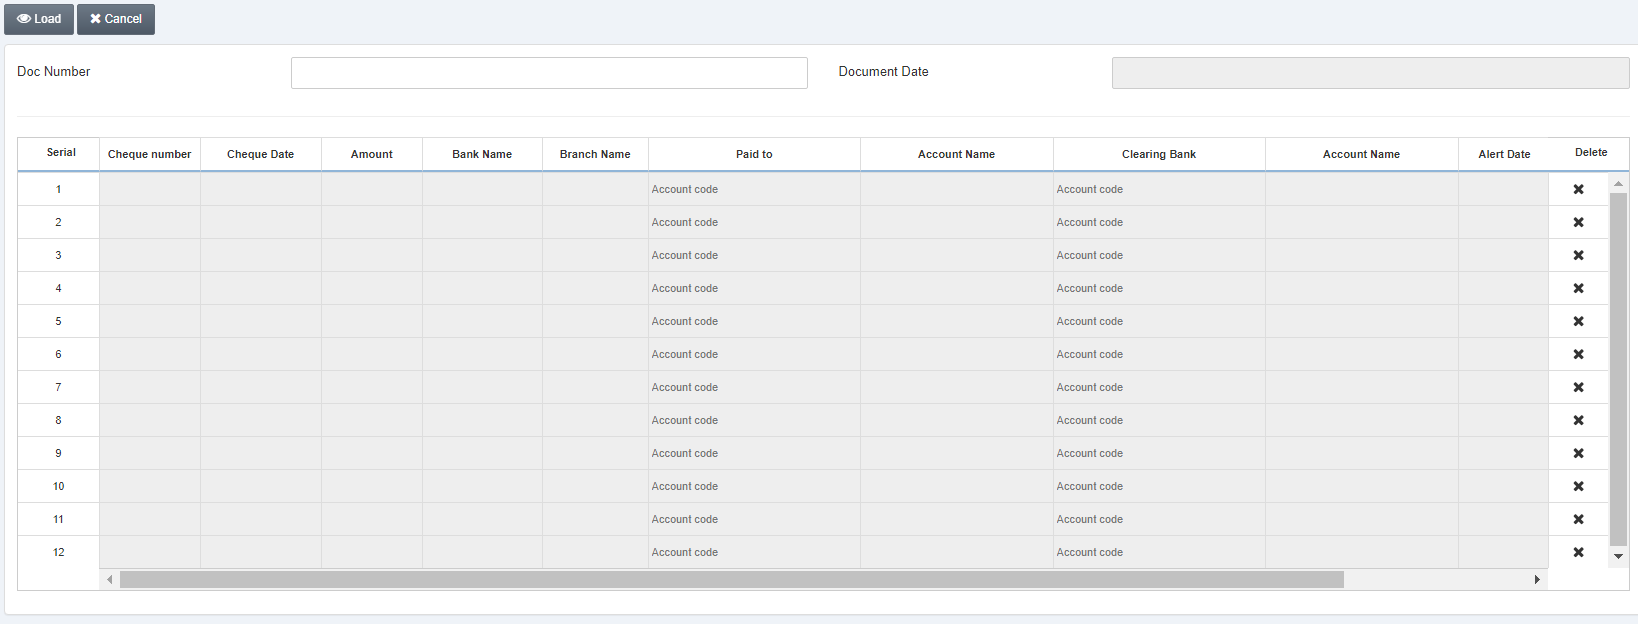
Doc Number: Enter the document number.
Click on the Load button.
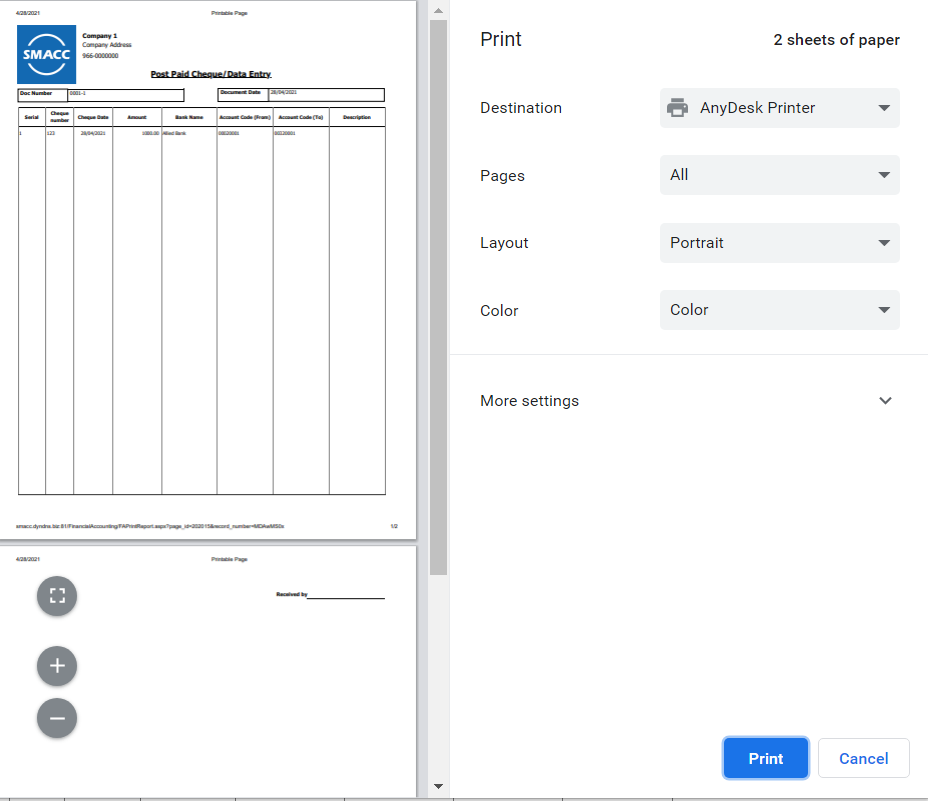
Note: Similarly, you can View a data entry by clicking on the View button at the top of the page.
