Adding “Daily Overtimes” in HR
To add “Daily Overtimes” in “HR”, click on the “HR”, then “Transactions”, then click “Daily Overtimes”. Daily Overtimes page will be displayed.
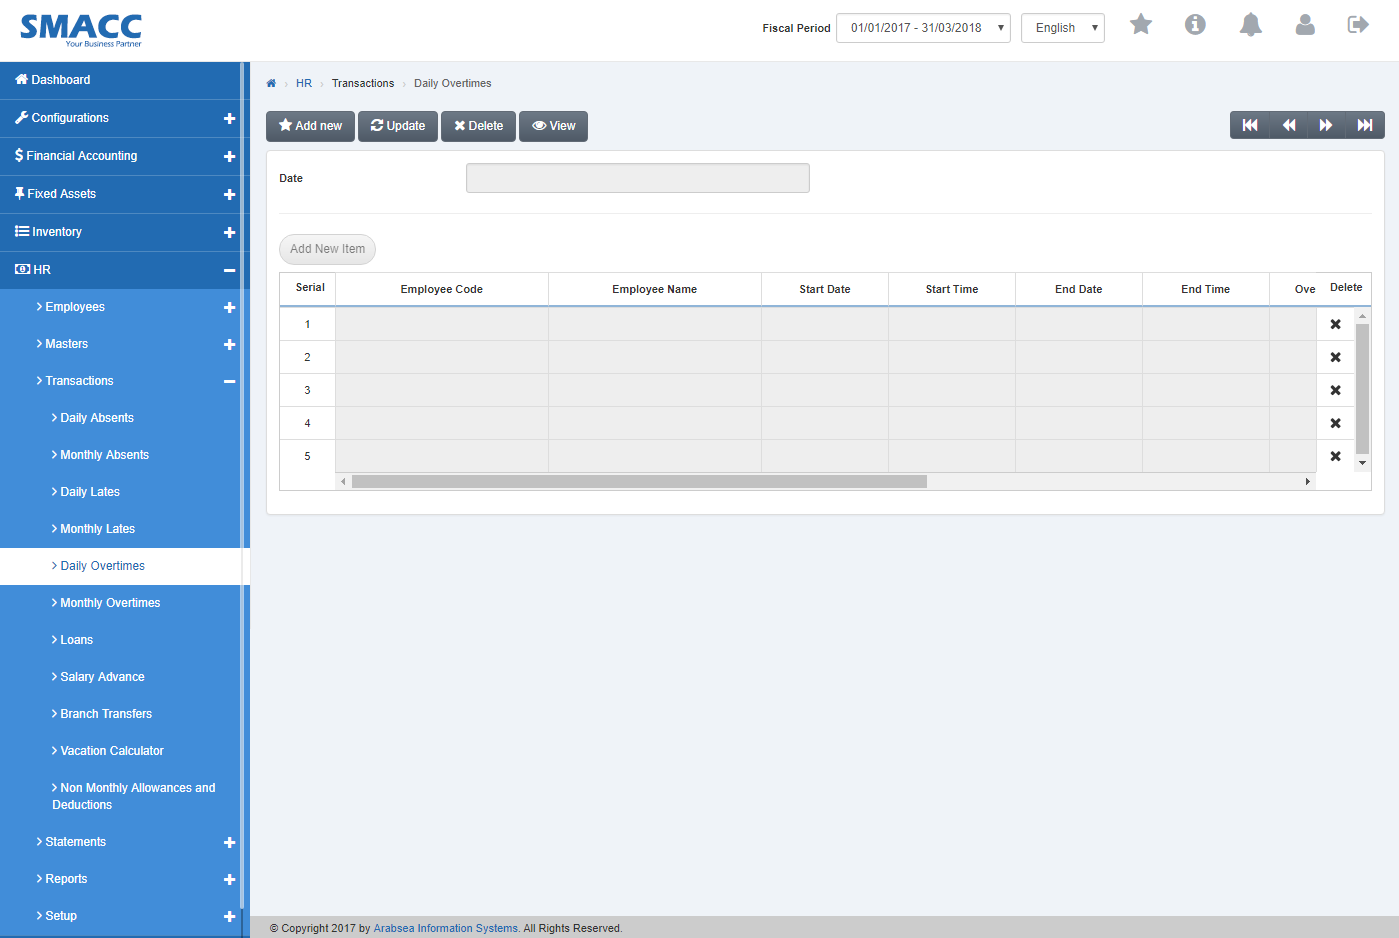
Click the “Add new” button on the top of Daily Overtimes page.
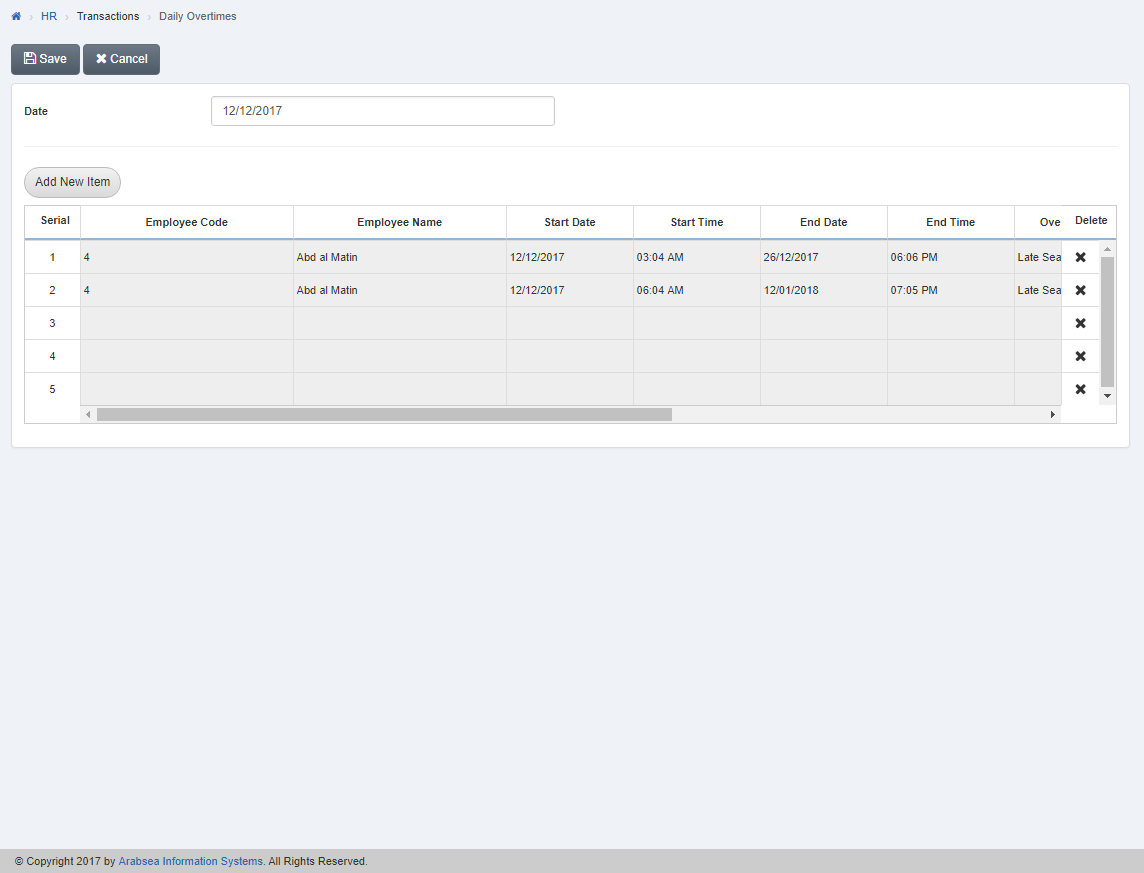
Enter date in “Date” input box. Click “Add New Item” then pop-up will be appeared.
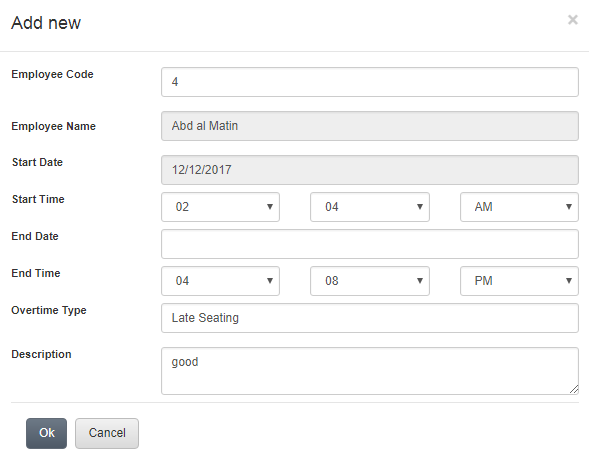
Enter employee code or click in “Employee Code” input box then employee code list will be drop down. Select your desired employee code then selected employee name will be appeared in “Employee Name” input box.
Enter Start date in “Start Date” input box.
Enter start time in “Start Time” input box.
Enter End date in “End Date” input box.
Enter end time in “End Time” input box.
Enter description in “Description” input box.
Click “OK” button to save the information then all the information will be shown in the grid in daily lates page.
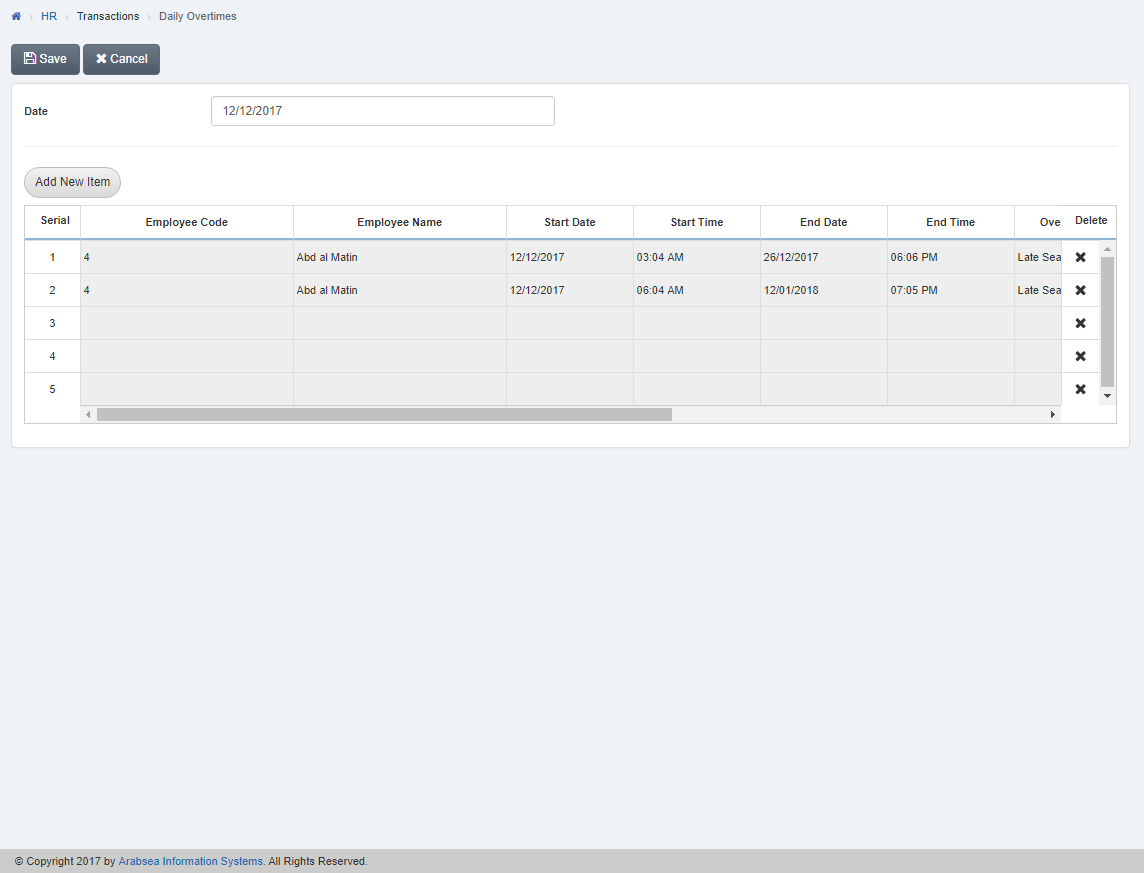
Click “Save” button to save the information.
Deleting Daily Overtimes details.
To add “Daily Overtimes” in “HR”, click on the “HR”, then “Transactions”, then click “Daily Overtimes”. Daily Overtimes page will be displayed.

Click the “Delete” button on the top of Daily Overtimes page. Enter date in “Date” input box then click “Load” button.
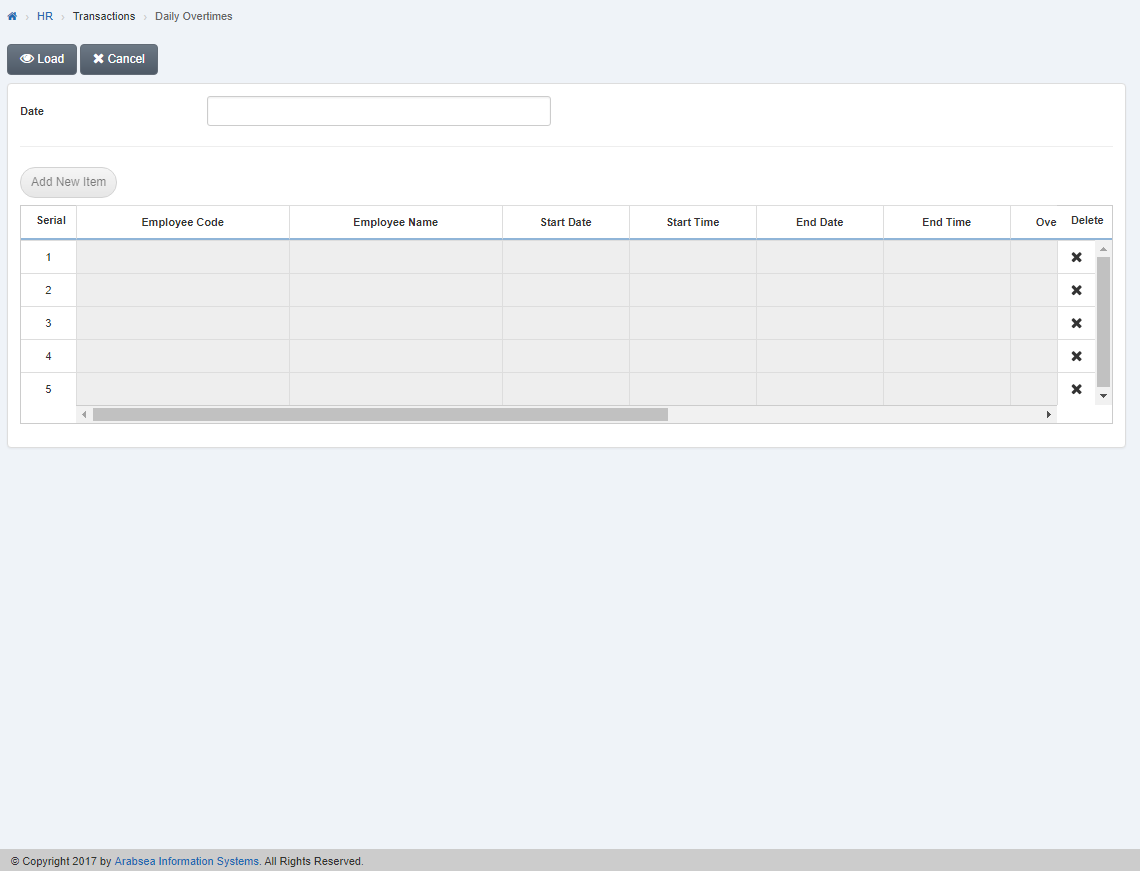
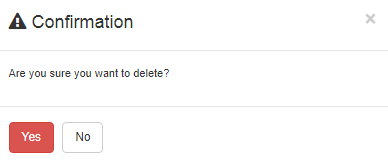
A Prompt box will be displayed.
Click “Yes” button to delete the information.
Deleting Entries in Daily Overtimes details.
To add “Daily Overtimes” in “HR”, click on the “HR”, then “Transactions”, then click “Daily Overtimes”. Daily Overtimes page will be displayed.

Click the “Delete” button on the top of Daily overtimes page. Enter date in “Date” input box then click “Load” button.
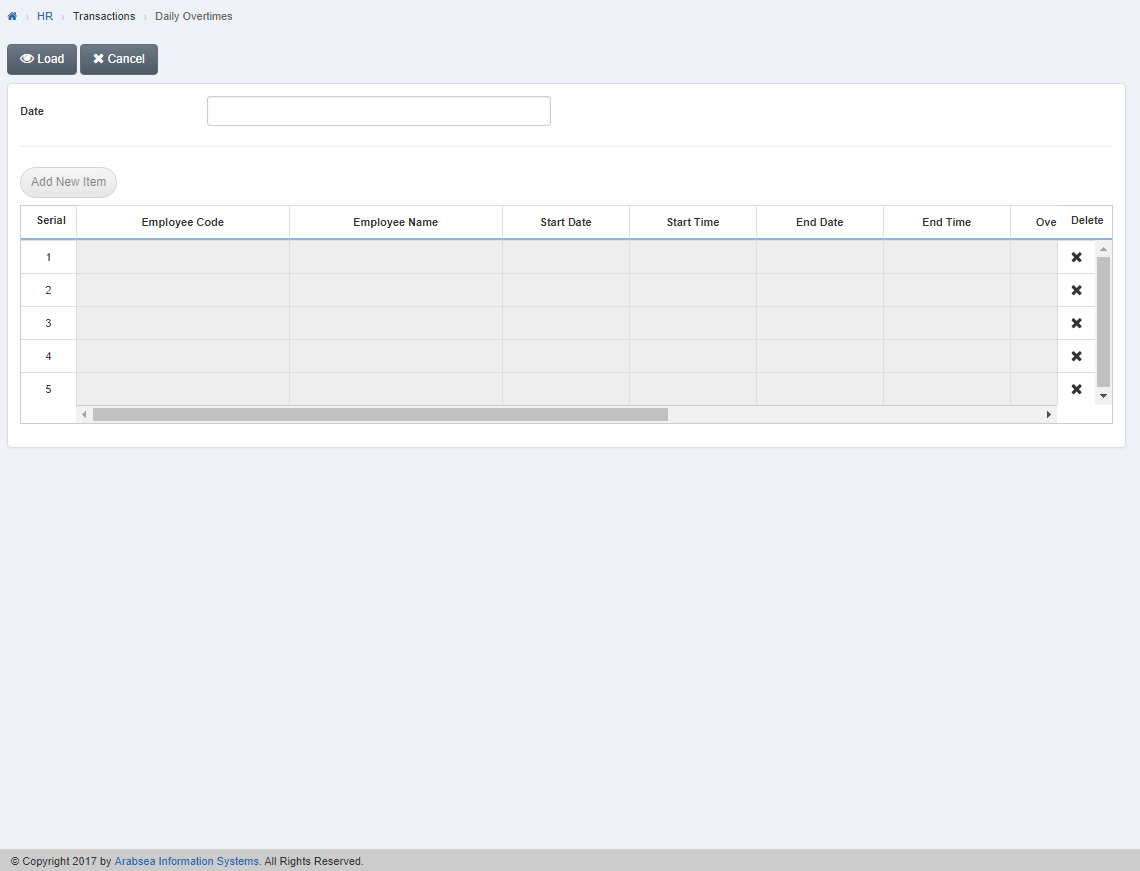
Click “Delete” icon in column “Delete” against the desired entry then it will delete the entry.
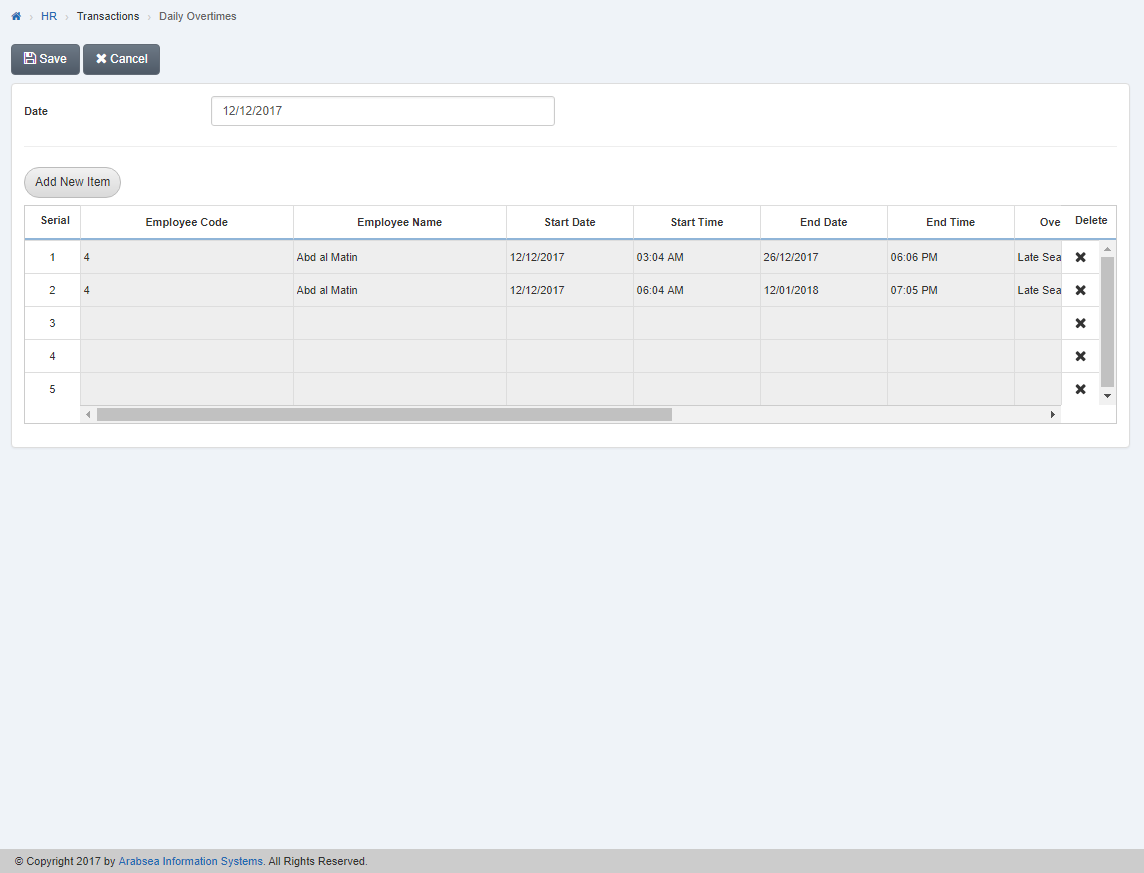
Click “Save” button to save the information.
