

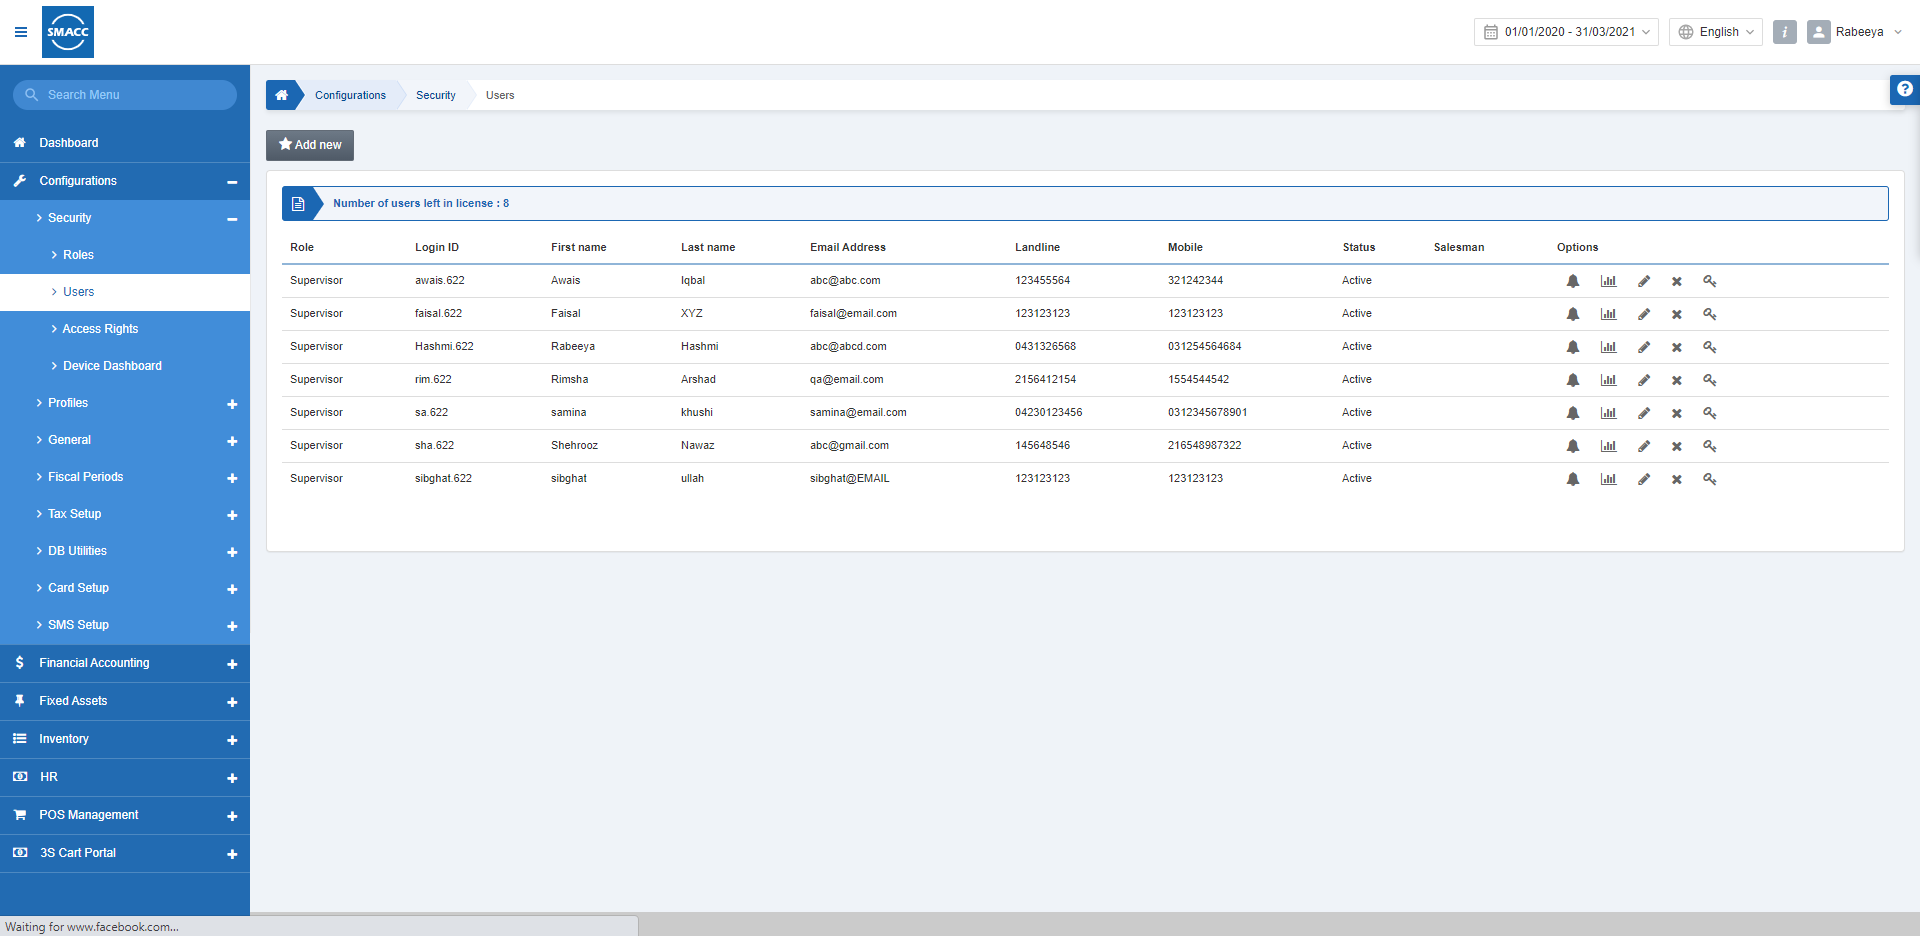
In Users, you can add/update and delete a new user of SMACC. You can set a notification and the graph rights of the users. You can also update the role of the user, link/unlink salesman, activate/ deactivate login ID, name of the user, email address, and contact information. You can change the password of the user and also delete the user record.
Adding a new User/Login ID
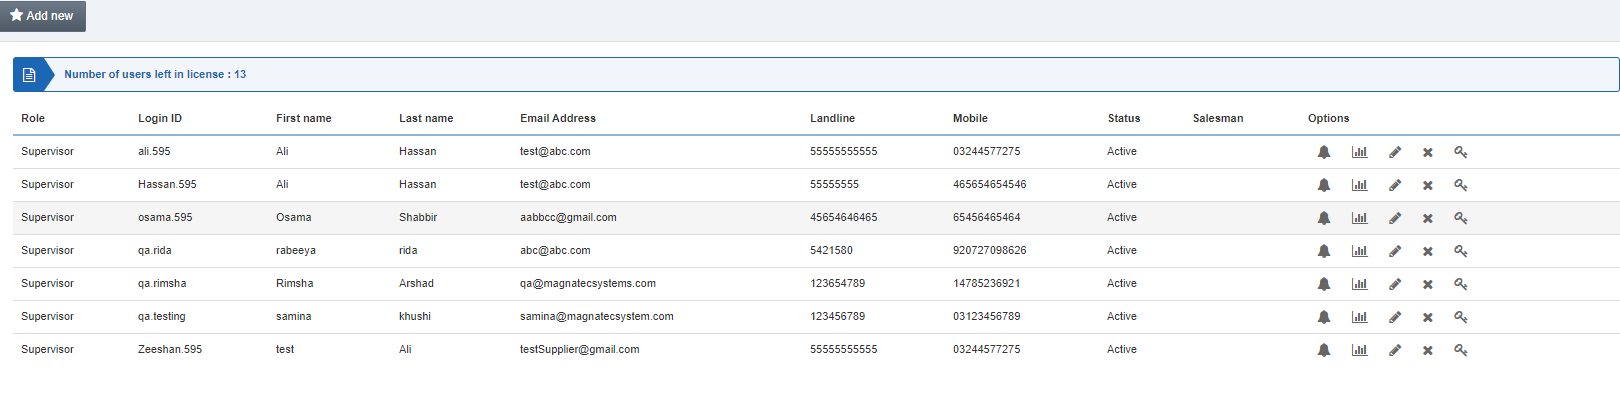
To add a new User or new Login ID, click on the Configurations > Security > Users. Users page is displayed.

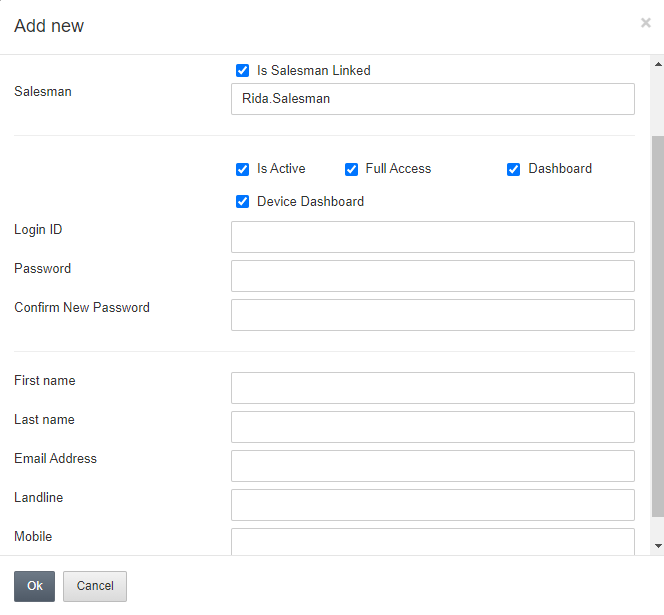
Click the Add New button on the top of the Users page, a pop-up is displayed.
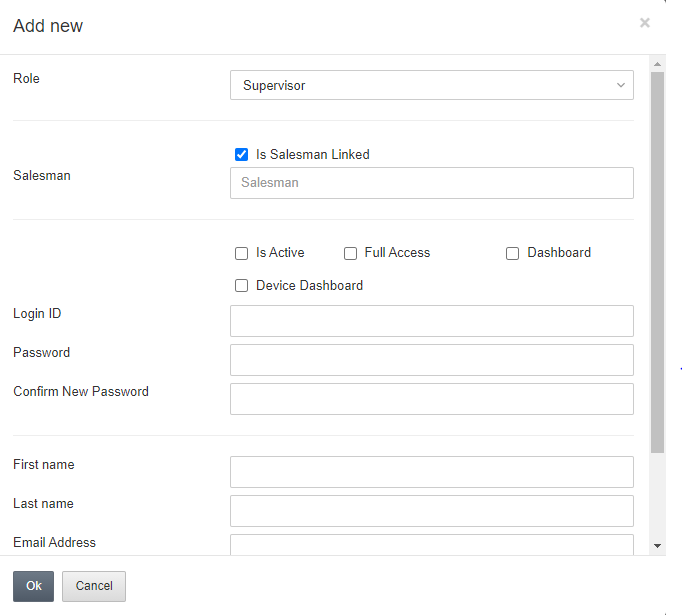
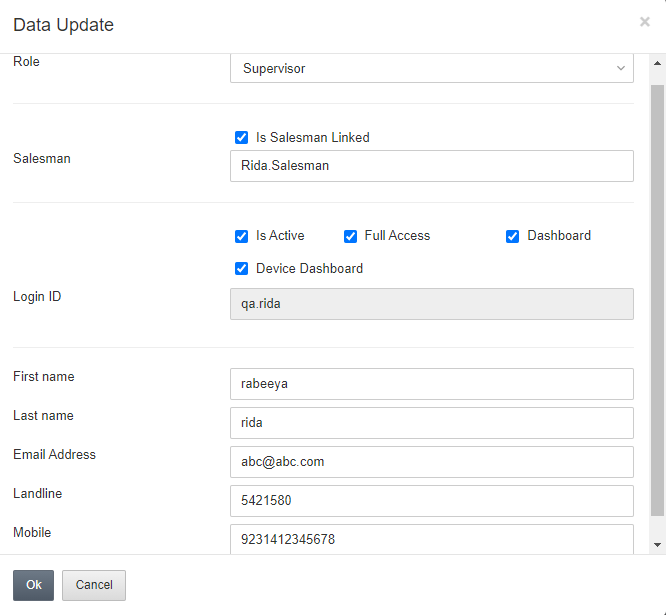
Select your desired role from the Role drop-down list.

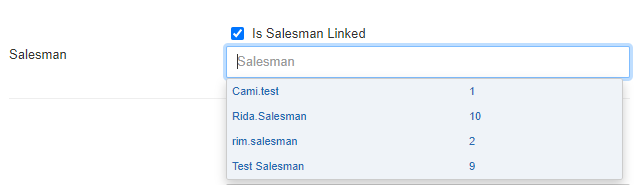
Check the Is Salesman Linked checkbox to link the Salesman with User, the Salesman text field is enabled. Type in the Salesman input box then the Salesman List is displayed. Select your desired salesman then the selected salesman is displayed in the Salesman input box. If you want to unlink salesman then uncheck the Is Salesman Linked checkbox.
Check/uncheck the Is Active check box to active/deactivate Login ID. Check/uncheck the Full Access, Dashboard, and Device Dashboard check box to set the permission for the Android/iOS devices.

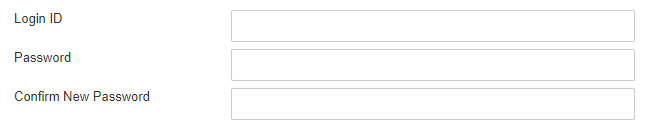
Enter the Login ID, Password, and Confirm New Password in the respective input fields.
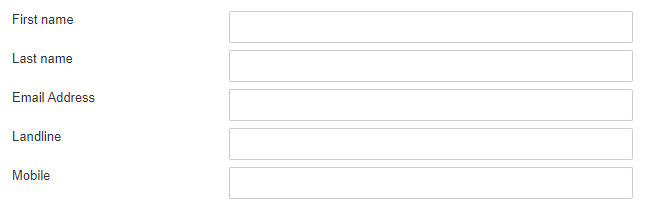
Enter the First name, Last Name, Email Address, Landline, and Mobile in the respective input fields.
Click the OK button to save the information.
Edit/Update Users Role
To edit/update Users Role, go to Configurations > Security > Users, the users page is displayed.
Please click on the Edit icon in the grid against the desired Login ID then a pop-up is displayed with user information.
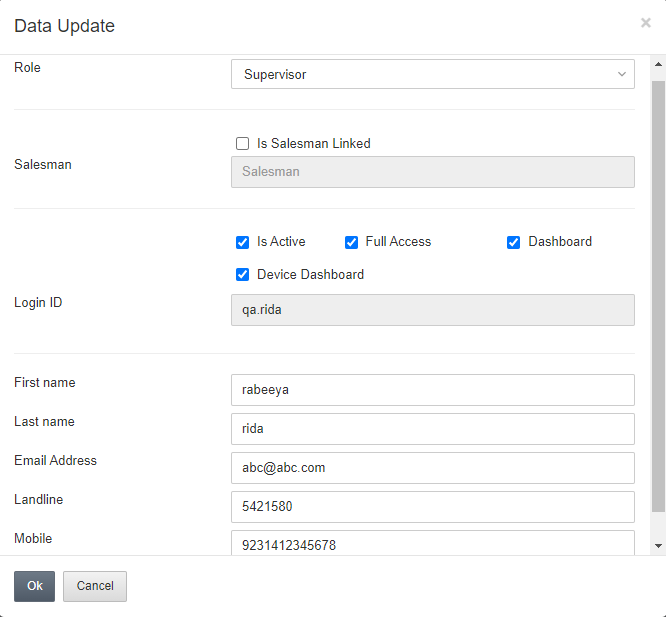
Using the Role drop-down list you can change the Role of this user.

Click the OK button to save the information.
Link/Unlink User or Login ID to Salesman
To link/unlink the User or Login ID to Salesman, go to Configurations > Security > Users, Users page is displayed.
Please click on the Edit icon in the grid against the desired Login ID then a pop-up is displayed with user information.
Check the Is Salesman Linked checkbox to link the Salesman with User, then the Salesman text field is enabled. Type in the Salesman input box then the salesman list is displayed. Select your desired salesman then the selected salesman is displayed in the Salesman input box. If you want to unlink salesman then uncheck the “Is Salesman Linked” checkbox.


Click the OK button to save the information.
Activate/Deactivate Login ID or User
To activate/dectivate Login ID or User, go to Configurations > Security > Users, the Users page is displayed.
Please click on the Edit icon in the grid against the desired Login ID then a pop-up is displayed with user information.

Check/Uncheck the Is Active check box to activate/de-activate the Login of this user.

Click the OK button to save the information.
Edit/Update the Permissions of Dashboard against User
To edit/update the Permissions of Dashboard against User, go to Configurations > Security > Users, the Users page is displayed.
Please click on the Edit icon in the grid against the desired Login ID then a pop-up is displayed with user information.
Check/uncheck the Dashboard check box to set the permissions for the website and device dashboard. Users can log in on the Device Dashboard application (SMACC Dashboard applications for IOS and Android) only if the Dashboard check box is checked.

Click the OK button to save the information.
Edit/Update the First/Last name of User
To edit/update first/last name of User, go to Configurations > Security > Users, the Users page is displayed.
Please click on the Edit icon in the grid against the desired Login ID then a pop-up is displayed with user information.
Update the First name and the Last Name input boxes.

Click the OK button to save the information.
Edit/Update the Email Address of User
To edit/update the email address of the User, go to Configurations > Security > Users, the Users page is displayed.
Please click on the Edit icon in the grid against the desired Login ID then a pop-up is displayed with user information.
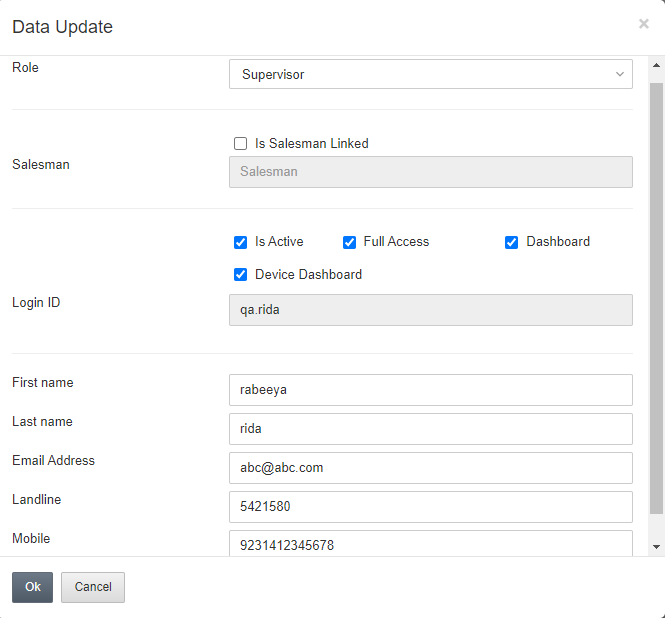
Update/edit email address using the Email Address input box.
![]()
Click the OK button to save the information.
Edit/Update the Users Mobile/Landline No
To edit/update Users Mobile/Landline Number, go to Configurations > Security > Users, the Users page is displayed.
Please click on the Edit icon in the grid against the desired Login ID then a pop-up is displayed with user information.
Update/edit landline numbers using the Landline input box.
Update/edit mobile number using the Mobile input box.

Click the OK button to save the information.
Edit/Update Notification Rights of Users
To edit/update Notification Rights of the Users, go to Configurations > Security> Users. Users page is displayed.
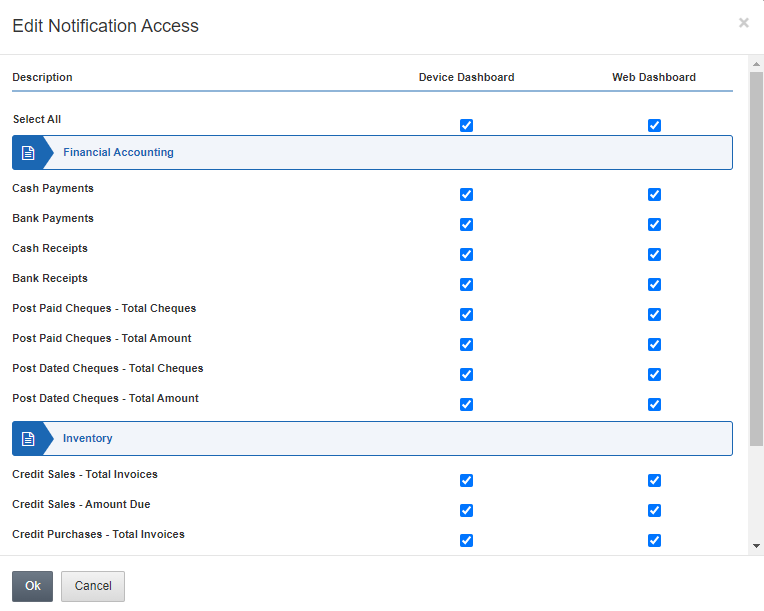
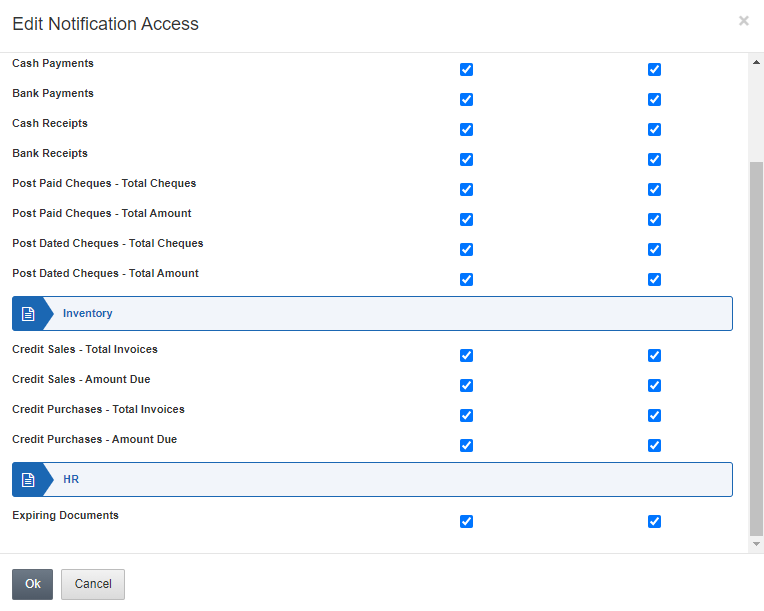
Click on the Set Notification rights bell icon in the grid against the desired User or Login ID then the Edit Notification Access pop-up is displayed. The notification icon is only displayed if the Dashboard check box is checked against this user.
Note: Website Notification setting can be set using the checkboxes under the Web Dashboard.
Click the OK button to save the information.
Setting Graph Rights of the User
To set graph rights of the user, go to Configurations > Security > Users, the Users page is displayed.
Click on the Set Graph rights icon in the grid against the desired User or Login ID then the Edit Graph Access pop-up is displayed. The graph icon will only be displayed if the Dashboard checkbox is checked against this user.
Note: Website Graph setting can be set using the checkboxes under the Web Dashboard.
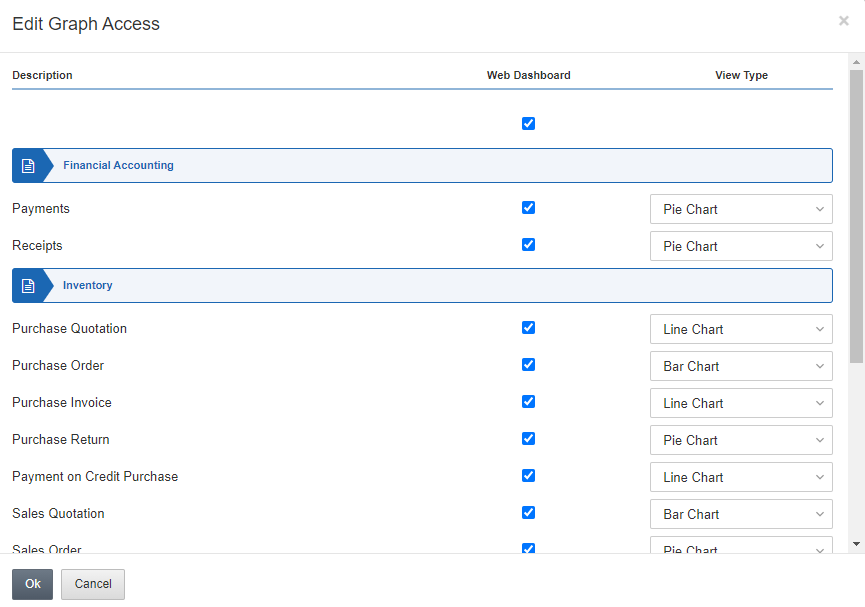
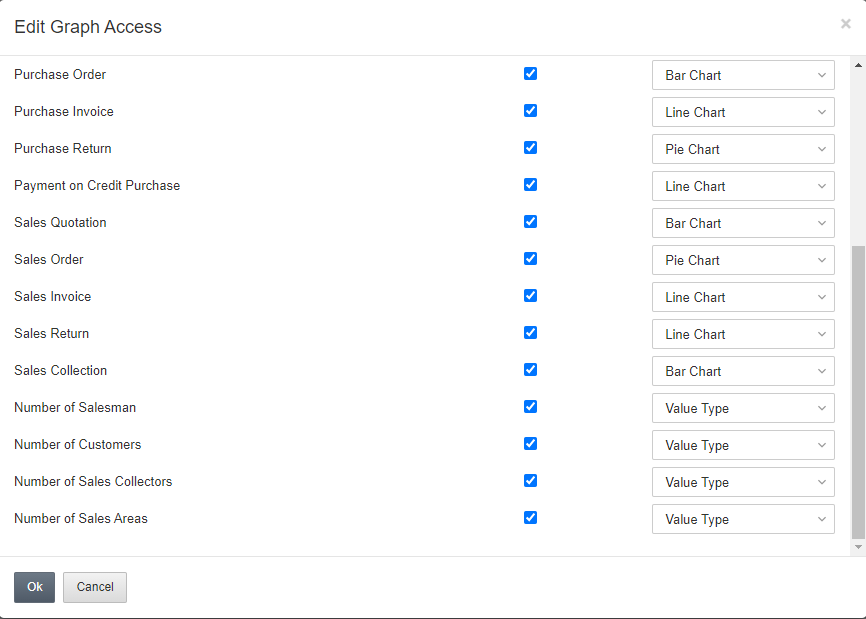
Click the OK button to save the information.
Deleting Login ID
To delete login ID, go to Configurations > Security > Users, the Users page is displayed.
Click on the Delete icon in the grid against the desired Login ID then a prompt dialog is displayed for confirmation.
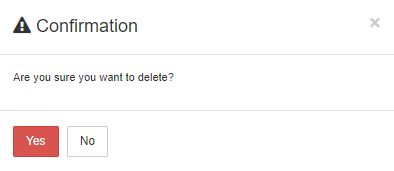
Click the Yes button to delete the information.
Setting Users Password
To set the user passwords, go to Configurations > Security > Users, the Users page is displayed.
Click on the Change Password icon in the grid against the desired Login ID then the Change Password pop-up is displayed.
Please enter the new password in the New Password input box then re-enter the new password in the Confirm New Password input box.
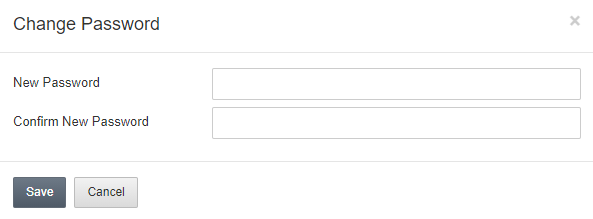
Click the Save button to save the information.