

The sales groups define the group of items based on their sales. You can add and delete these groups from the inventory.

Adding a New Sales Group
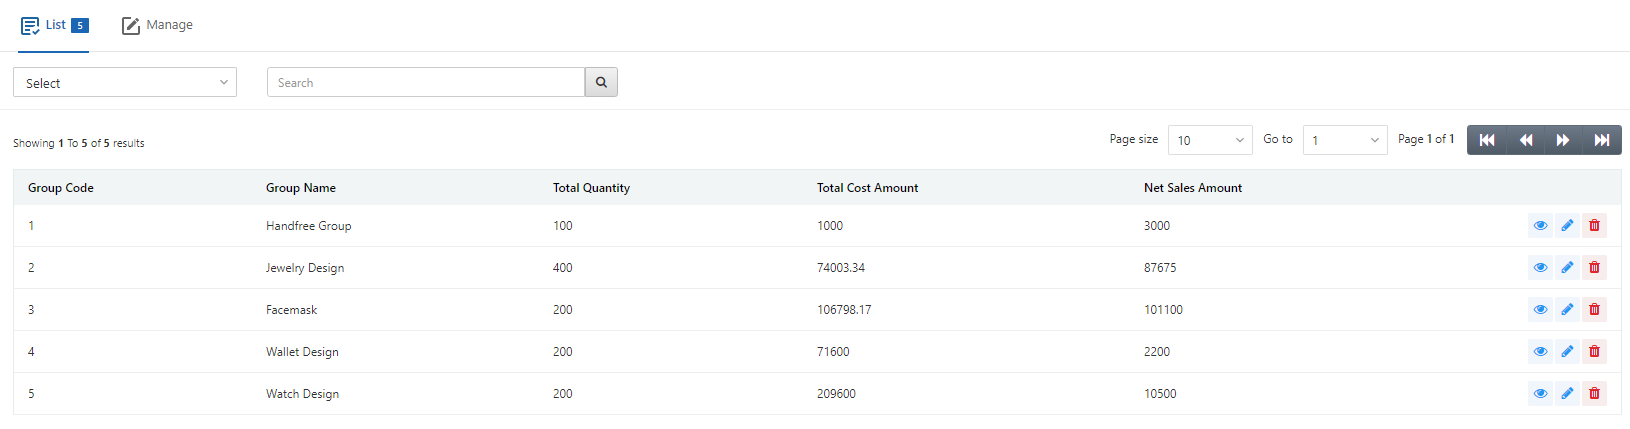
To add a new sales group, go to Inventory > Masters > Sales Groups, the sales group page is displayed.

Click on the Manage icon at the top of the page.
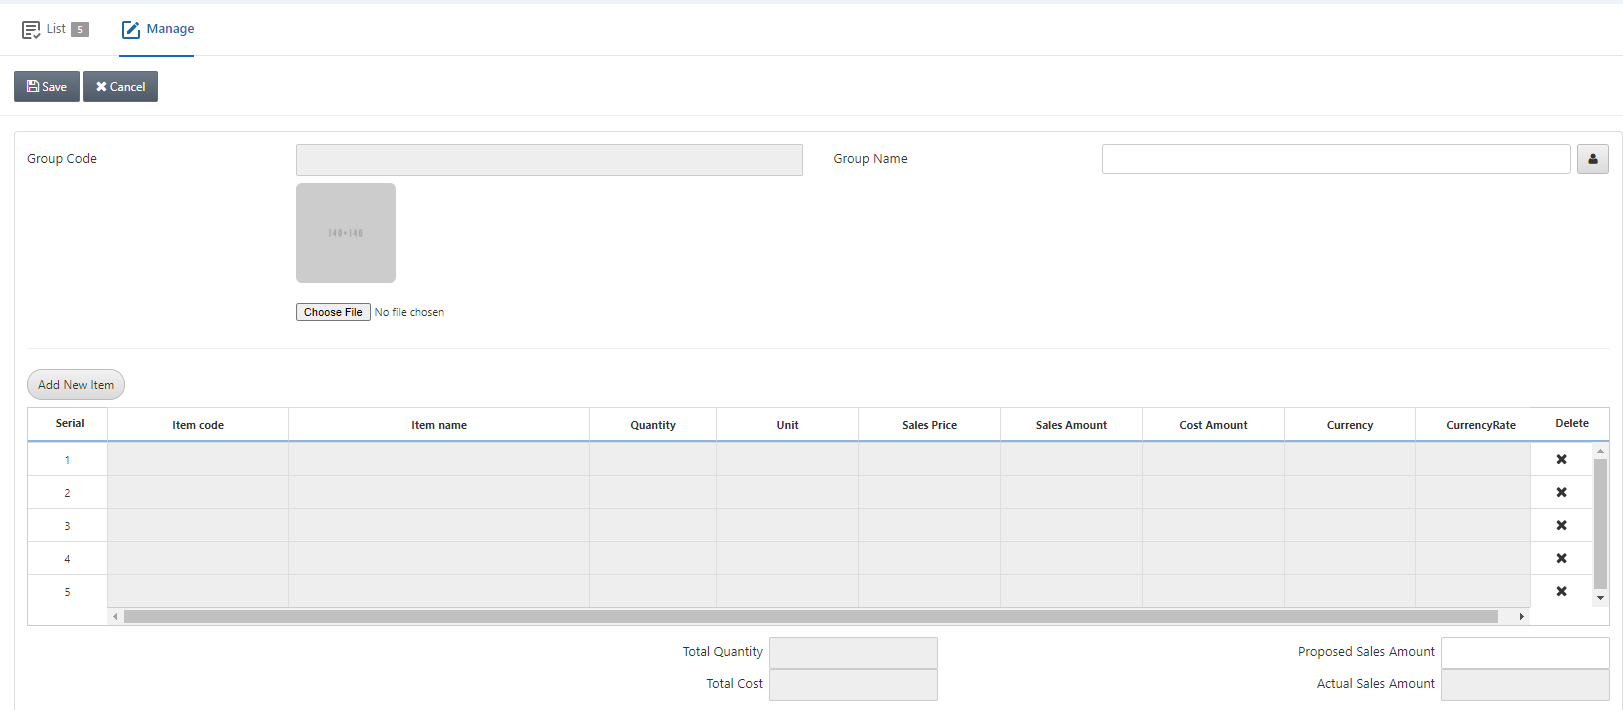
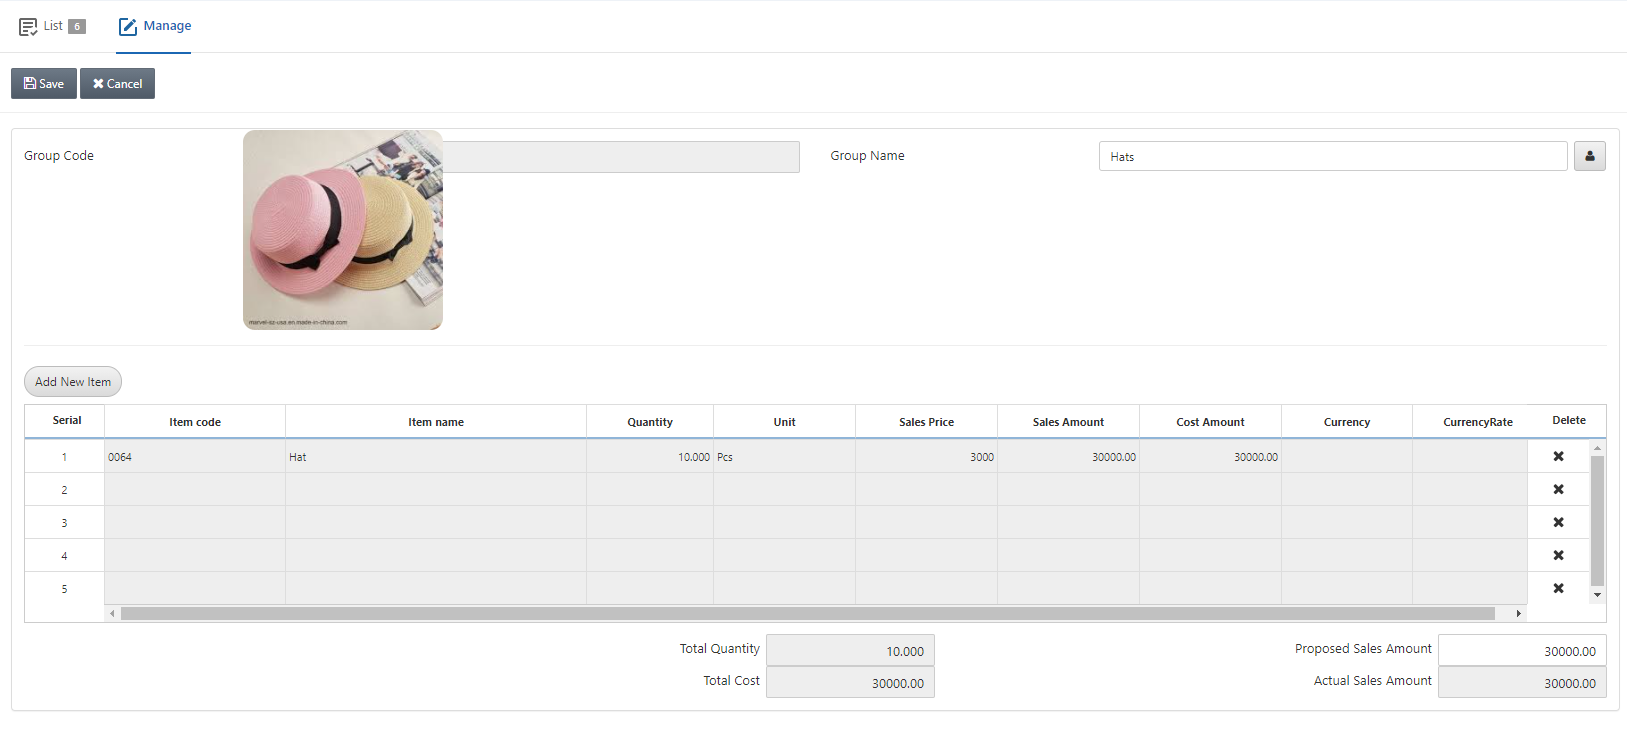
Group Code: This field is auto-generated by the system.
Group Name: This field sets the group name of the sales group.
Choose File: This button allows you the selection of pictures for your sales group.
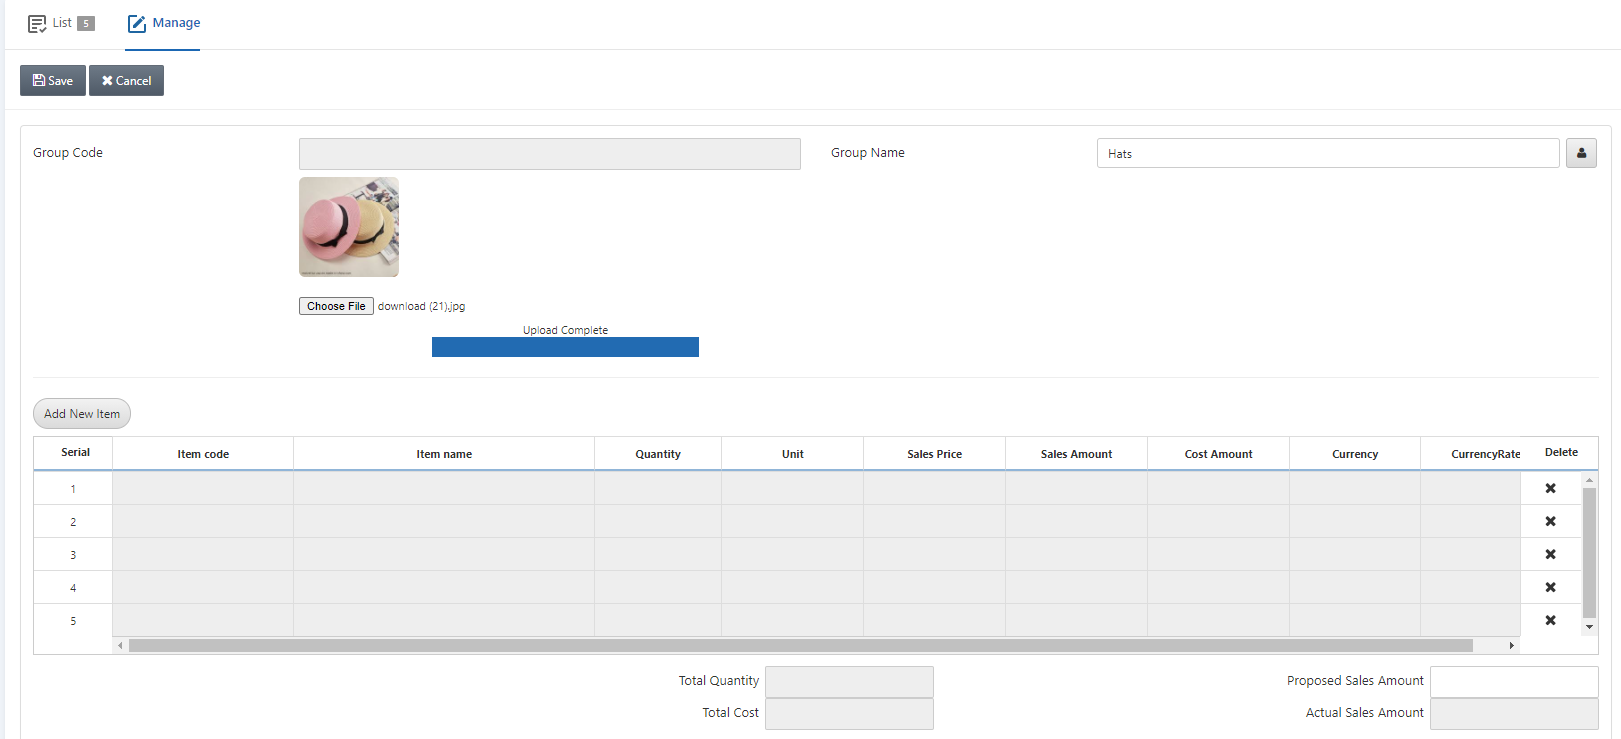
Click on the Add New Item button:
![]()

Item Code: This field allows the selection of Item Code from the drop-down list or by entering the specific Item code.
Item Name: This field is auto-fetched by the system.
Quantity: This field sets the quantity of the items.
Price: This field sets the price of the items.
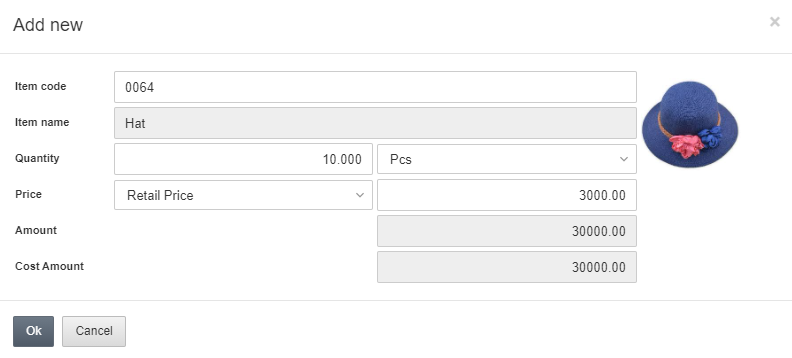
Click on the OK button to save the information.
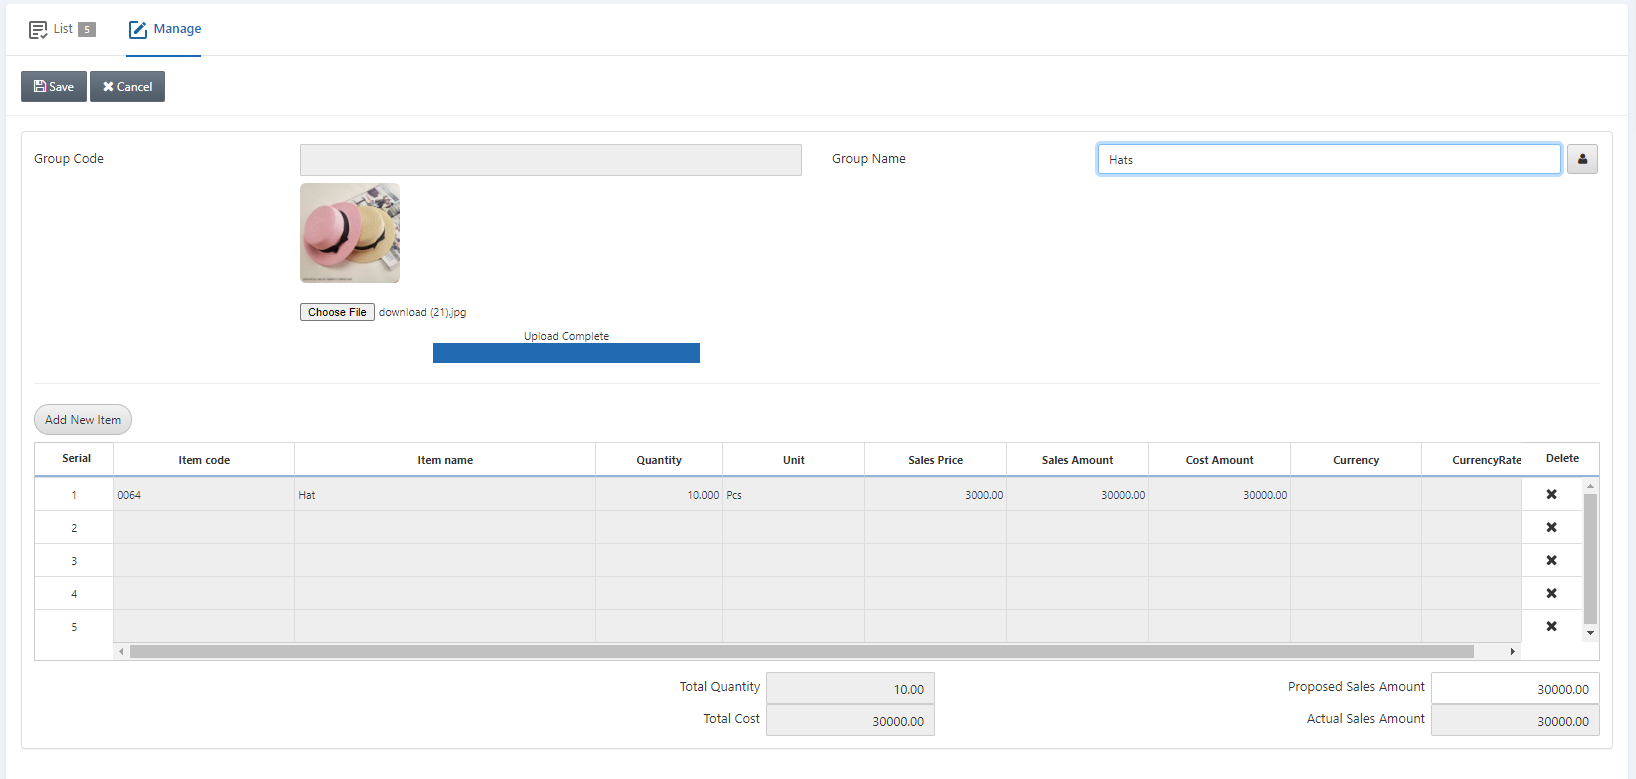
Click on the Save button to save the information.
Note: Once an item is added then this item will be shown in the grid/table and you can remove the items from the grid too.
Updating/Editing the Sales Group
To update/edit sales group, go to Inventory > Masters > Sales Groups, the sales group page is displayed.
Click on the desired row of the sales group.

There are three icons in front of each row. The Load, Edit, and Delete icons are shown below:
![]()
To edit/update the sales group click on the Edit (blue pencil) icon.
You can update the sales group information and click on the Save button.
Deleting the Sales Group
To delete the sales group, go to Inventory > Masters > Sales Groups, the sales group page is displayed.

Click on the desired row of the sales group.
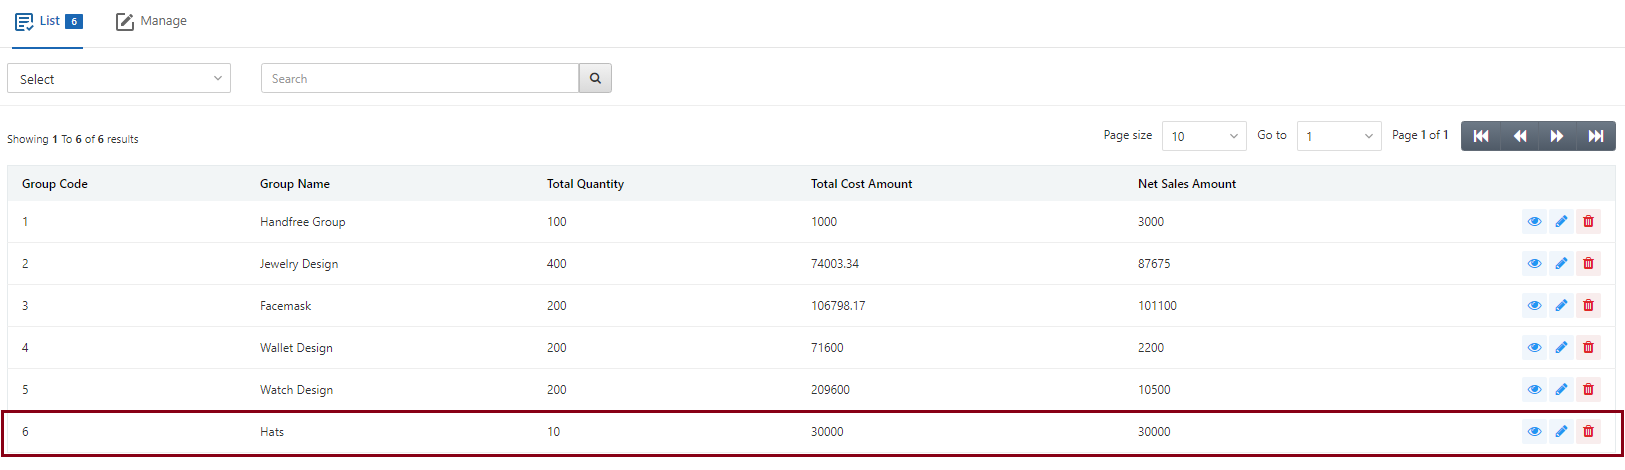
There are three icons in front of each row. The Load, Edit, and Delete icons are shown below:
![]()
To delete the sales group click on the Delete (red) icon.
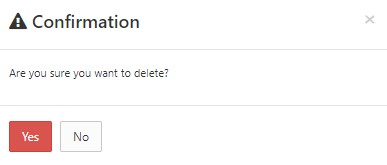
Click on the Yes button to confirm the deletion.