In personal information, you can add new employee’s data then can update and delete the information of the employees.
Adding New Employees Information in HR.
To add “New Employees Information in HR”, click on the “HR”, then “Employees”, then click “Personal Information”. Personal information page will be displayed.
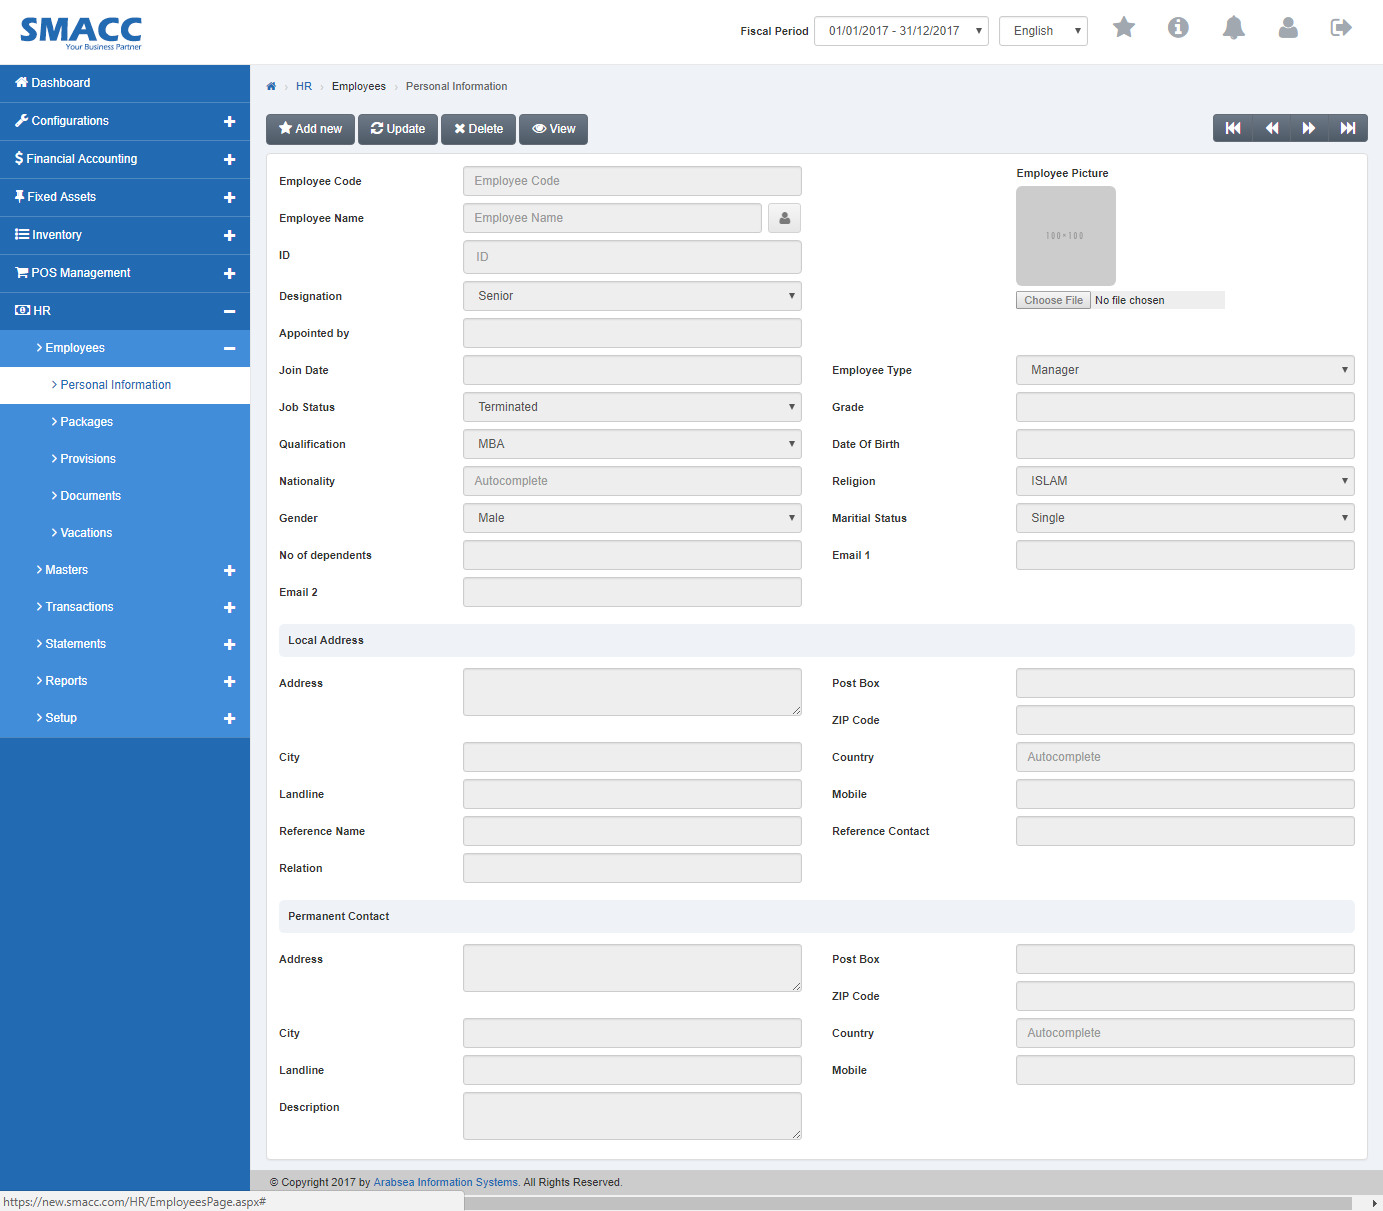
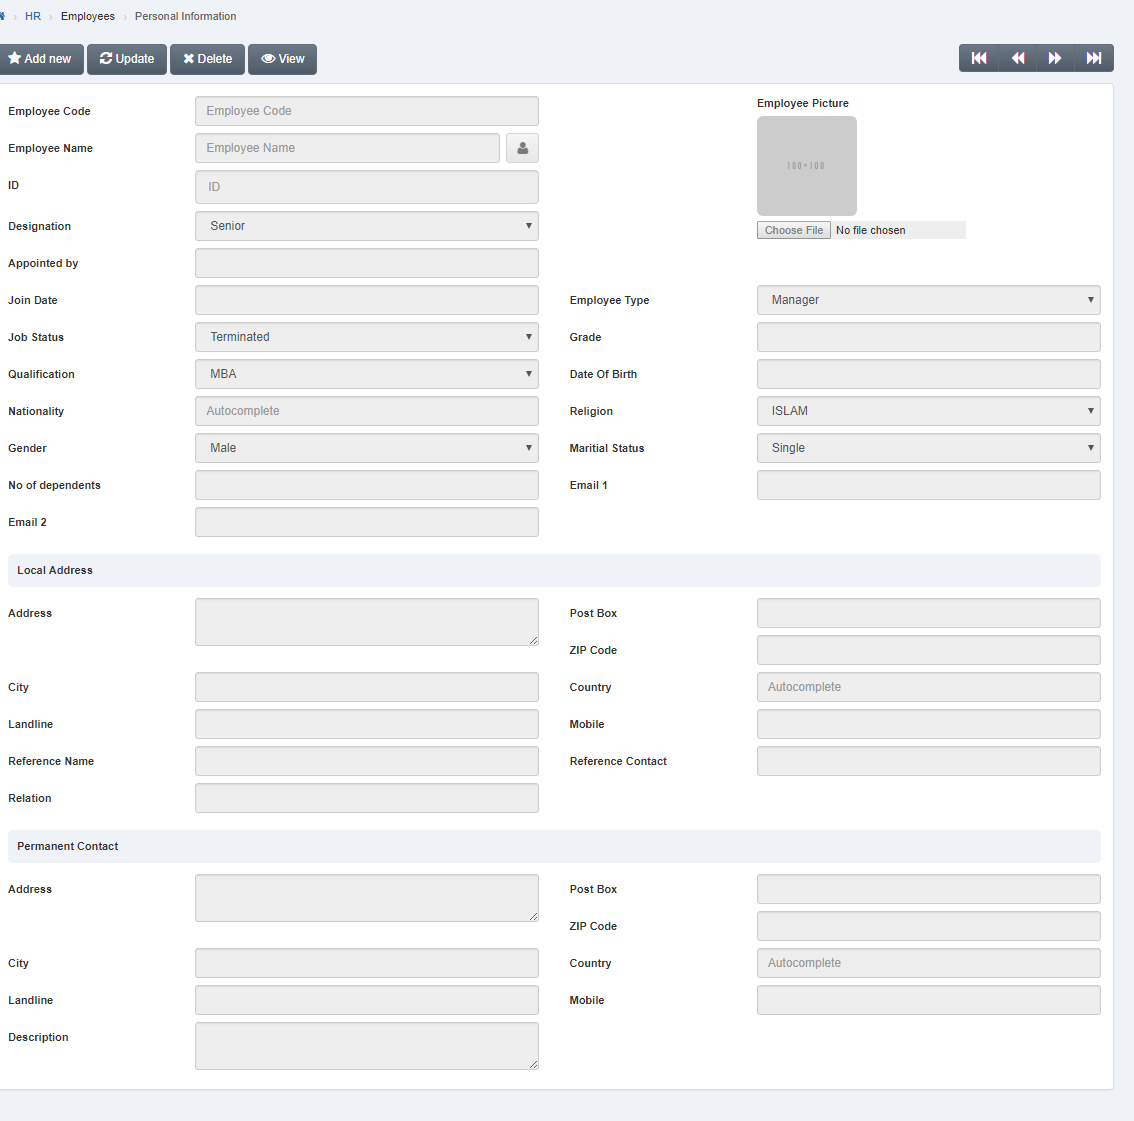
Click the “Add new” button on personal information page
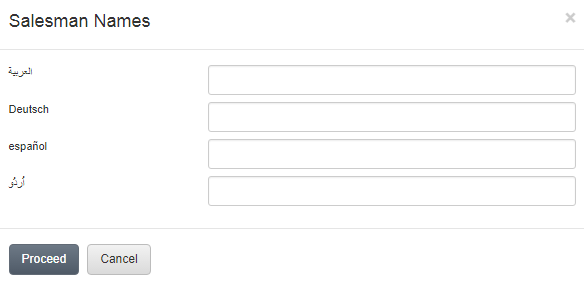
Enter employee name in “Employee Name” input box. If you want to enter employee name in your desired language then click on “Name” icon. A prompt box will be displayed. Enter employees name in your desired language.
![]()
Click “Proceed” button to save the information.
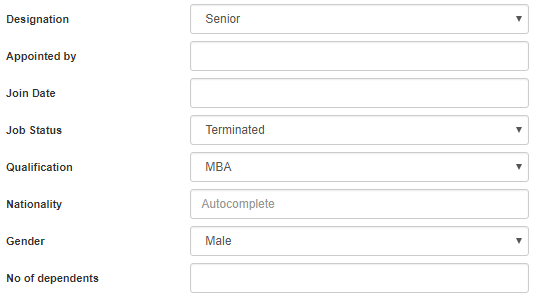
Click in “Designation” input box then designation list will be drop down. Select your desired designation.
Enter the person name who appointed employees in “Appointed by” input box.
Enter employees joining date in “Join Date” input box.
Click in “Job Status” input box then job status list will be drop down. Select your desired job status of employees.
Click in “Qualification” input box then qualification list will be drop down. Select your desired qualification of employees.
Click in “Nationality” input box then country names list will be drop down. Select your desired country.
Click in “Gender” input box then gender list will be drop down. Select your desired gender.
Enter no of dependents of employees in “No of dependents” input box.
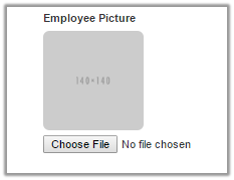
Click on “Choose File” button then select employees picture from hard disk then selected picture will be appeared in “Employee Picture” input box.
Click in “Employee Type” input box then employee type list will be drop down. Select your desired employee type.
Enter employee grade in “Grade” input box.
Click in “Religion” input box then religion name list will be drop down. Select your desired religion.
Click in “Martial Status” then marital status li st will be drop down. Select your desired marital status of employees.
Enter email address of employees in “Email” input box.
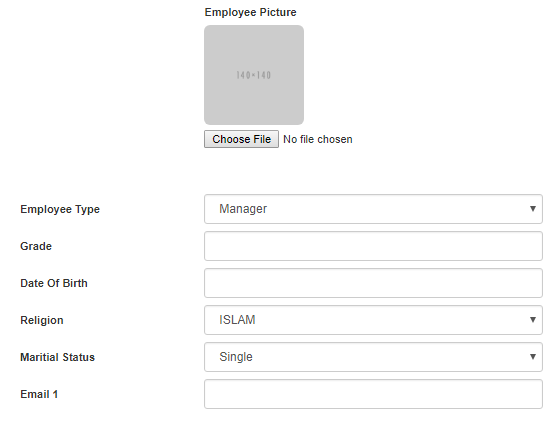
Enter employee date of birth in “Date of Birth” input box.
Enter reference address of employee in “Address” input box then enter reference city name in “City” input box.
Enter zip code in “Zip Code” input box. Enter post box number in “Post Box” input box.
Click in “Country” input box then country name list will be drop down. Select your desired country.
Enter landline no in “LandLine” input box. Enter mobile no in “Mobile” input box.
Enter reference name of employees in “Reference Name” input box. Enter reference contact no in “Reference Contact” input box.

Enter permanent address of employee in “Address” input box.
Enter city name in “City” input box.
Enter zip code in “Zip Code” input box.
Enter post box no in “Post Box” input box.
Click in “Country” input box then country name list will be drop down. Select your desired country.
Enter landline no in “Landline” input box.
Enter mobile no in “Mobile” input box. Enter description in “Description” input box.

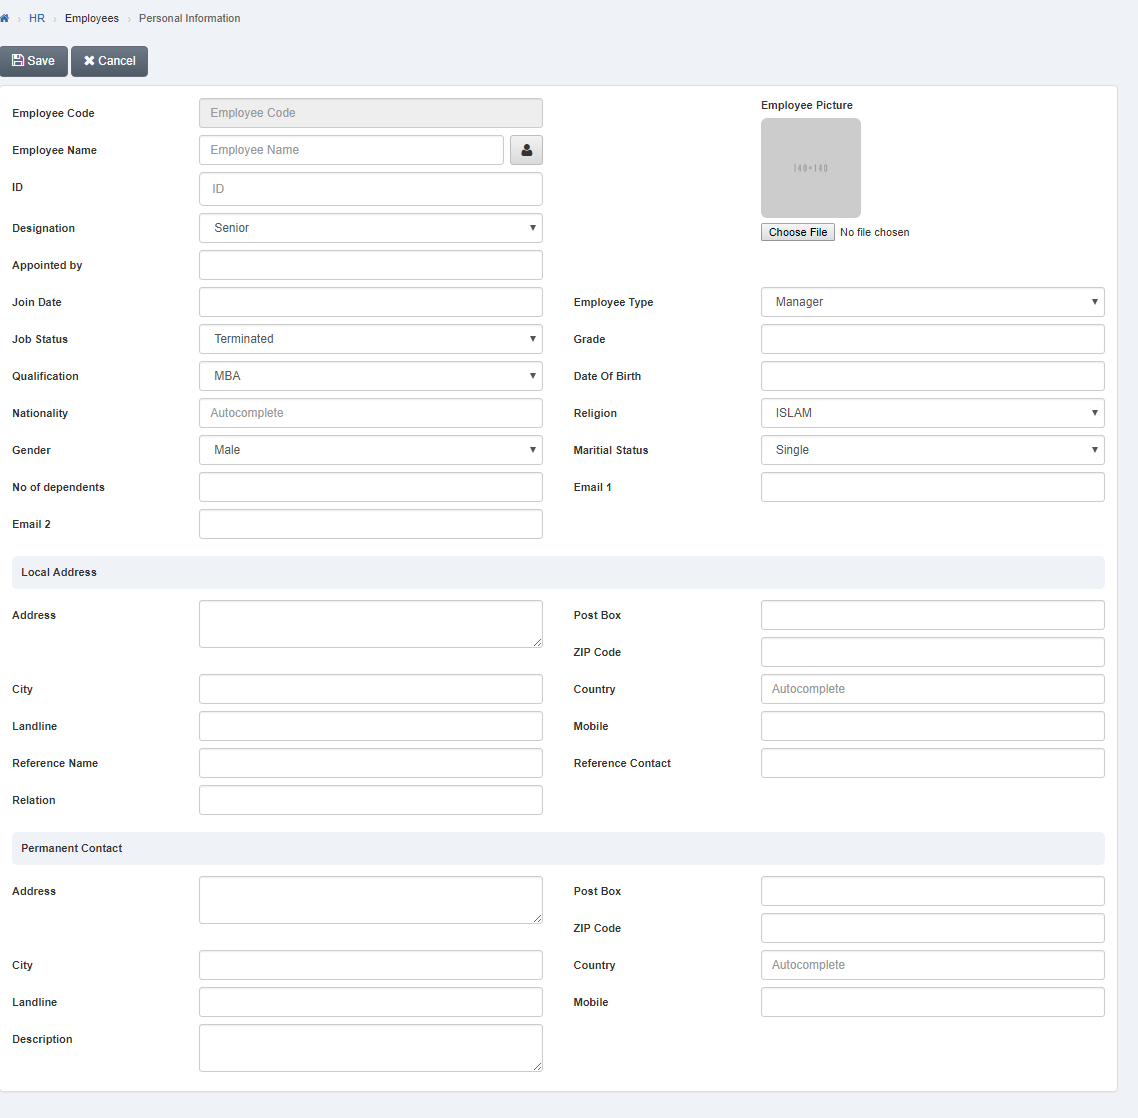
Click “Save” button to save the information.
Setting Employees Name.
To set “Employees Name”, click on the “HR”, then “Employees”, then click “Personal Information”. Personal information page will be displayed.
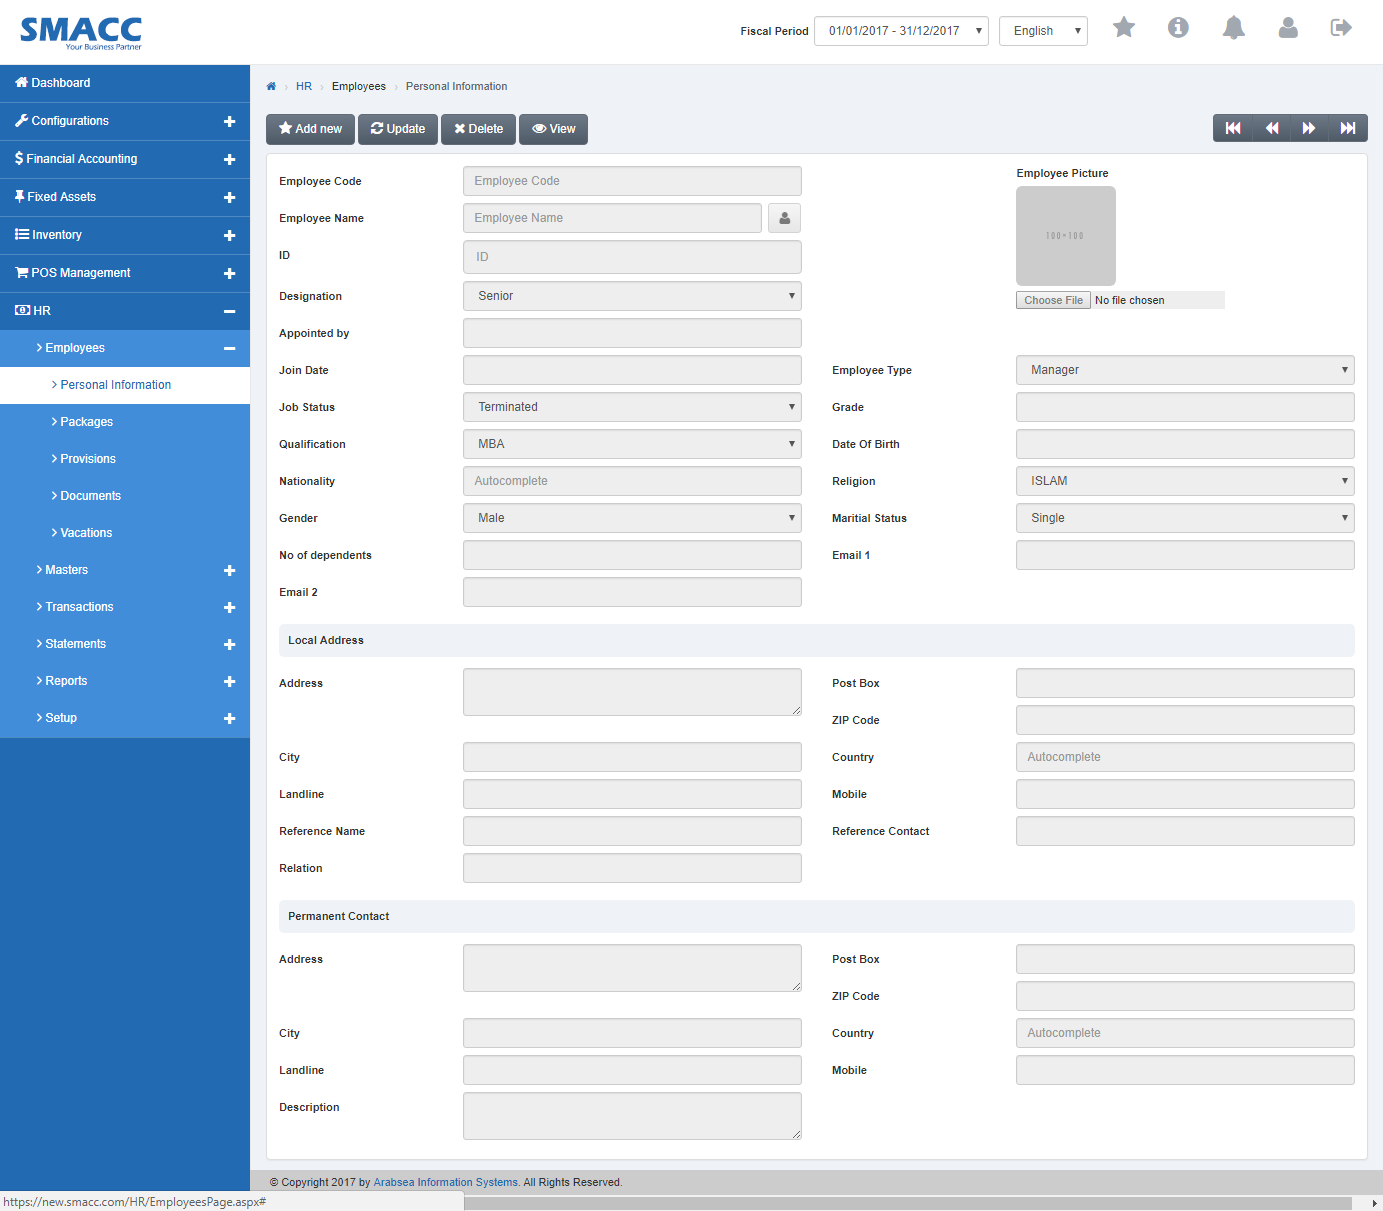
Click the “Update” button on personal information page. Enter employee code in “Employees Code” input box then click “Load” button.
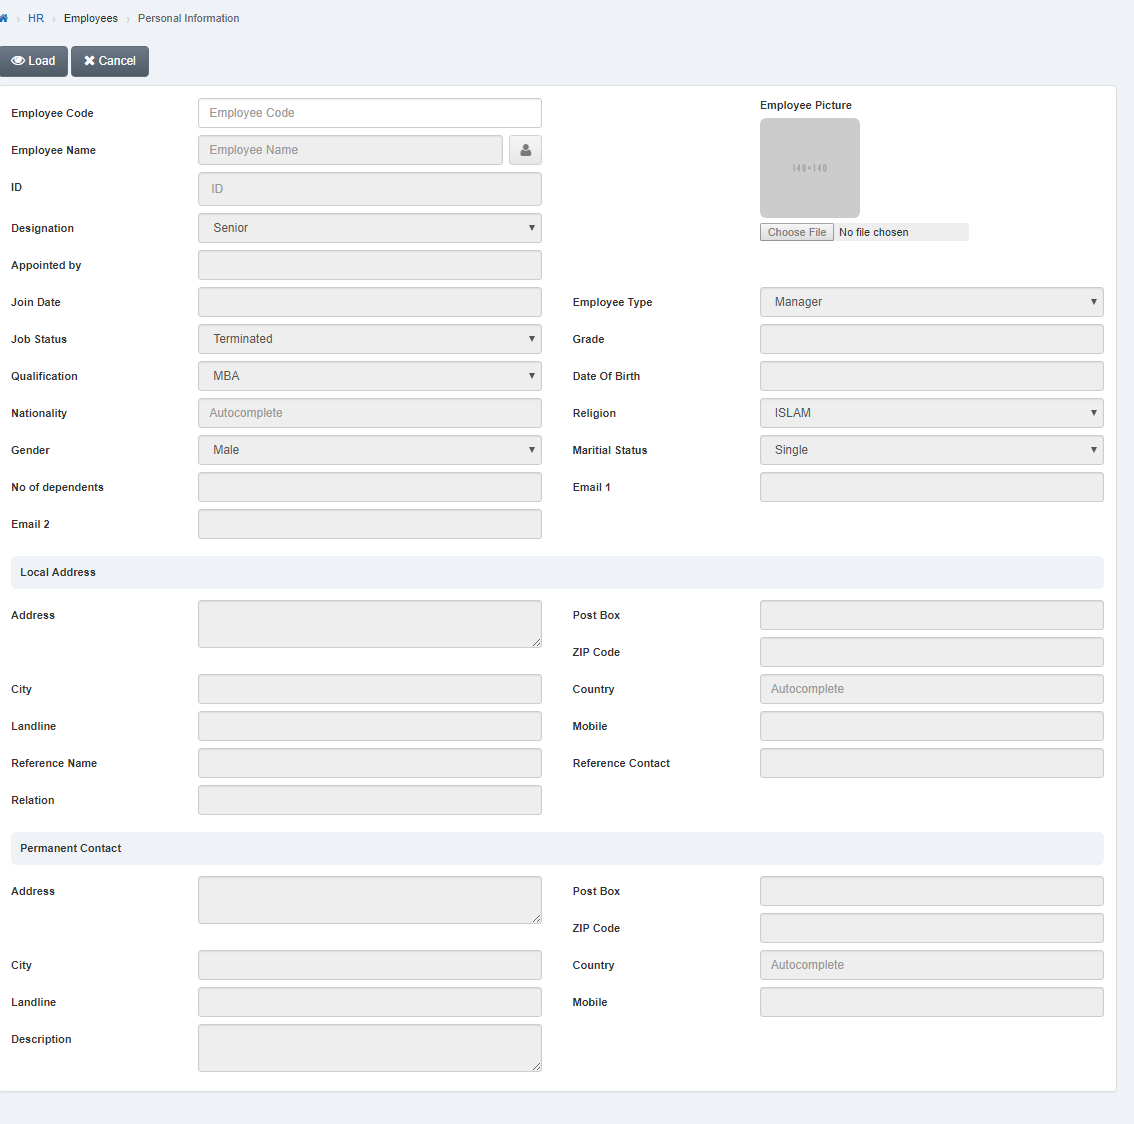
Enter employee name in “Employee Name” input box. If you want to enter employee name in your desired language then click on “Name” icon
![]()
A prompt box will be displayed. Enter employees name in your desired language.
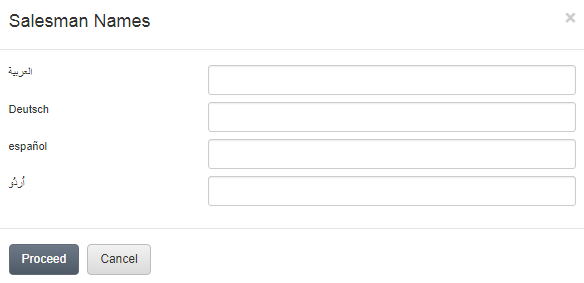
Click “Proceed” button.
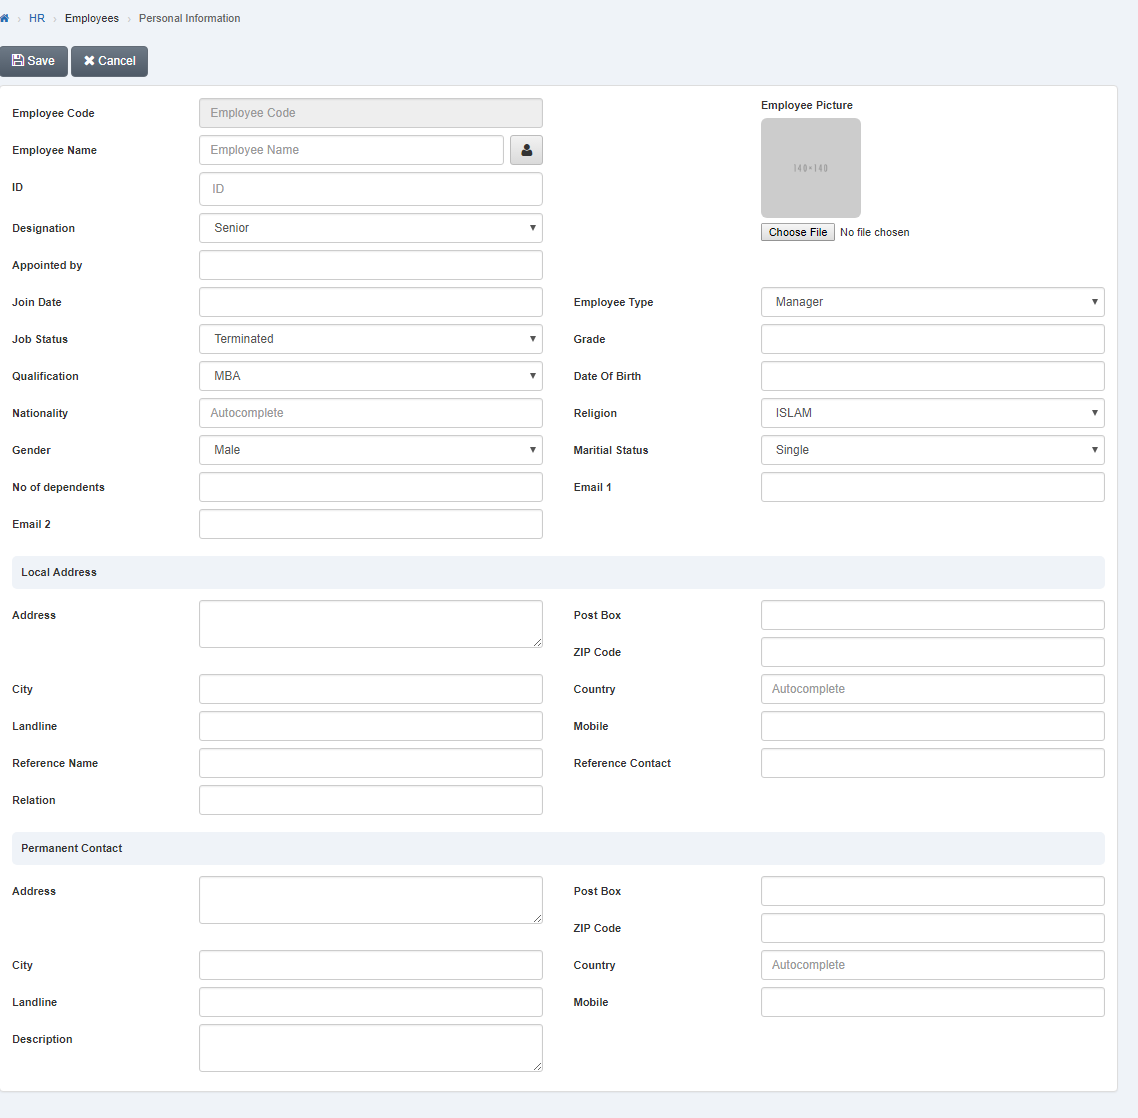
Click “Save” button to save the information.
Setting Employees Designation.
To set “Employees Designation”, click on the “HR”, then “Employees”, then click “Personal Information”. Personal information page will be displayed.
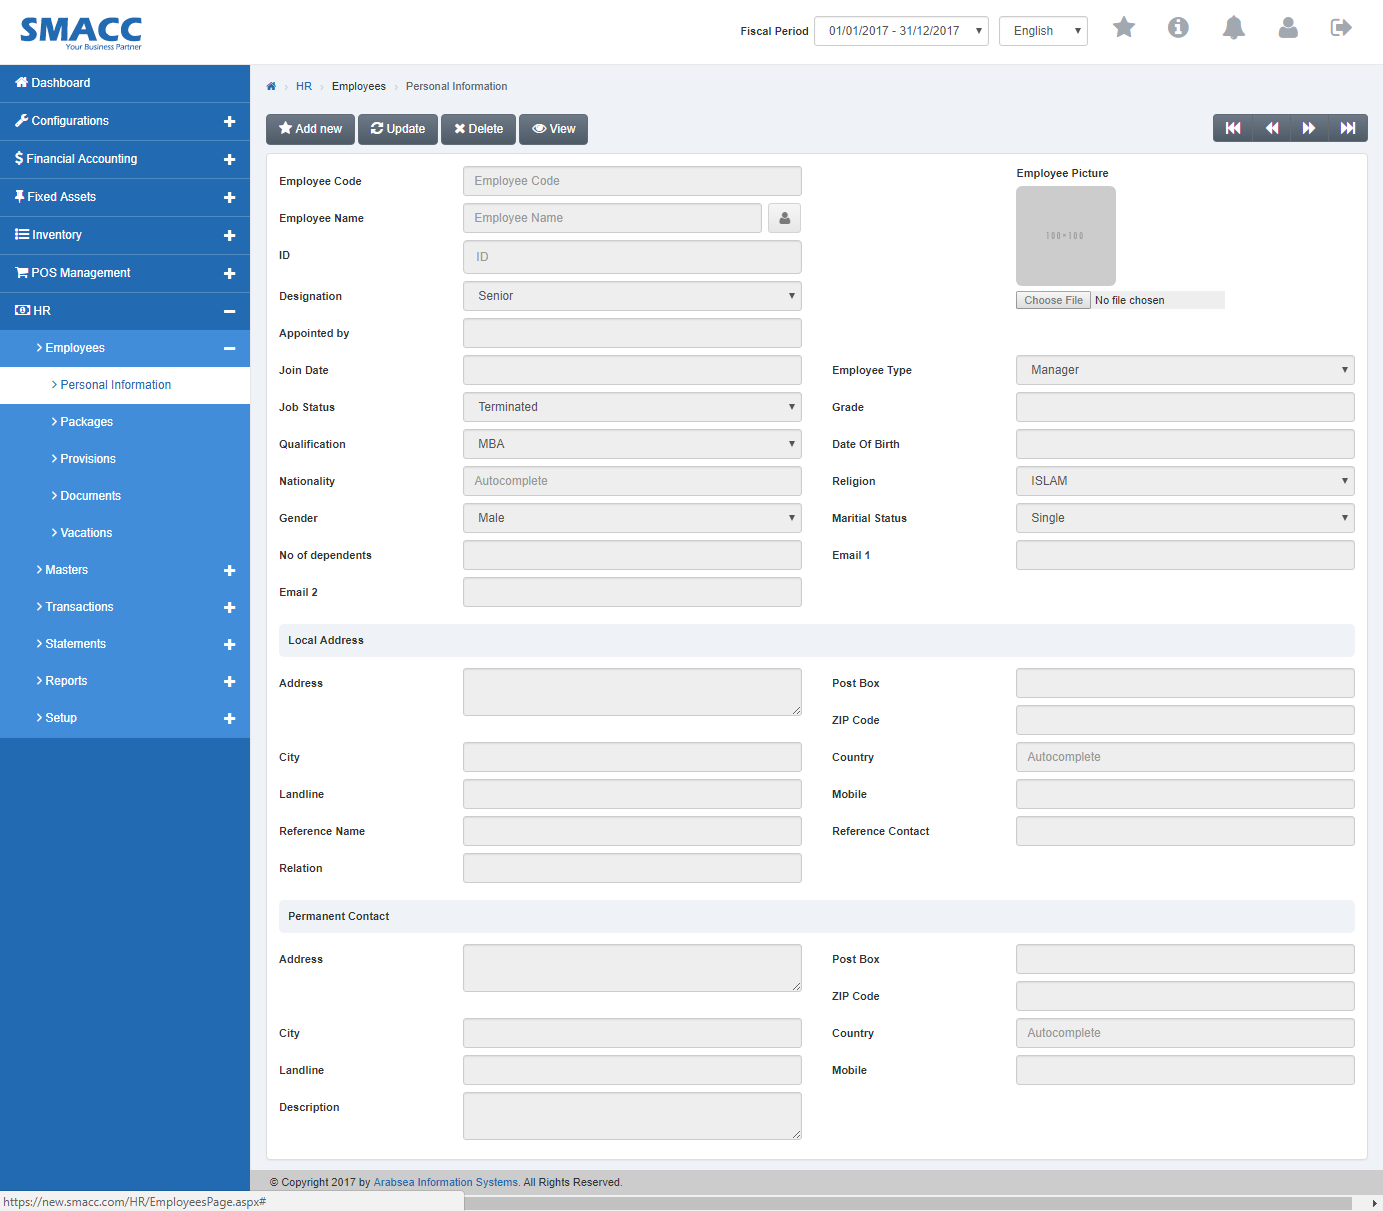
Click the “Update” button on personal information page. Enter employee code in “Employees Code” input box then click “Load” button.
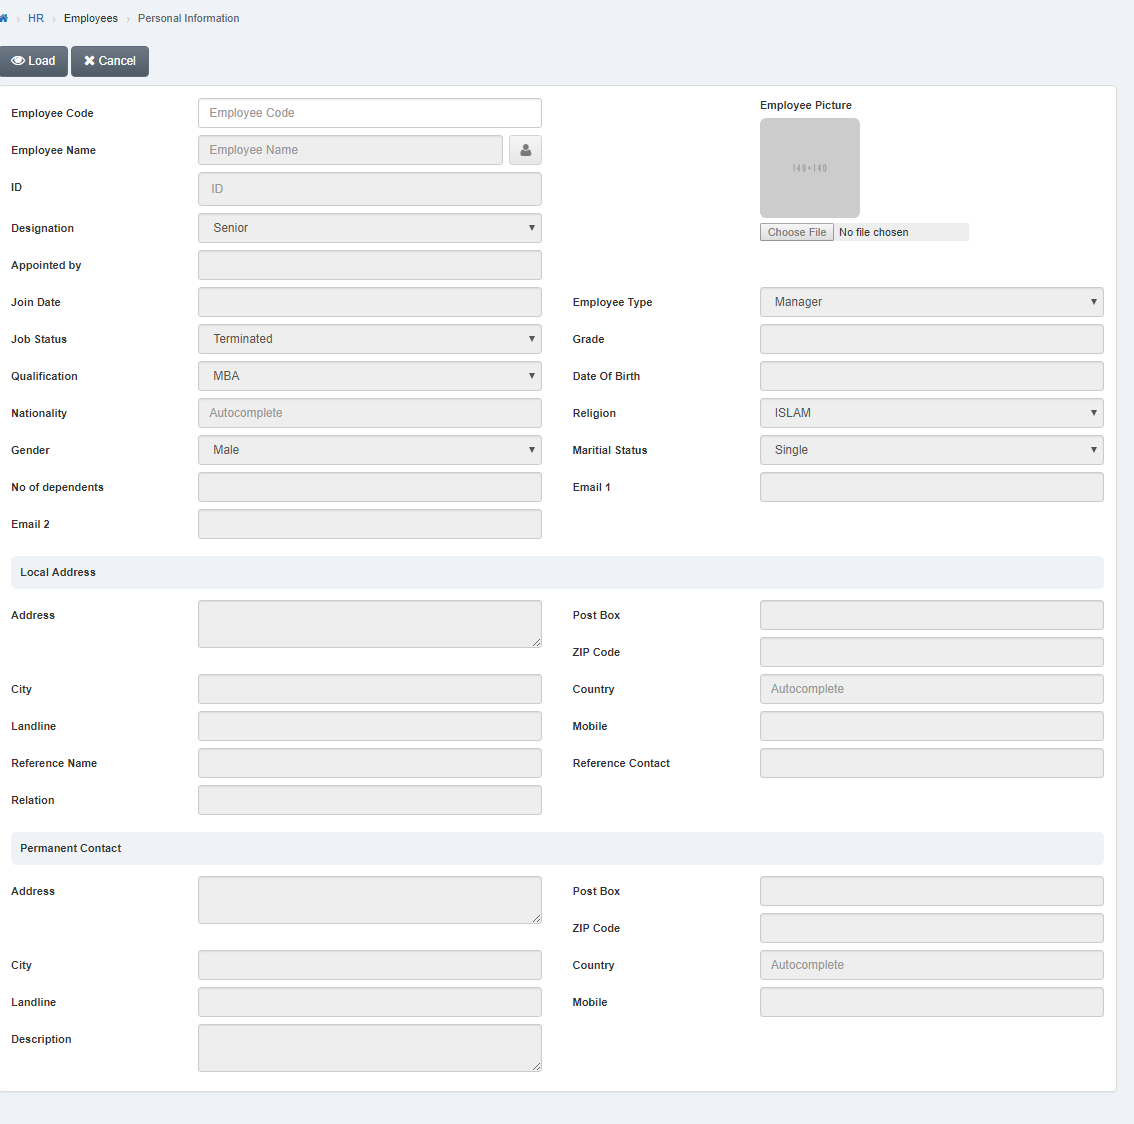
Click in “Designation” list box then designation list will be drop down.
![]()
Select your desired designation.

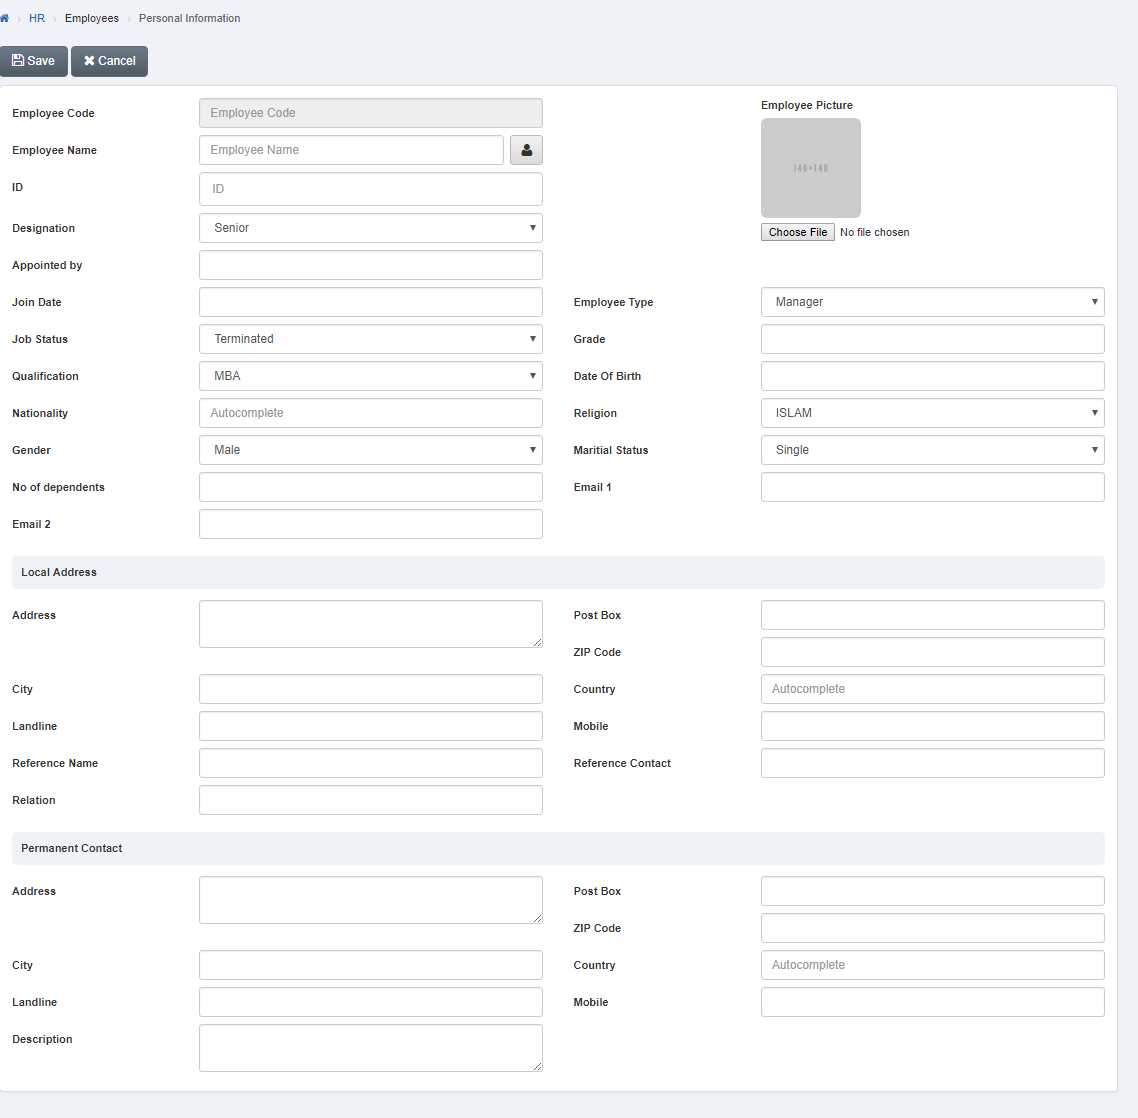
Click “Save” button to save the information.
Setting Job Status of Employees.
To set “Job Status of Employees”, click on the “HR”, then “Employees”, then click “Personal Information”. Personal information page will be displayed.
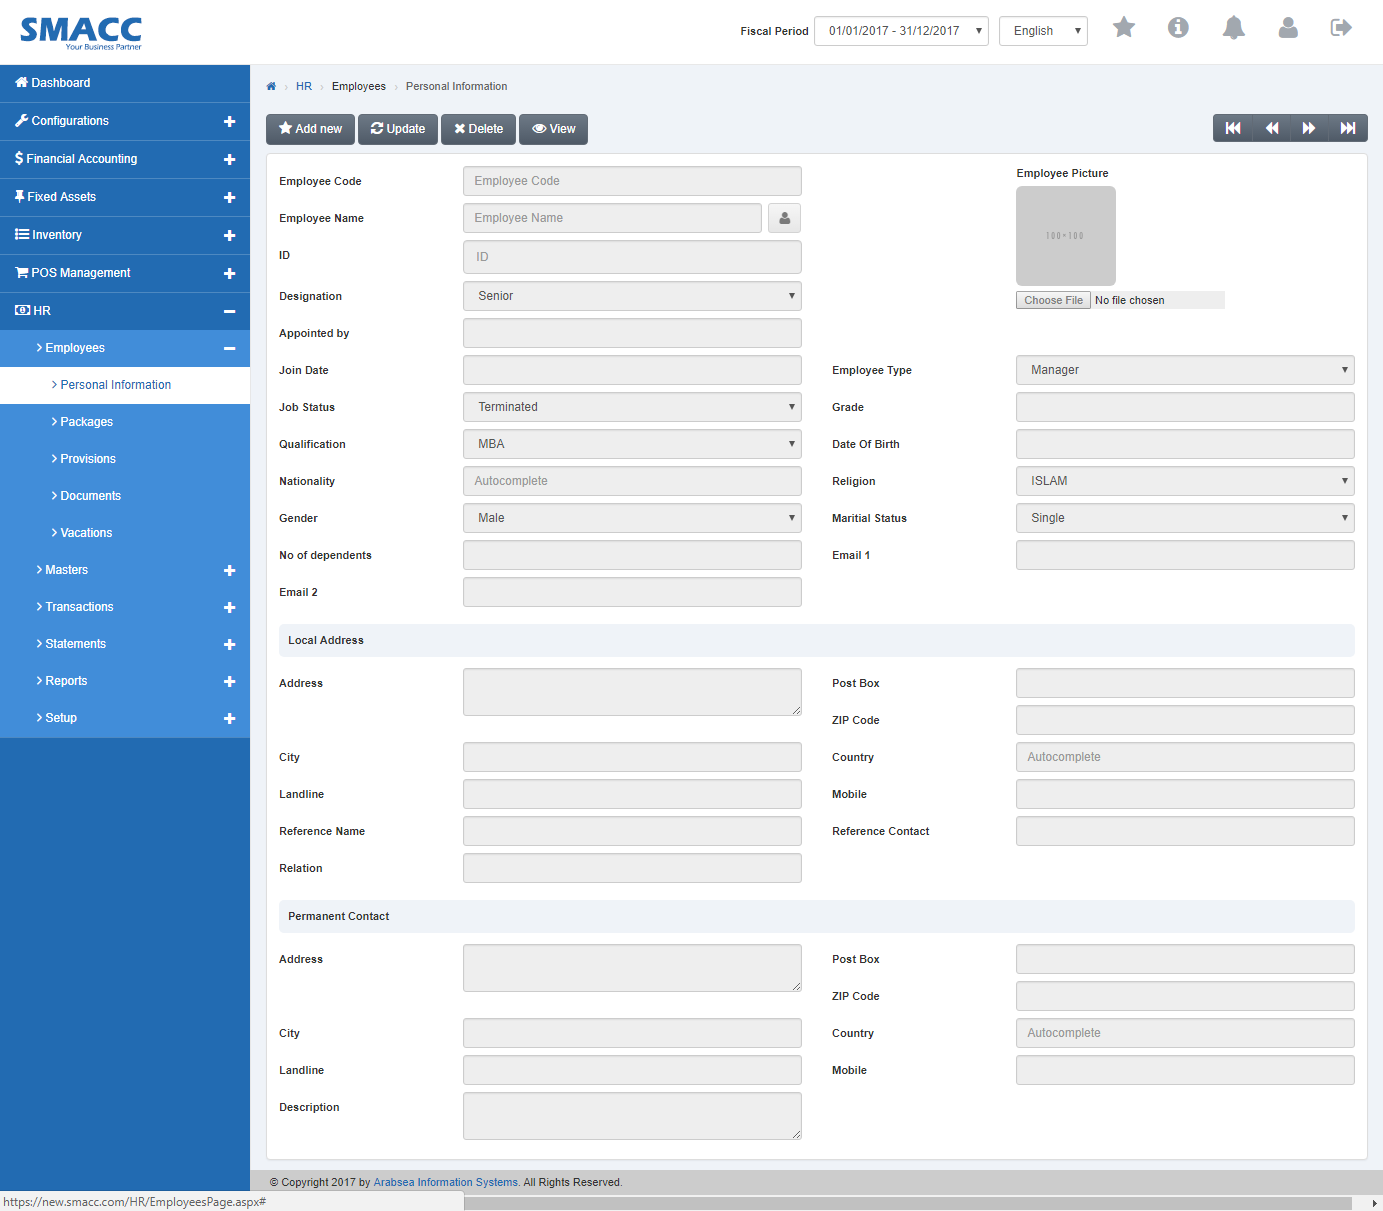
Click the “Update” button on personal information page. Enter employee code in “Employees Code” input box then click “Load” button.
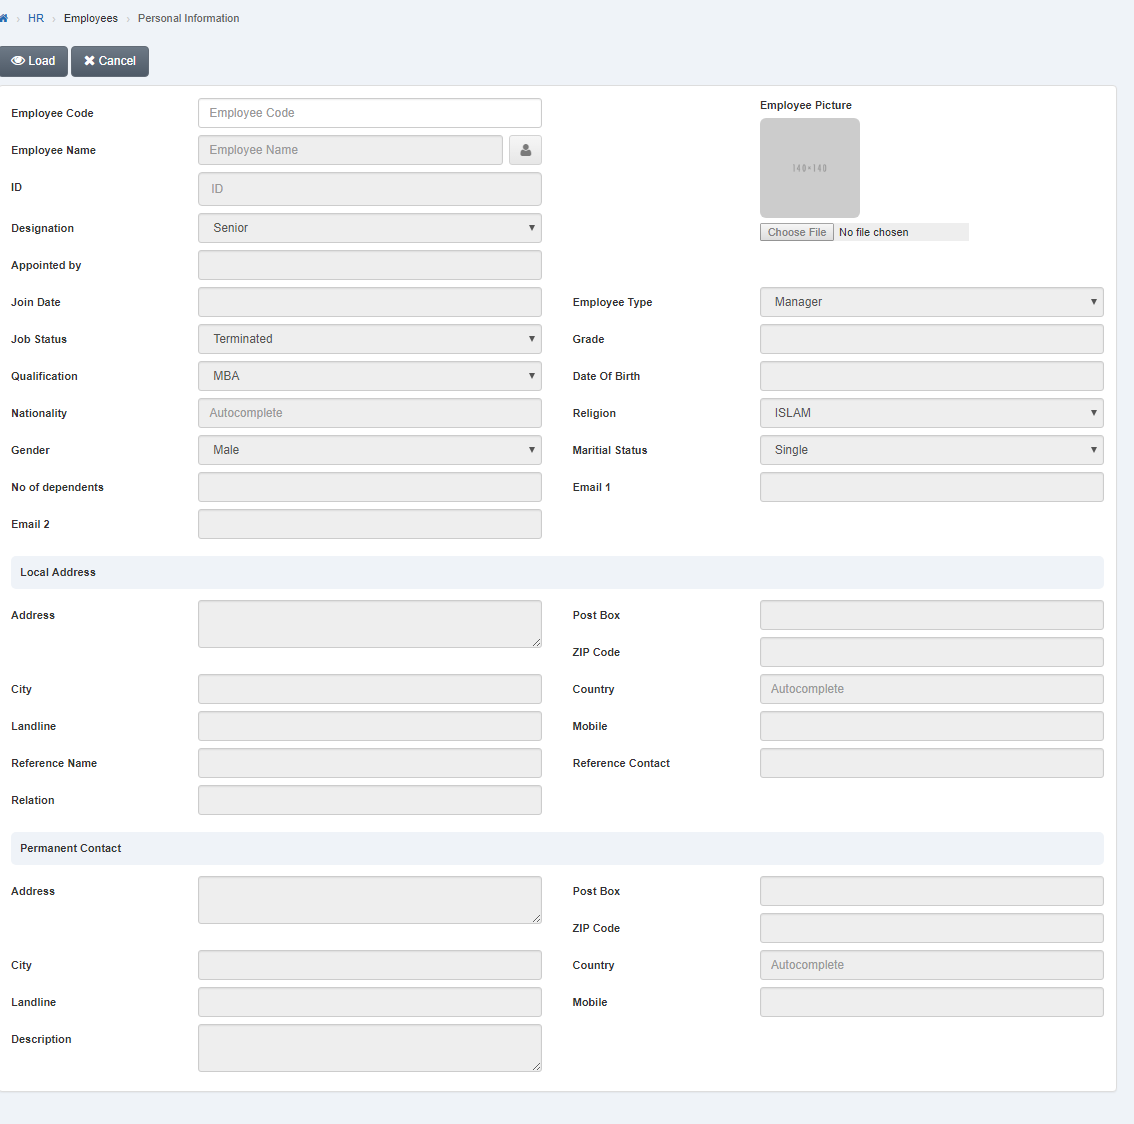
Click in “Job Status” list box then job status list will be drop down.
![]()
Select your desired job status.

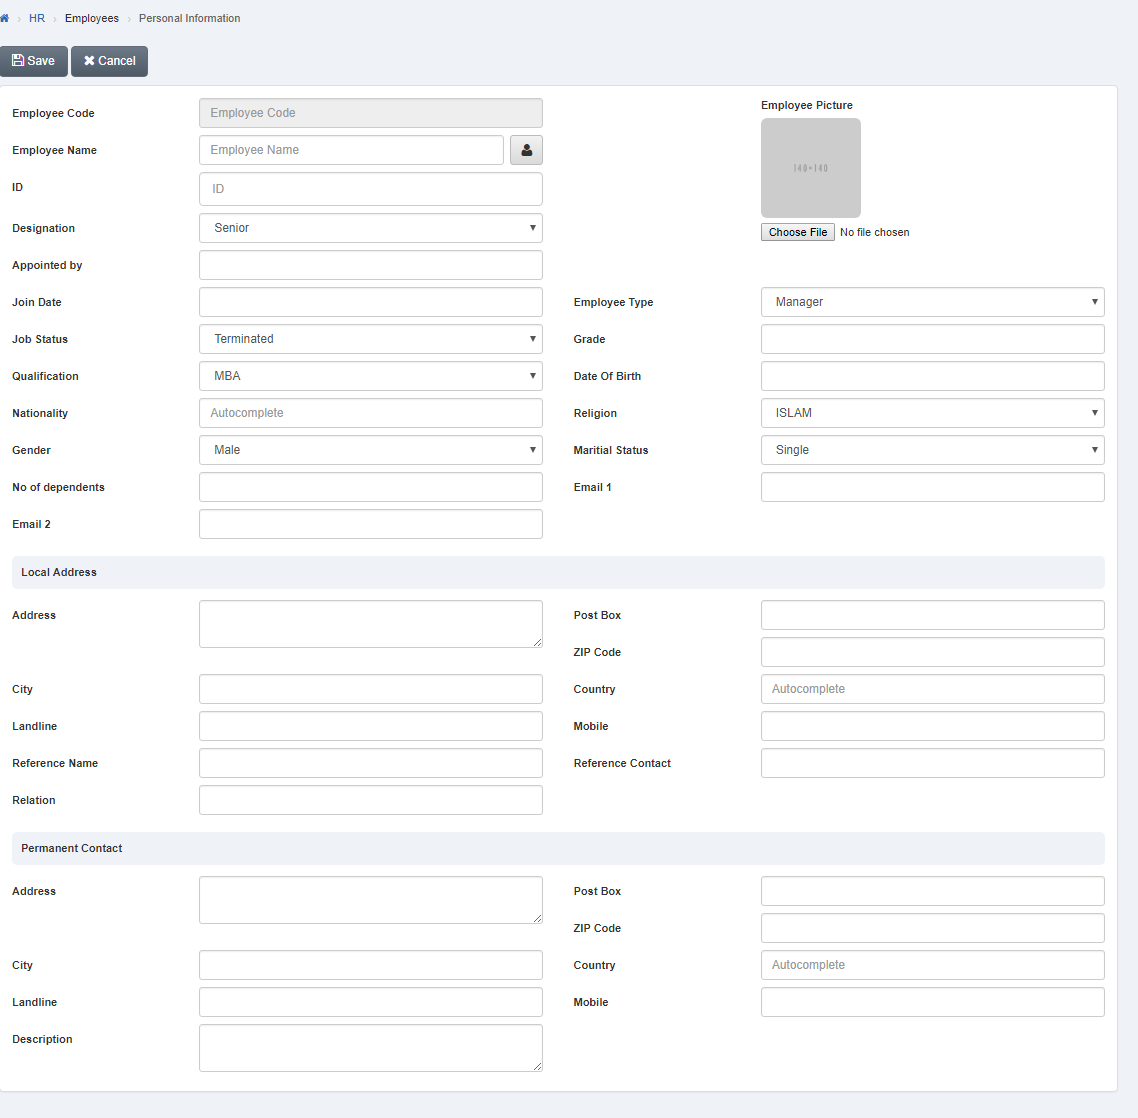
Click “Save” button to save the information.
Setting Employee Picture of Employee.
To set “Employee Picture of Employee”, click on the “HR”, then “Employees”, then click “Personal Information”. Personal information page will be displayed.
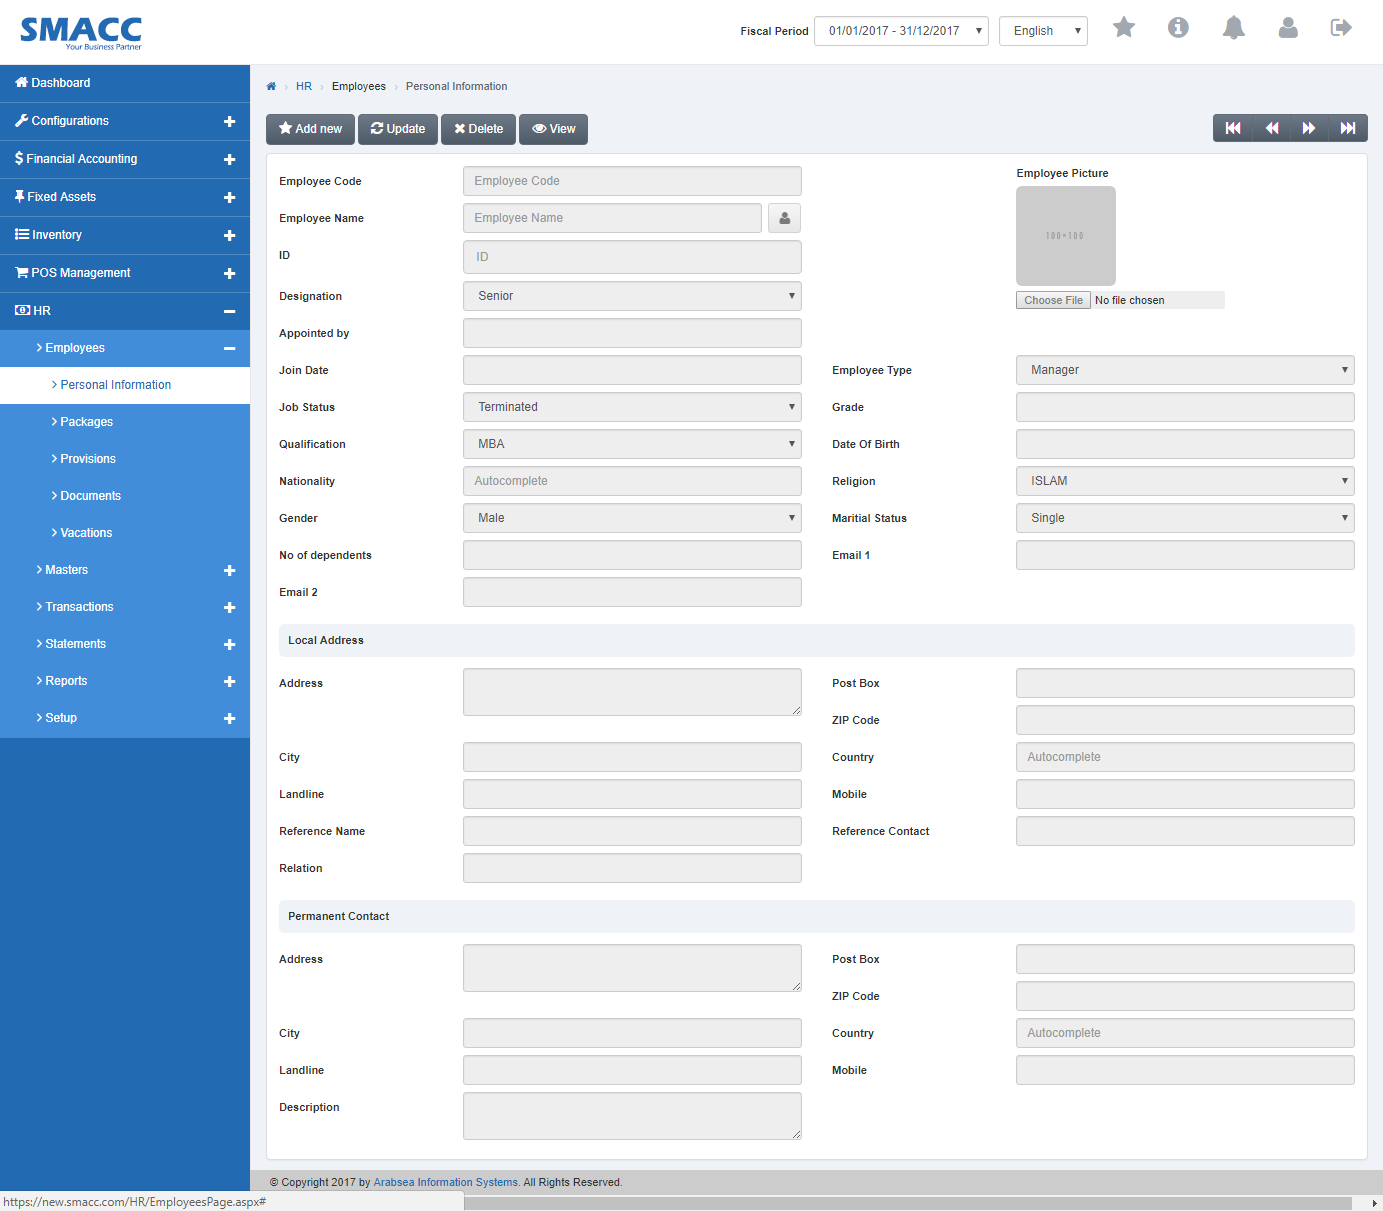
Click the “Update” button on personal information page. Enter employee code in “Employees Code” input box then click “Load” button.
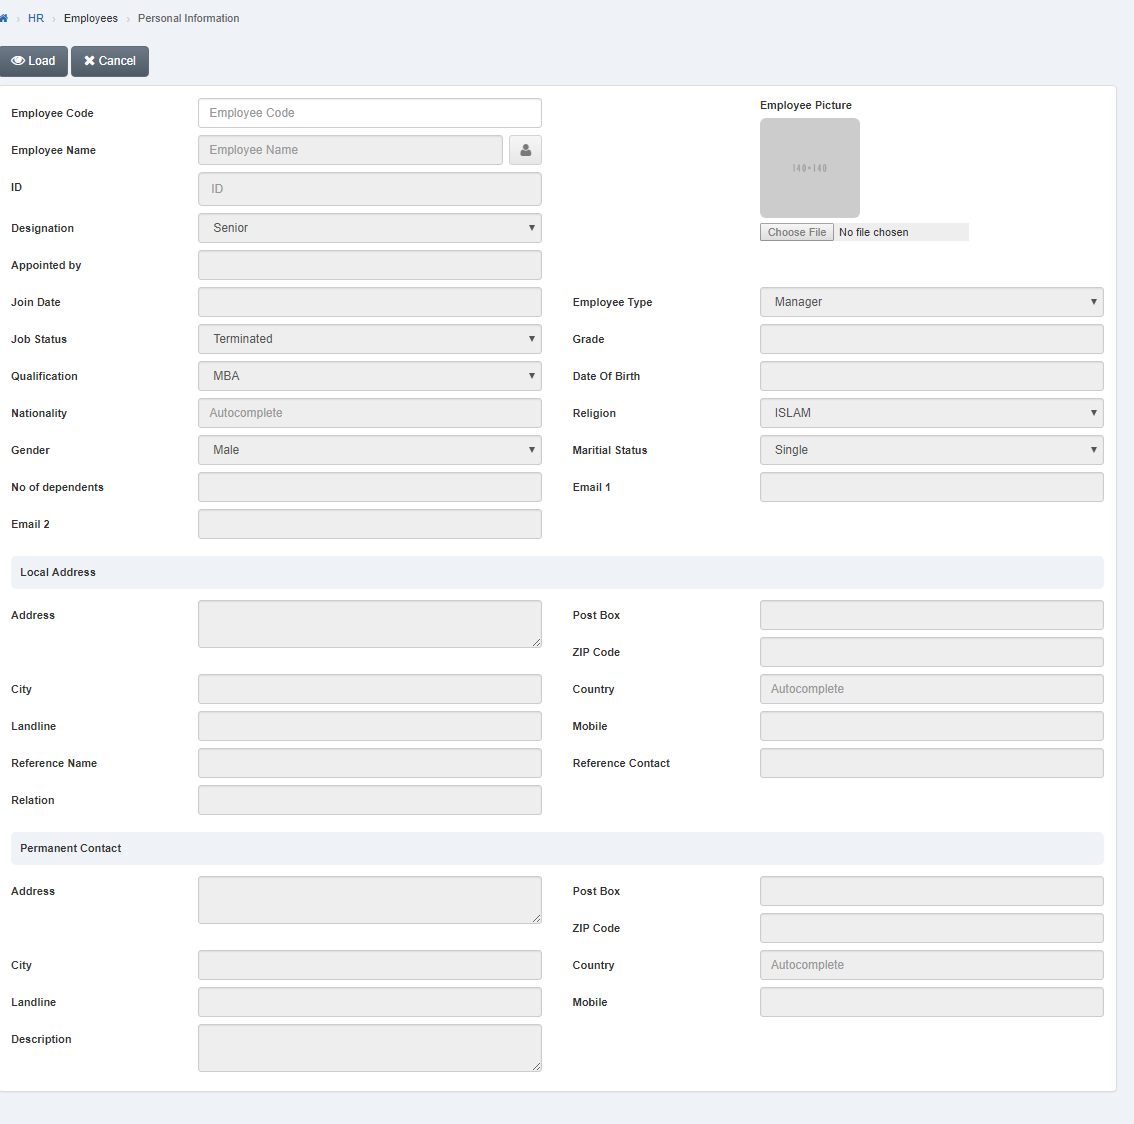
Click on “Choose File” icon. Select employee picture from hard disk then selected picture will be appeared in “Employee Picture” input box.
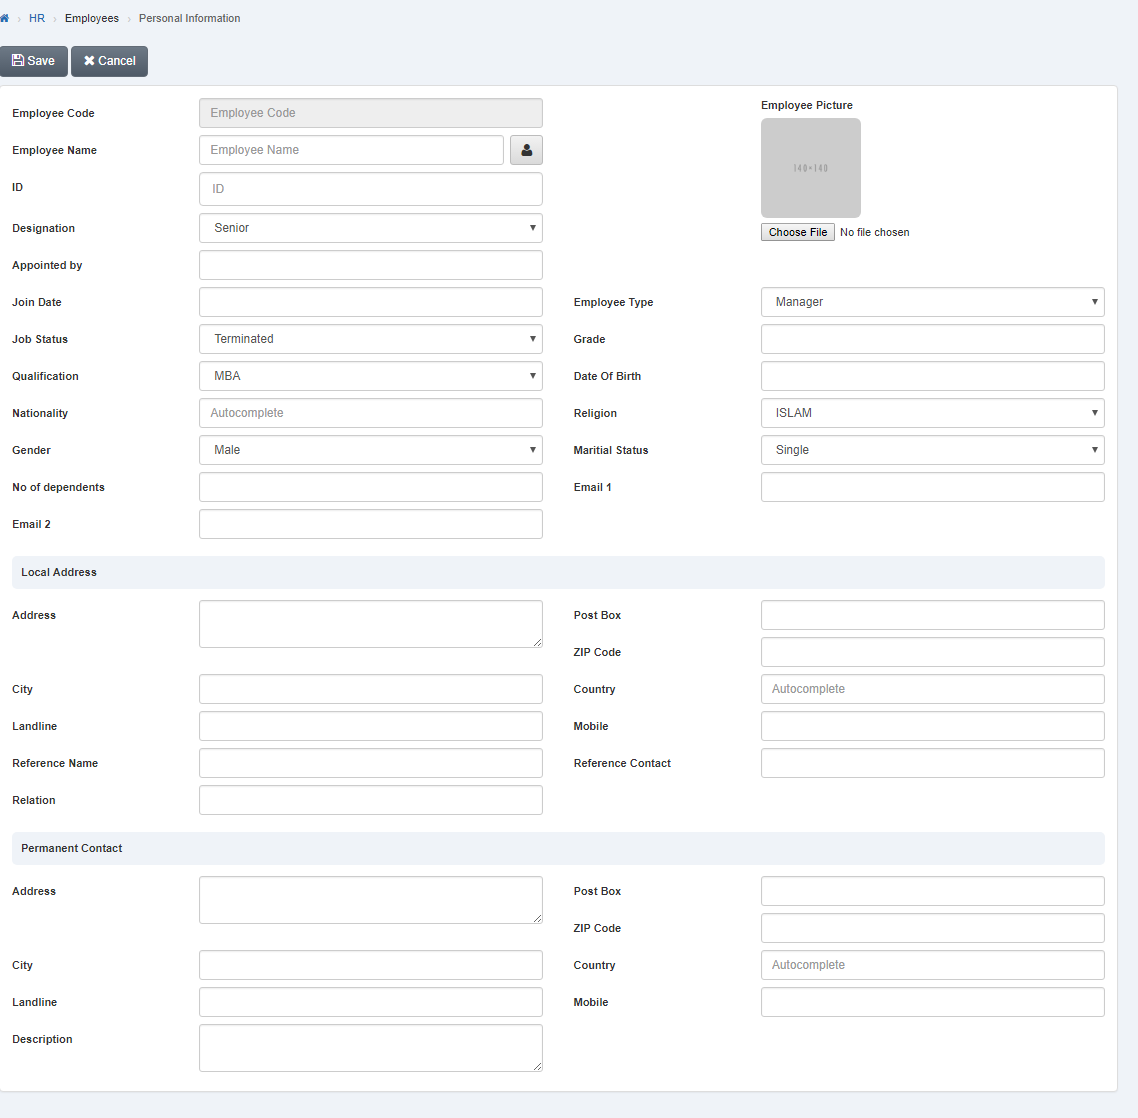
Click “Save” button to save the information.
Setting Employee Type of Employee.
To set “Employee Type of Employee”, click on the “HR”, then “Employees”, then click “Personal Information”. Personal information page will be displayed.
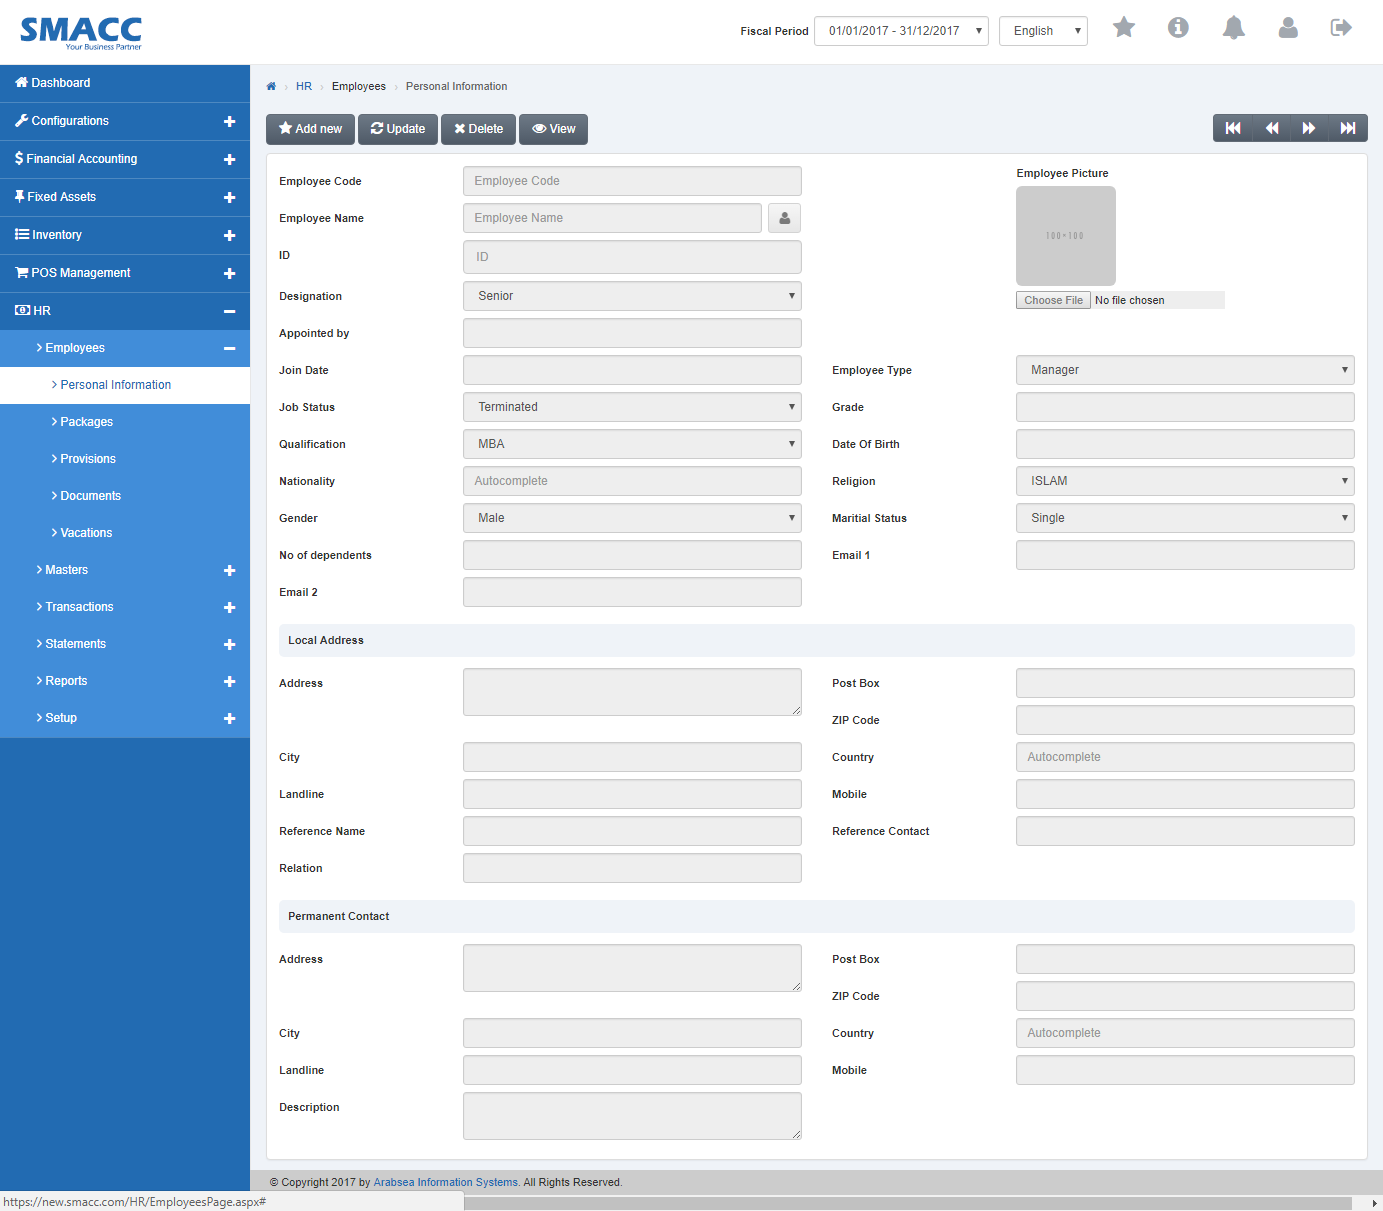
Click the “Update” button on personal information page. Enter employee code in “Employees Code” input box then click “Load” button.
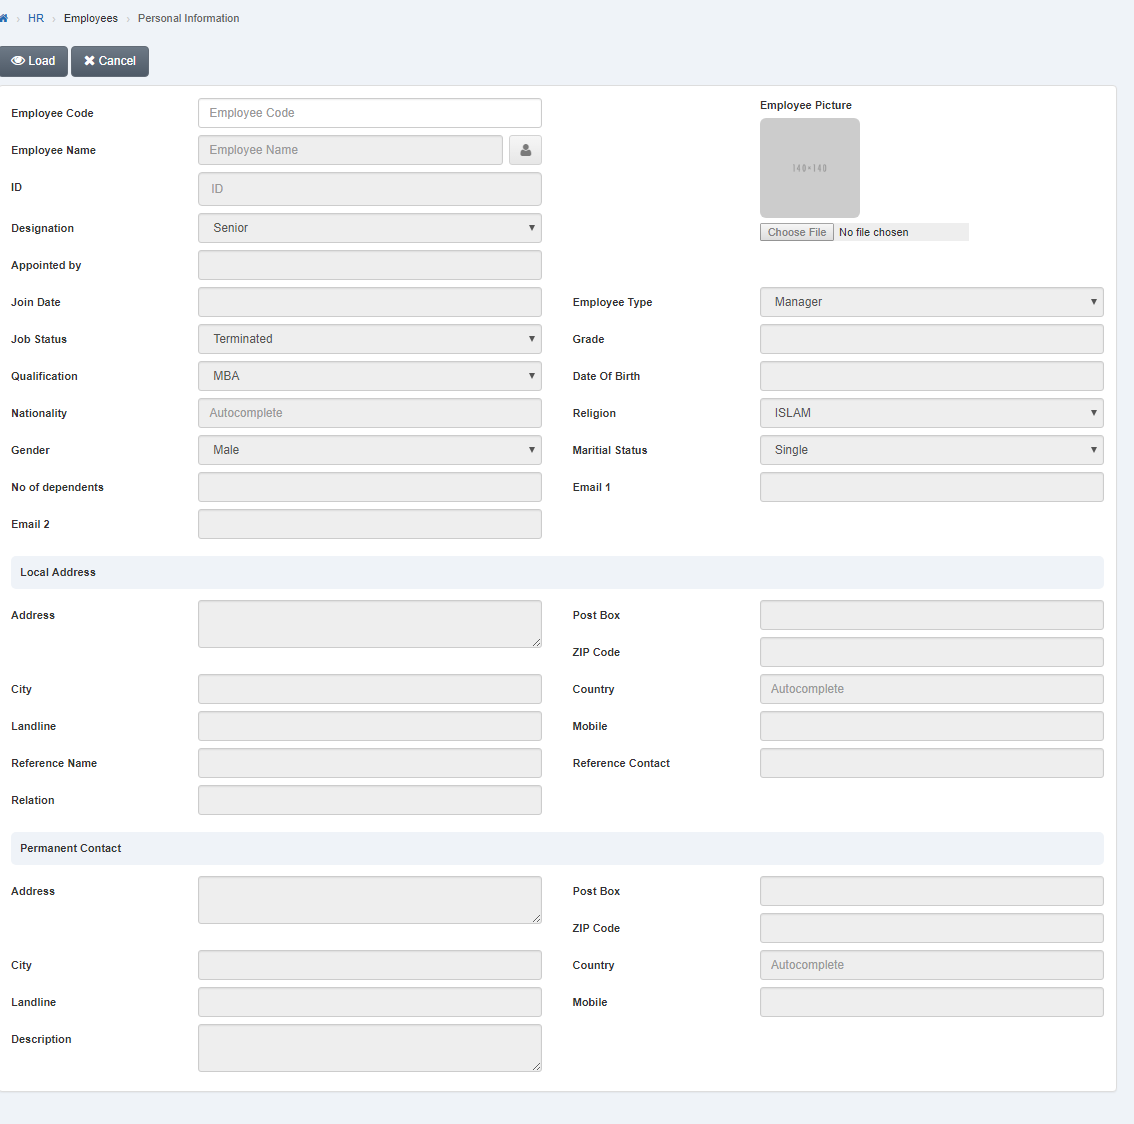
Click in “Employee Type” list box then employee type list will be drop down.
![]()
Select your desired employee type.

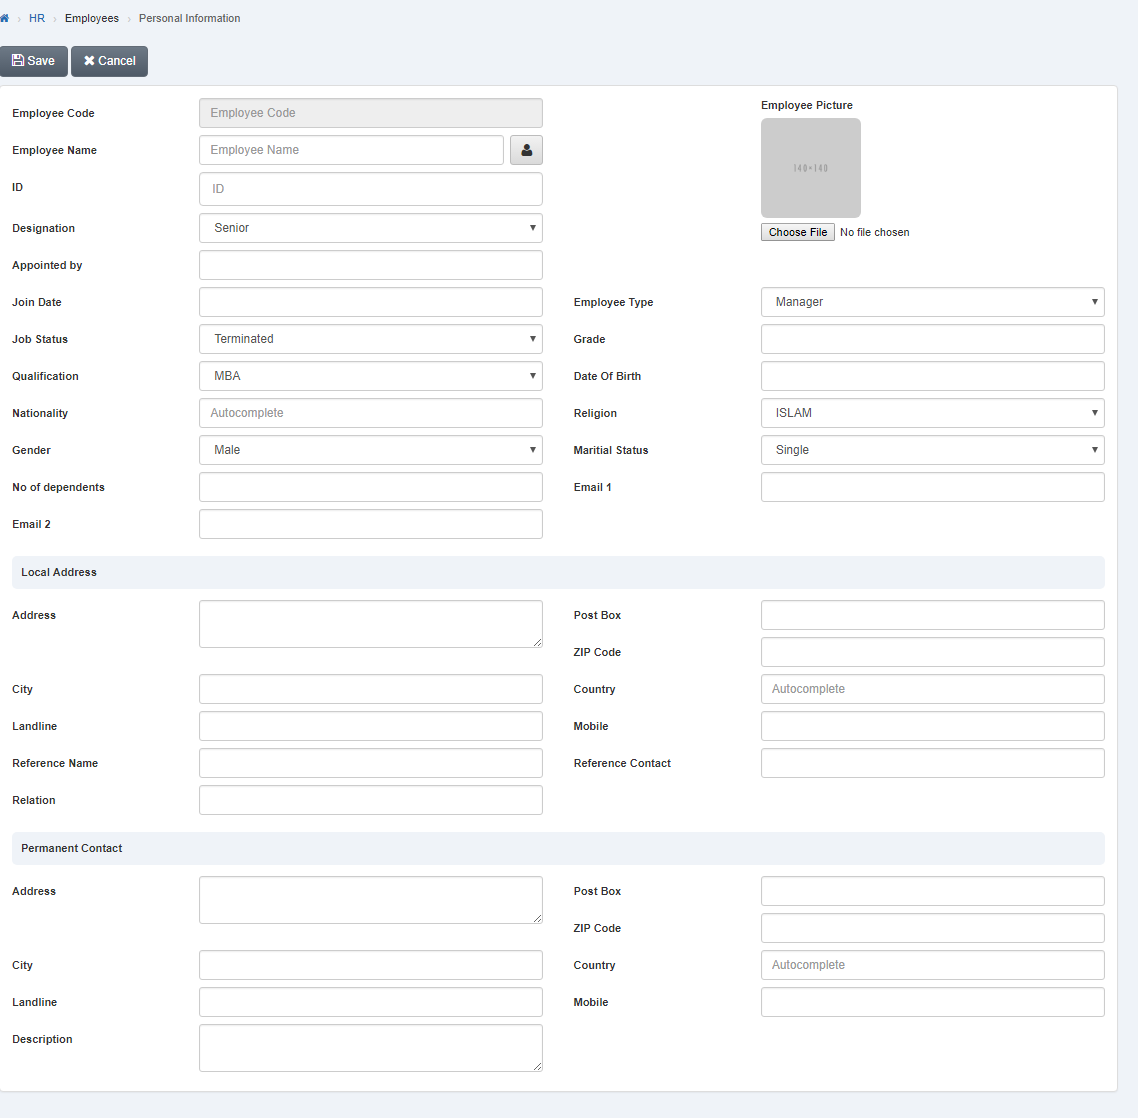
Click “Save” button to save the information.
Setting Nationality of Employee.
To set “Nationality of Employee”, click on the “HR”, then “Employees”, then click “Personal Information”. Personal information page will be displayed.
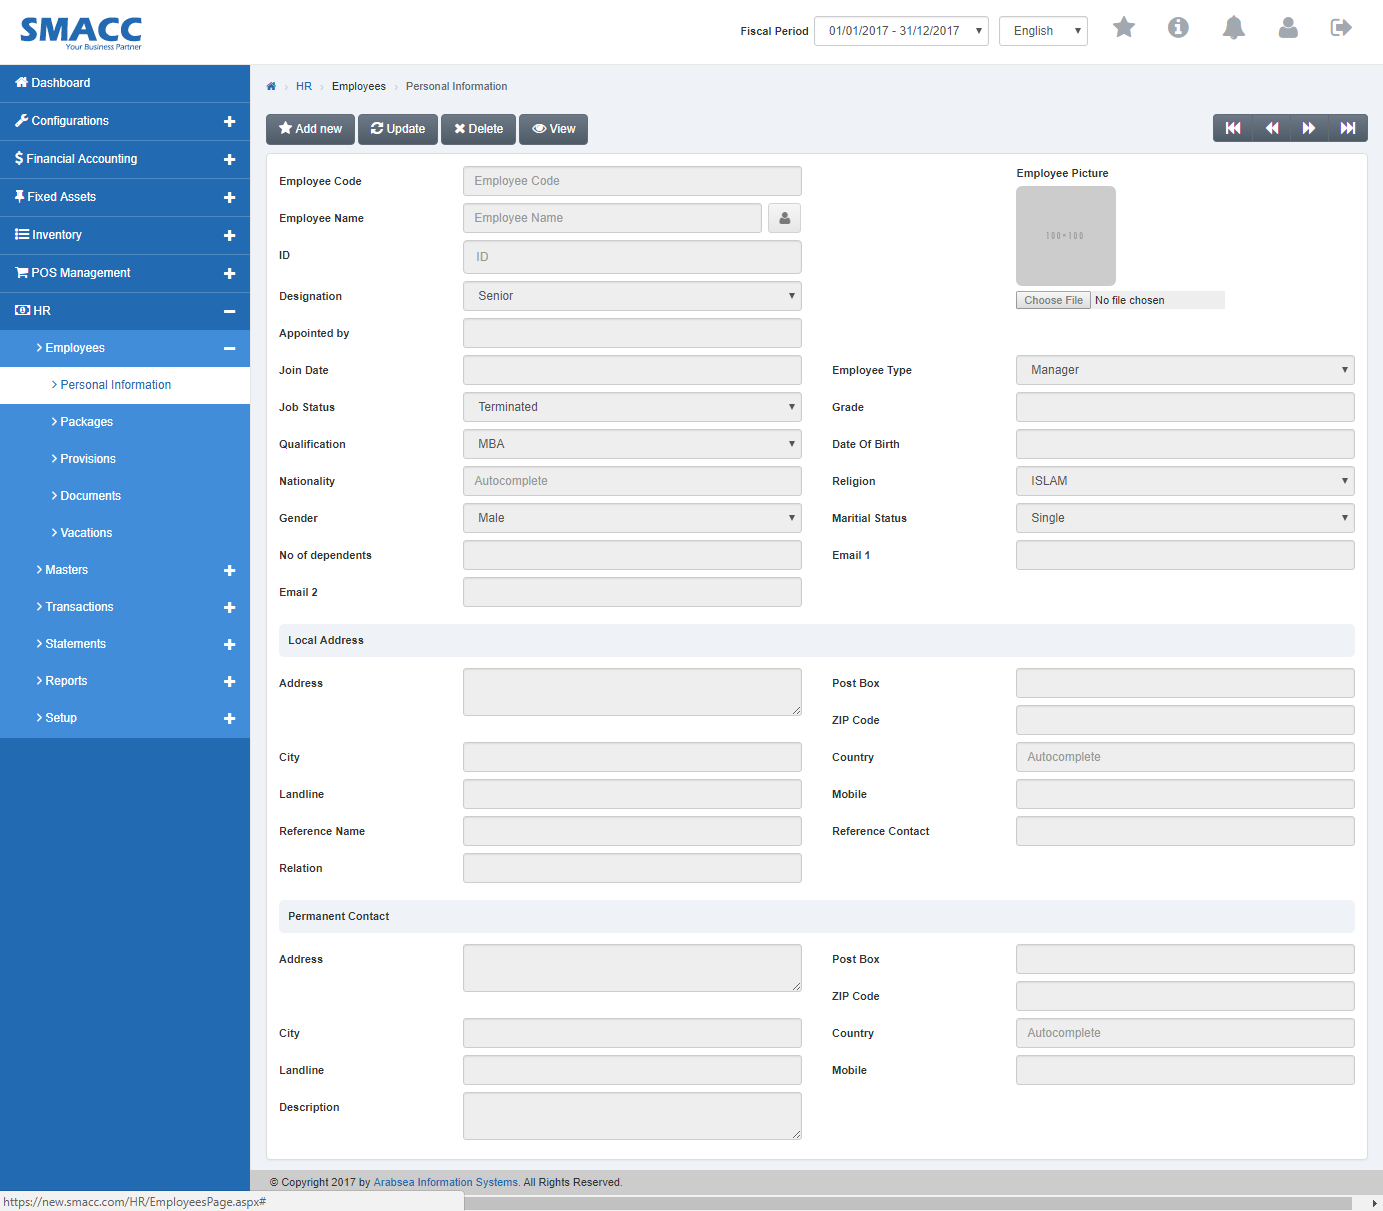
Click the “Update” button on personal information page. Enter employee code in “Employees Code” input box then click “Load” button.
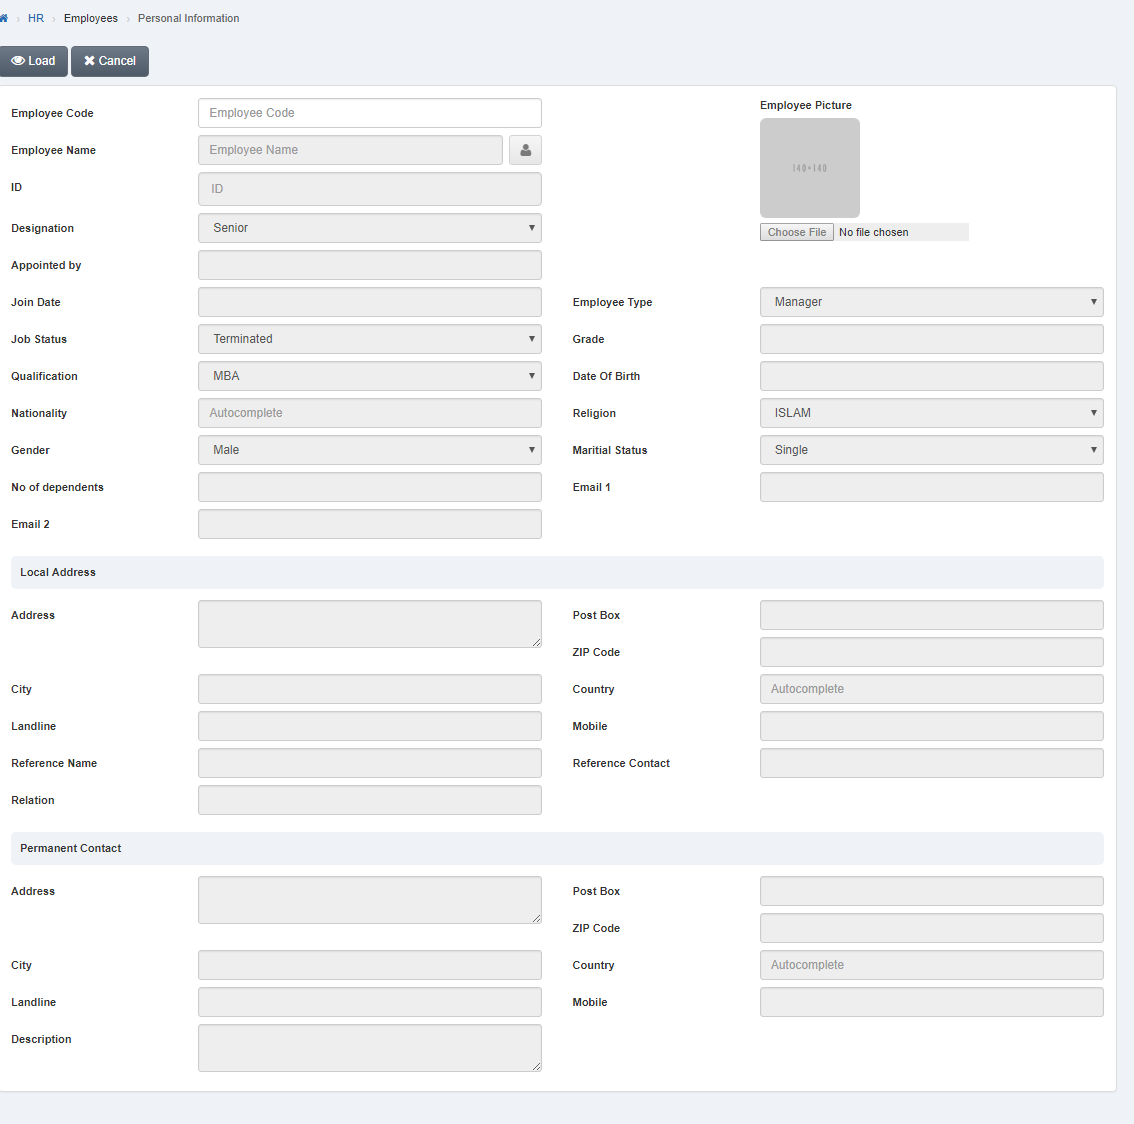
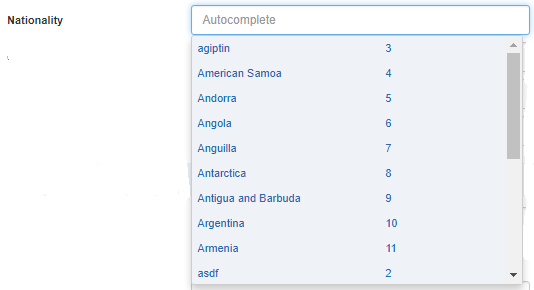
Click in “Nationality” list box then countries name list will be drop down.
![]()
Select your desired country.
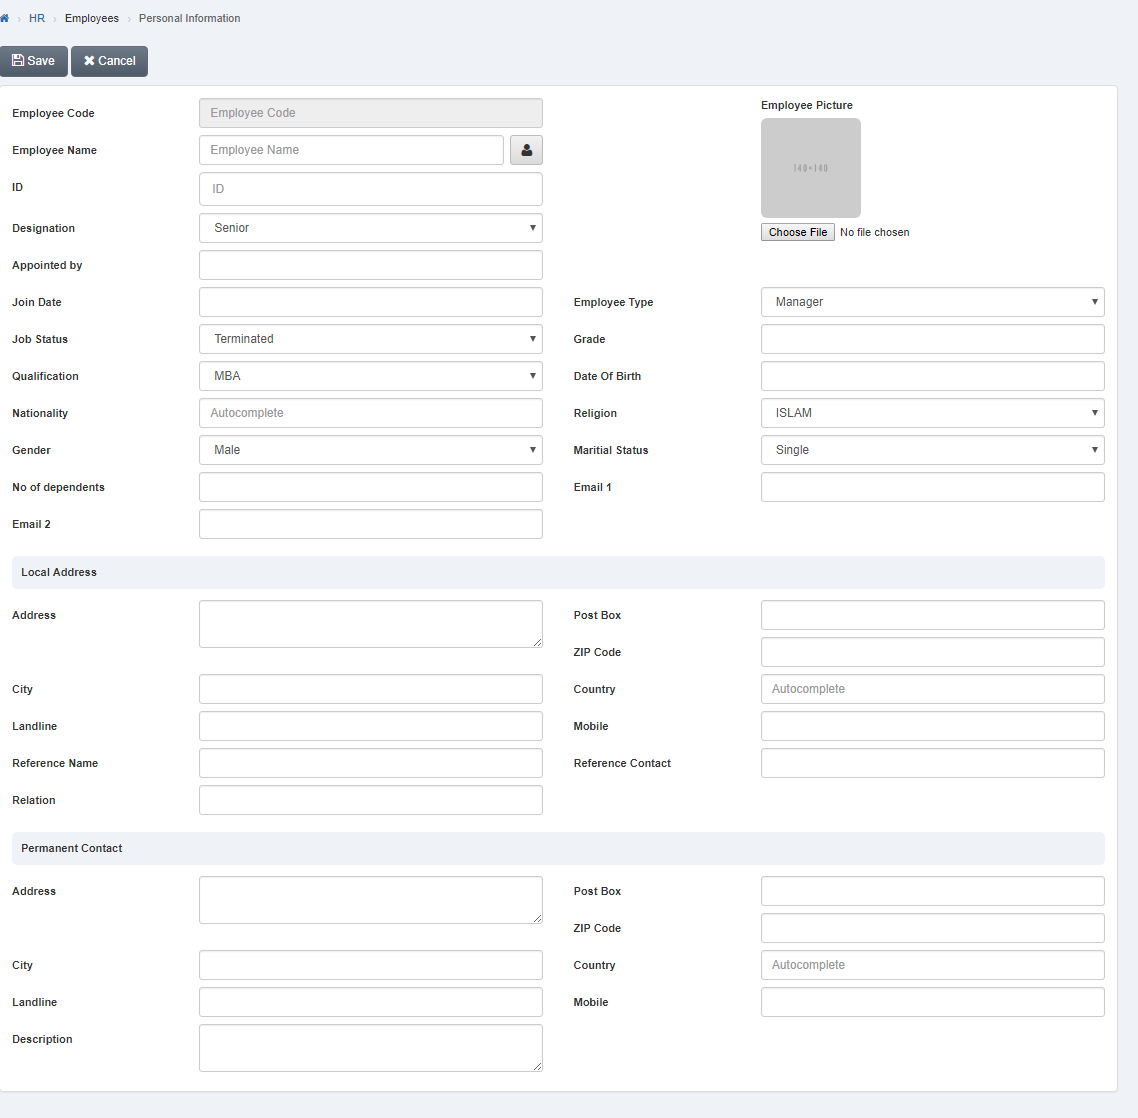
Click “Save” button to save the information.
Setting Reference Information of Employee.
To set “Reference Information of Employee”, click on the “HR”, then “Employees”, then click “Personal Information”. Personal information page will be displayed.
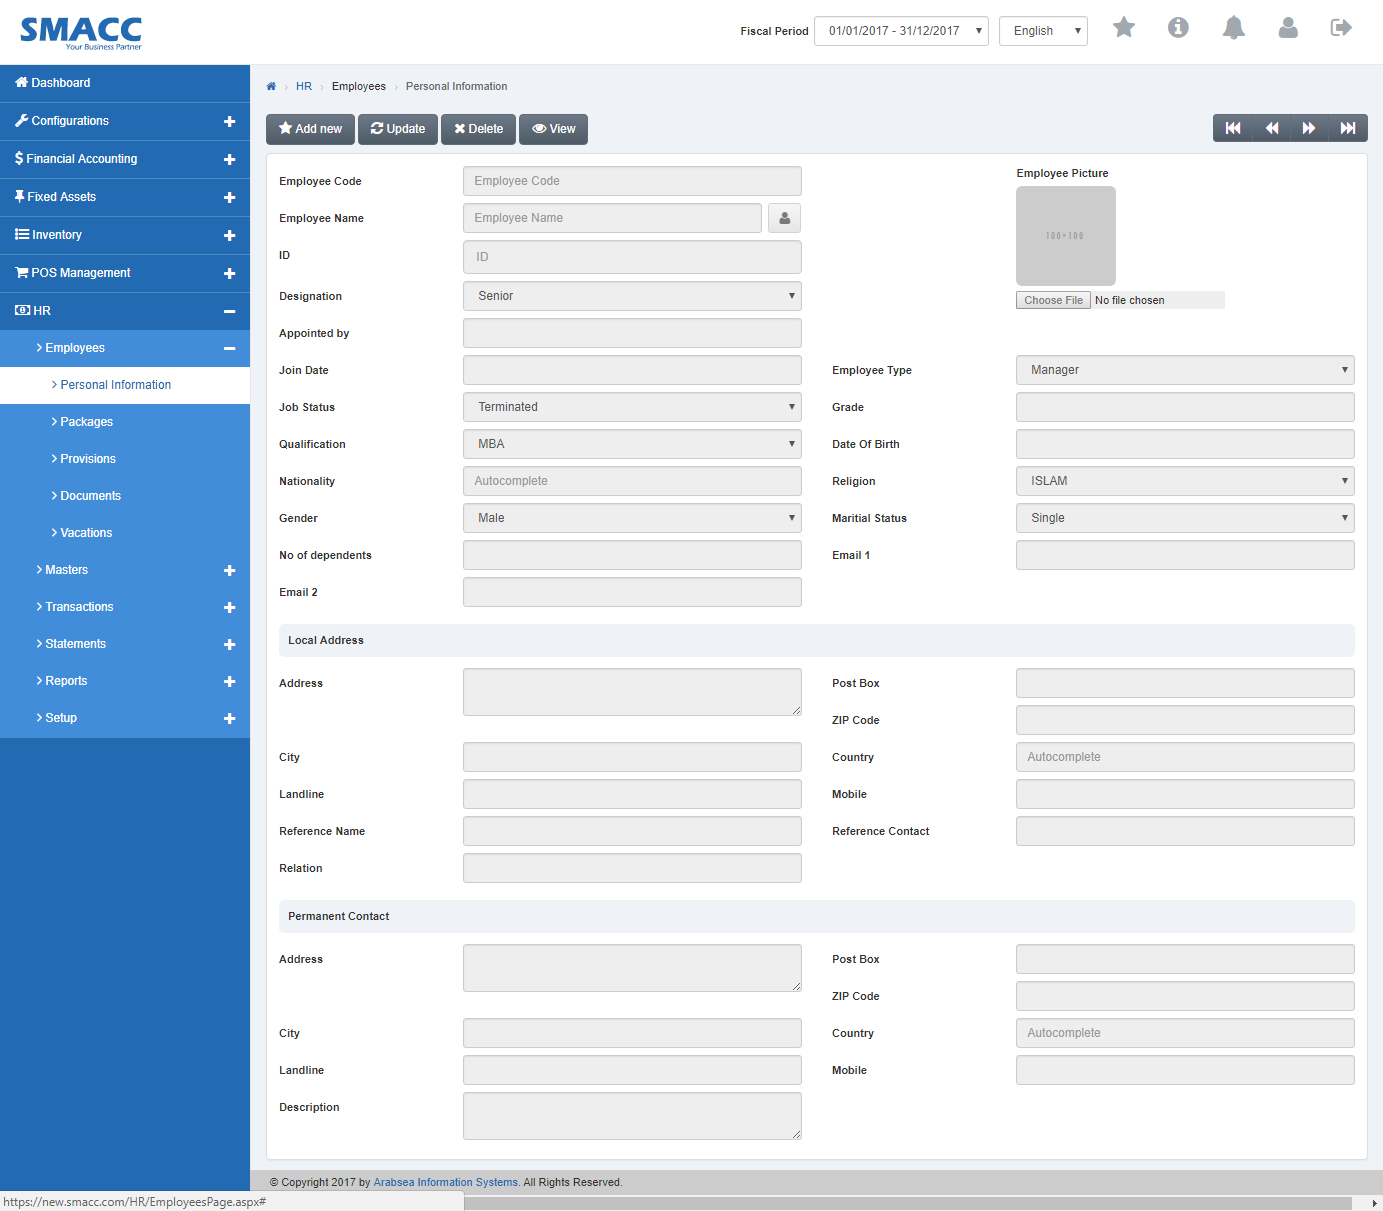
Click the “Update” button on personal information page. Enter employee code in “Employees Code” input box then click “Load” button.
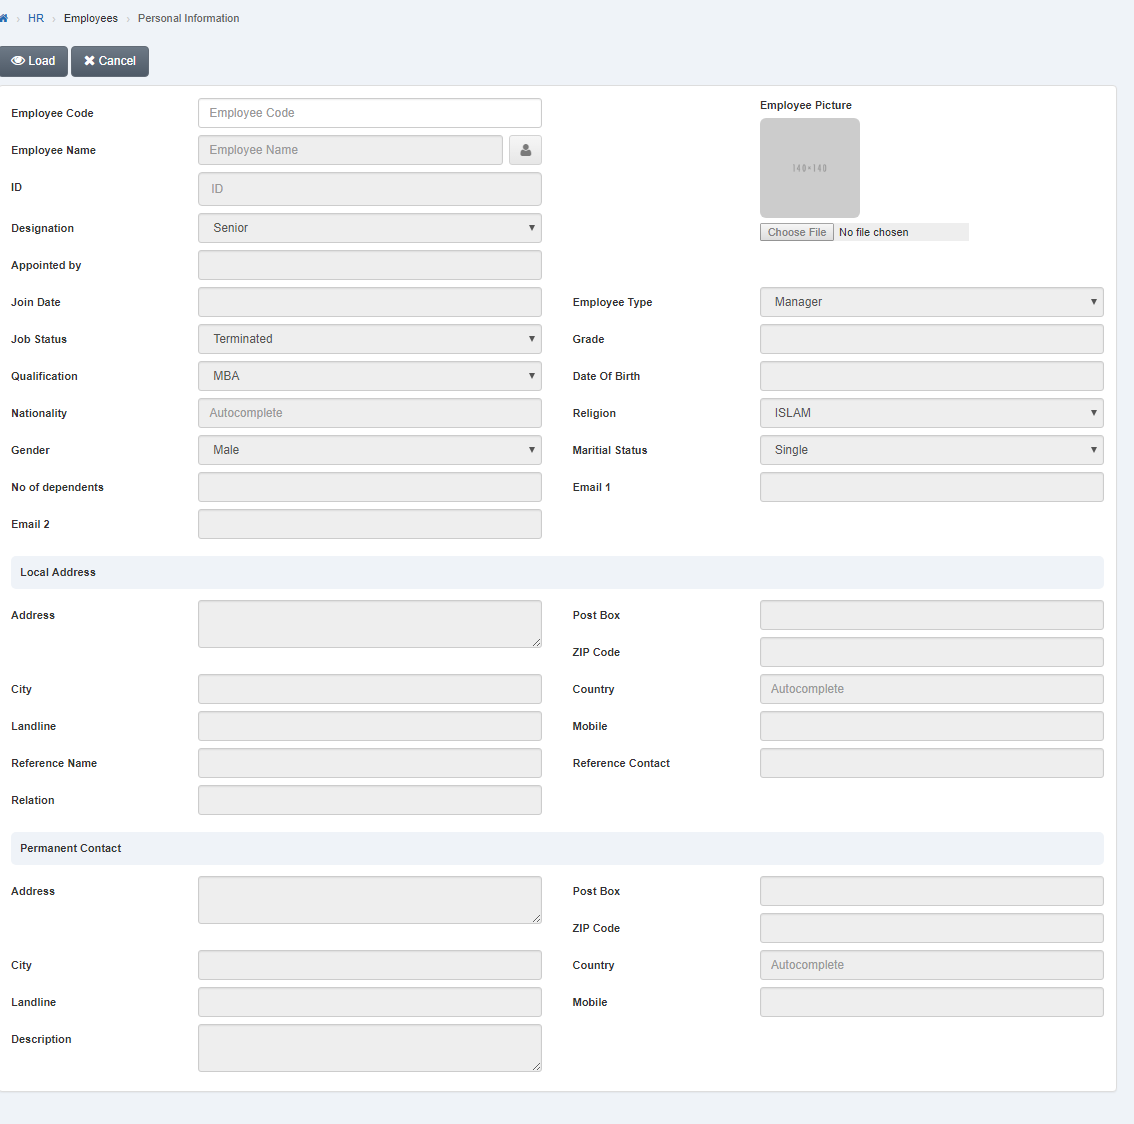
Enter reference address of employees in “Address” input box then enter reference city name in “City” input box.
Enter zip code in “Zip Code” input box.
Enter post box number in “Post Box” input box.
Click in “Country” input box then country name list will be drop down. Select your desired country.
Enter landline no in “Land Line” input box.
Enter mobile no in “Mobile” input box.
Enter reference name of employees in “Reference Name” input box.
Enter reference contact no in “Reference Contact” input box.

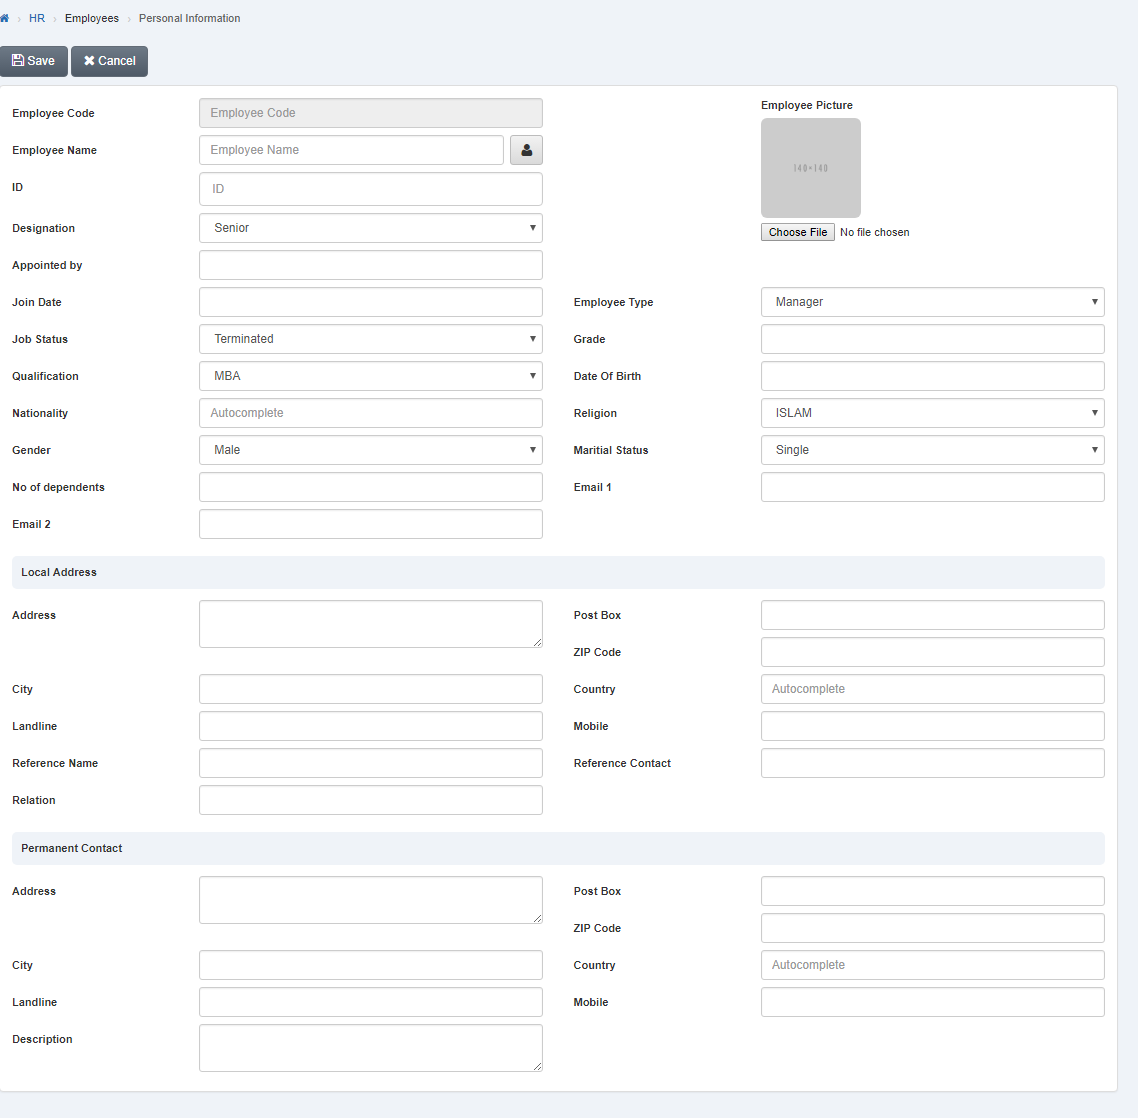
Click “Save” button to save the information.
Setting Permanent Contact of Employee.
To set “Permanent Contact of Employee”, click on the “HR”, then “Employees”, then click “Personal Information”. Personal information page will be displayed.
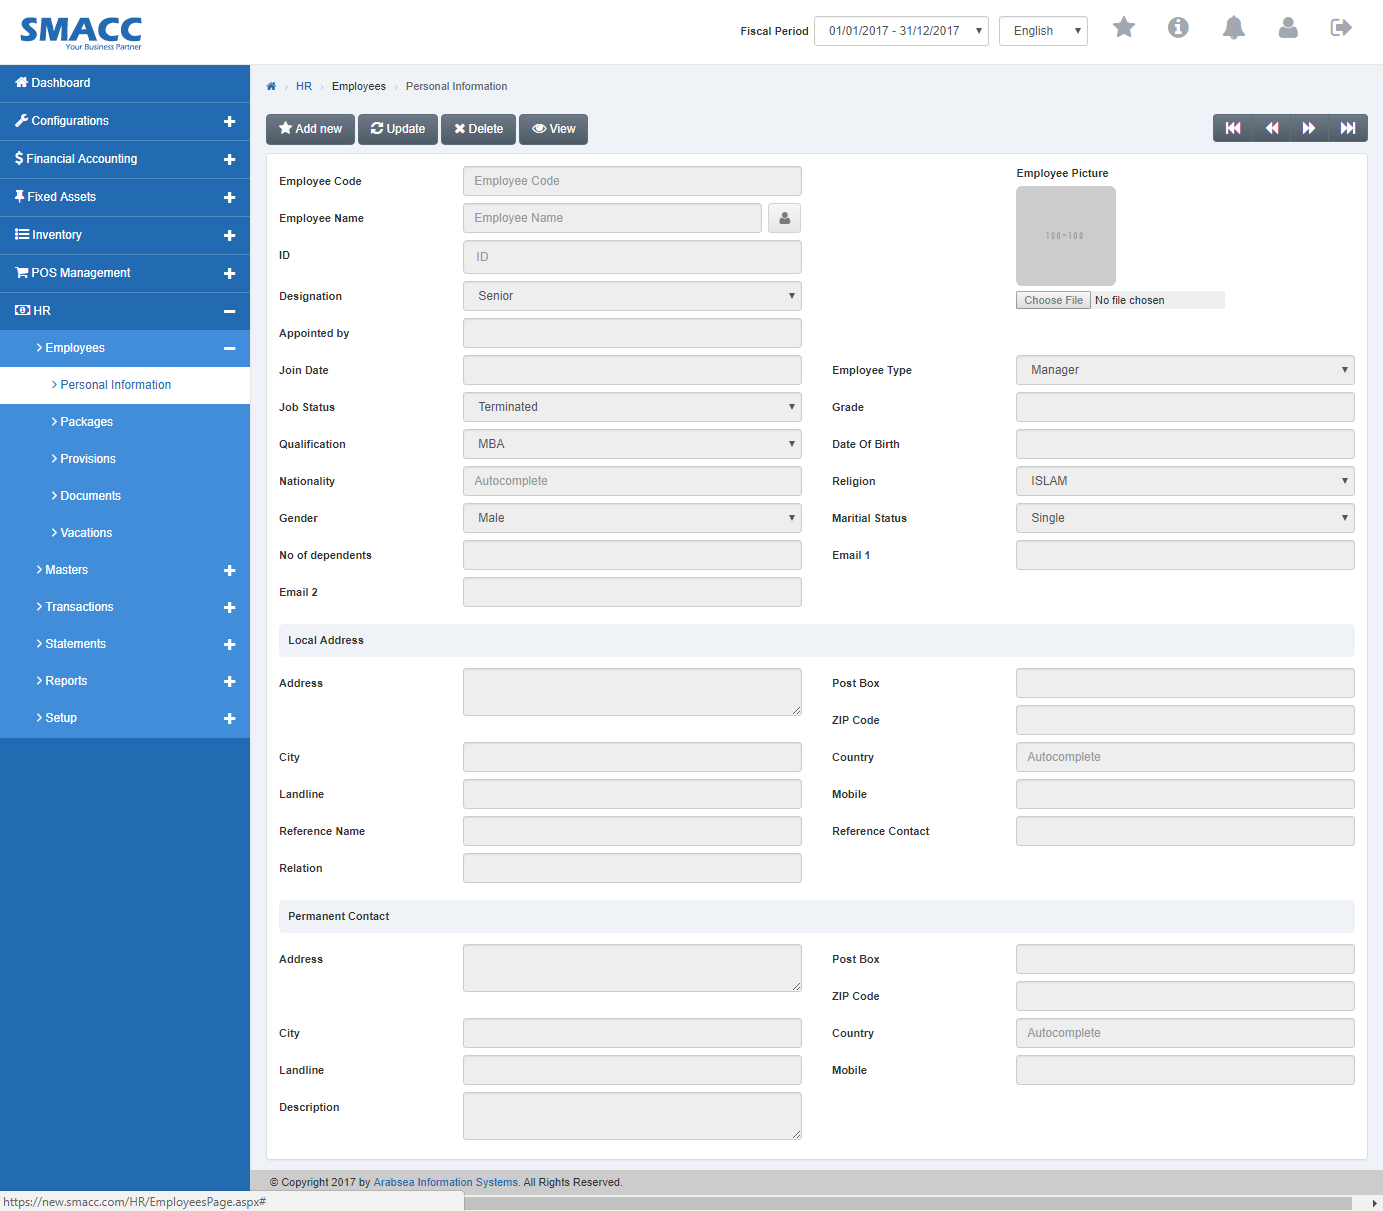
Click the “Update” button on personal information page. Enter employee code in “Employees Code” input box then click “Load” button.
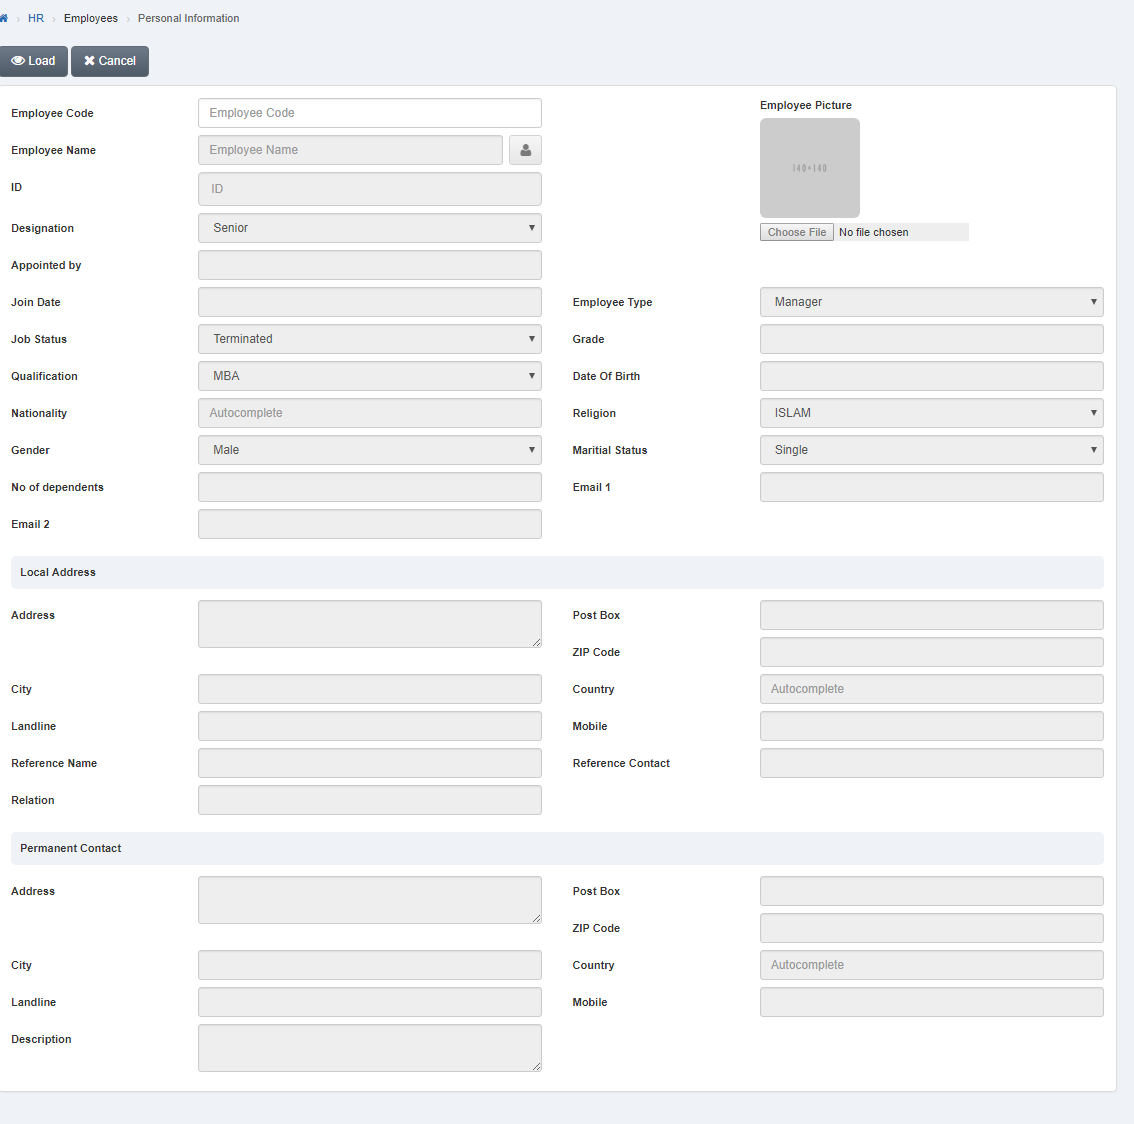
Enter permanent address of employees in “Address” input box. Enter city name in “City” input box. Enter zip code in “Zip Code” input box. Enter post box no in “Post Box” input box. Click in “Country” input box then country name list will be drop down. Select your desired country. Enter landline no in “Landline” input box. Enter mobile no in “Mobile” input box. Enter description in “Description” input box.

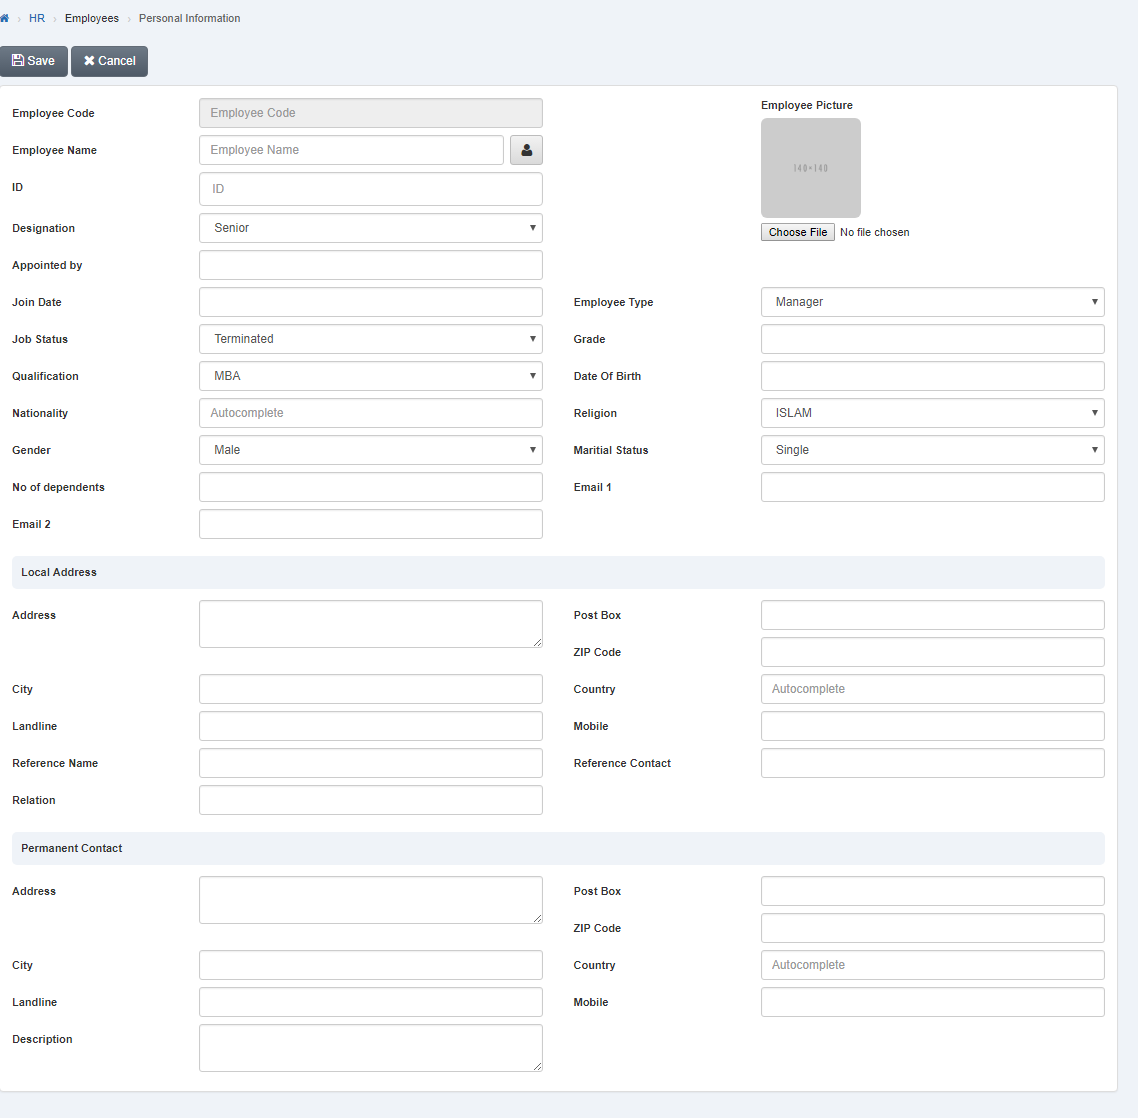
Click “Save” button to save the information.
Deleting Personal Information of Employee.
To delete “Personal Information of Employee”, click on the “HR”, then “Employees”, then click “Personal Information”. Personal information page will be displayed.
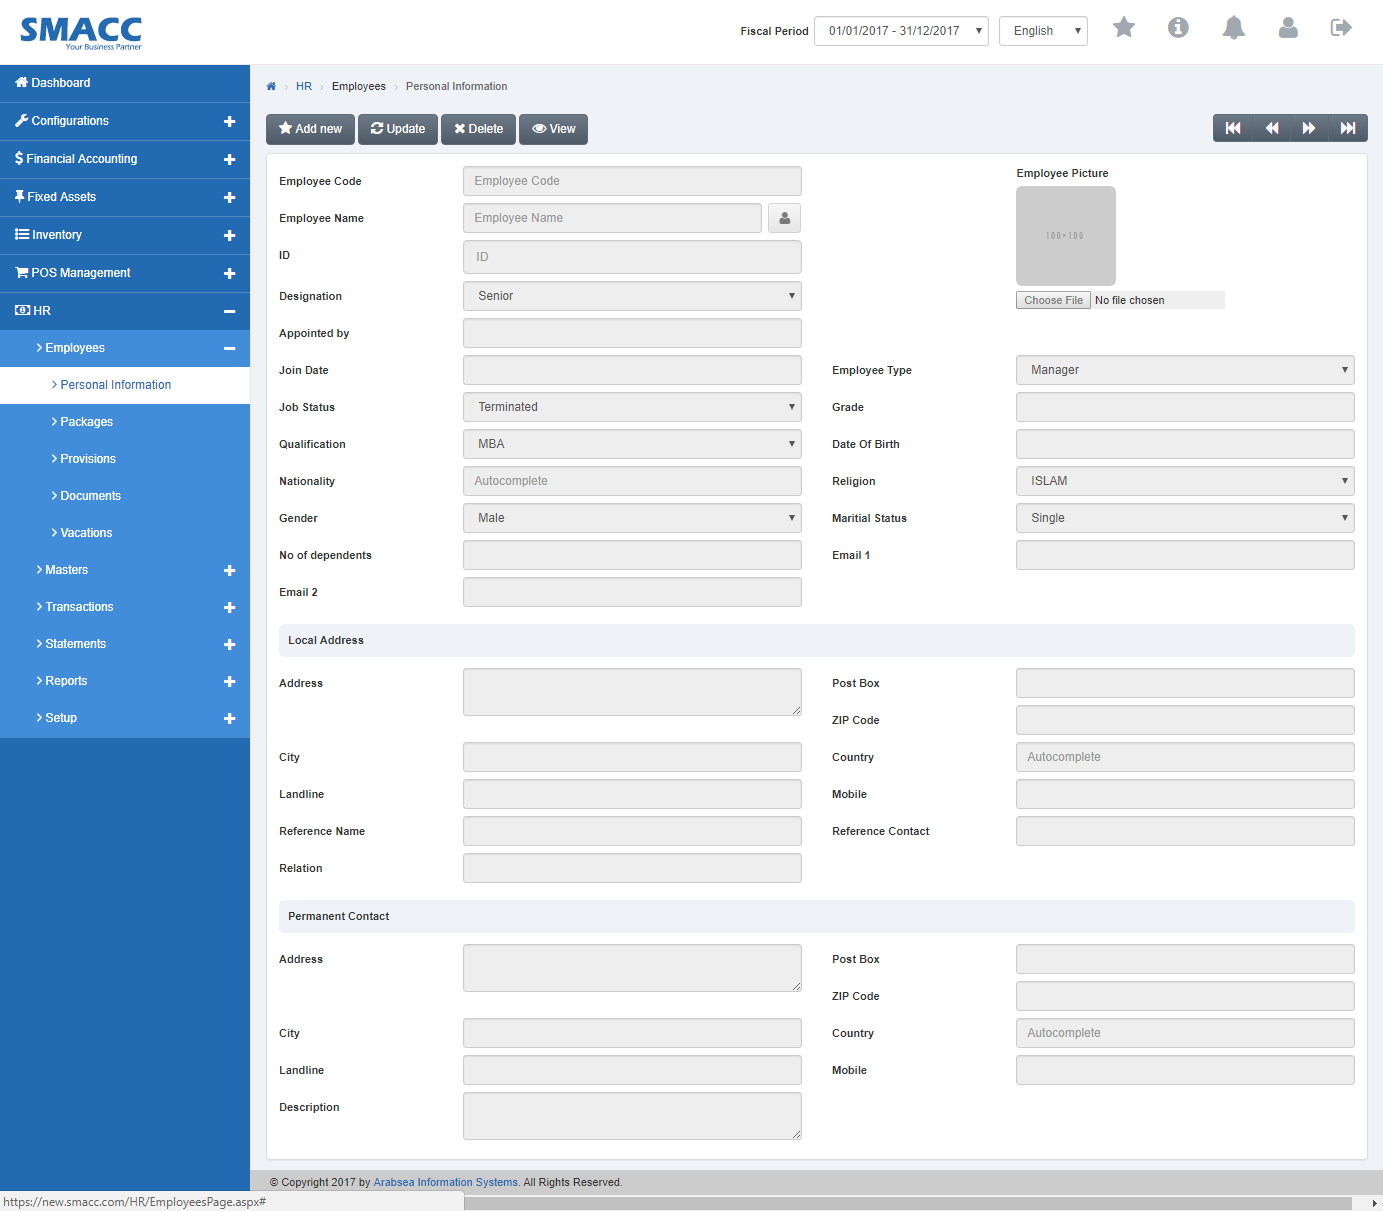
Click on navigation bar to select employee name or click “Delete” button on personal information page. Enter employees code in “Employees Code” input box then click “Load” button.
A prompt box will be appeared.
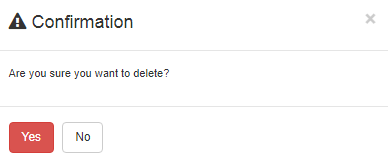
Click “Yes” button to delete the information.
