In the assets, you can add a new asset to your fixed assets. You can also edit, delete and print the asset information.
Adding a New Asset
To add a new asset, go to Fixed Assets > Masters > Assets, the assets page is displayed.

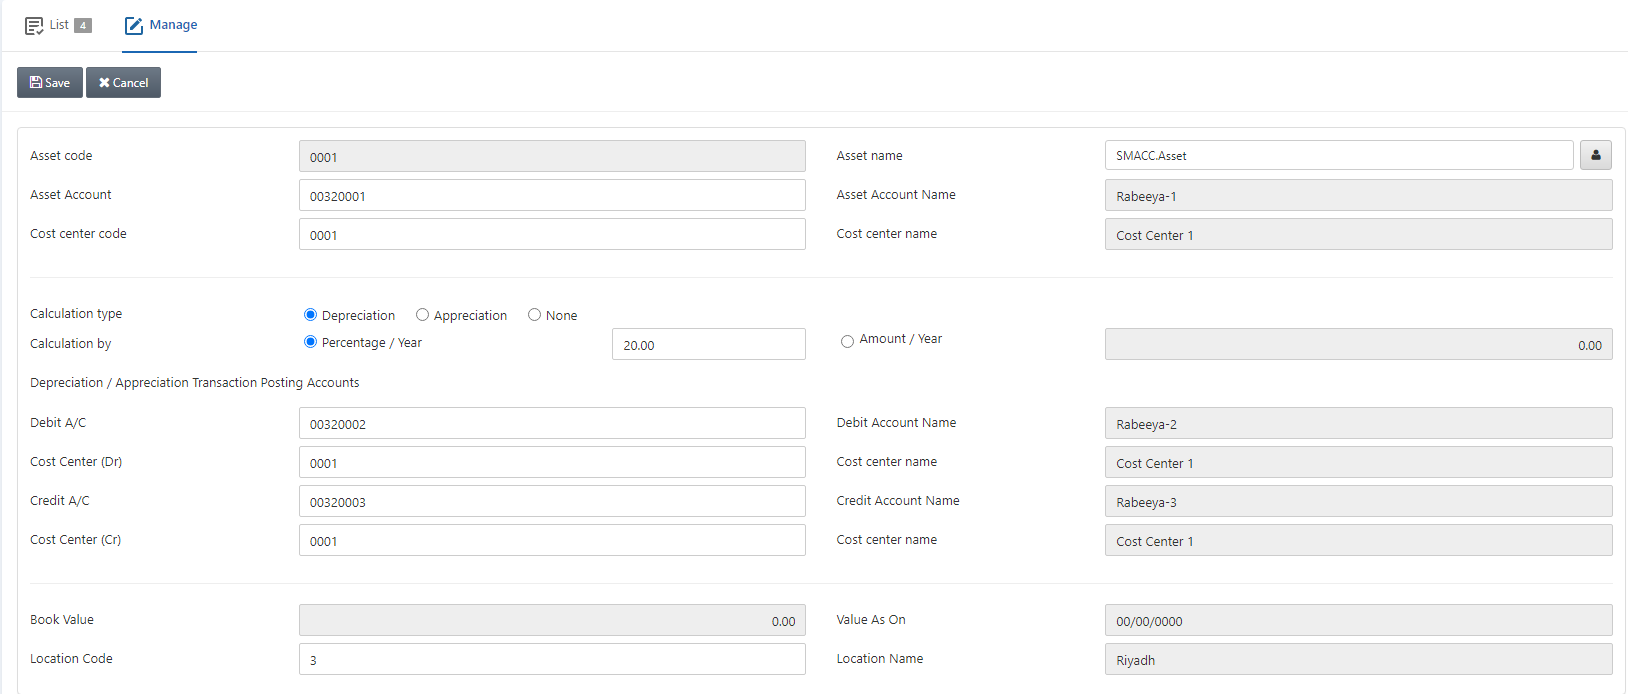
Click on the Manage icon at the top of the page.
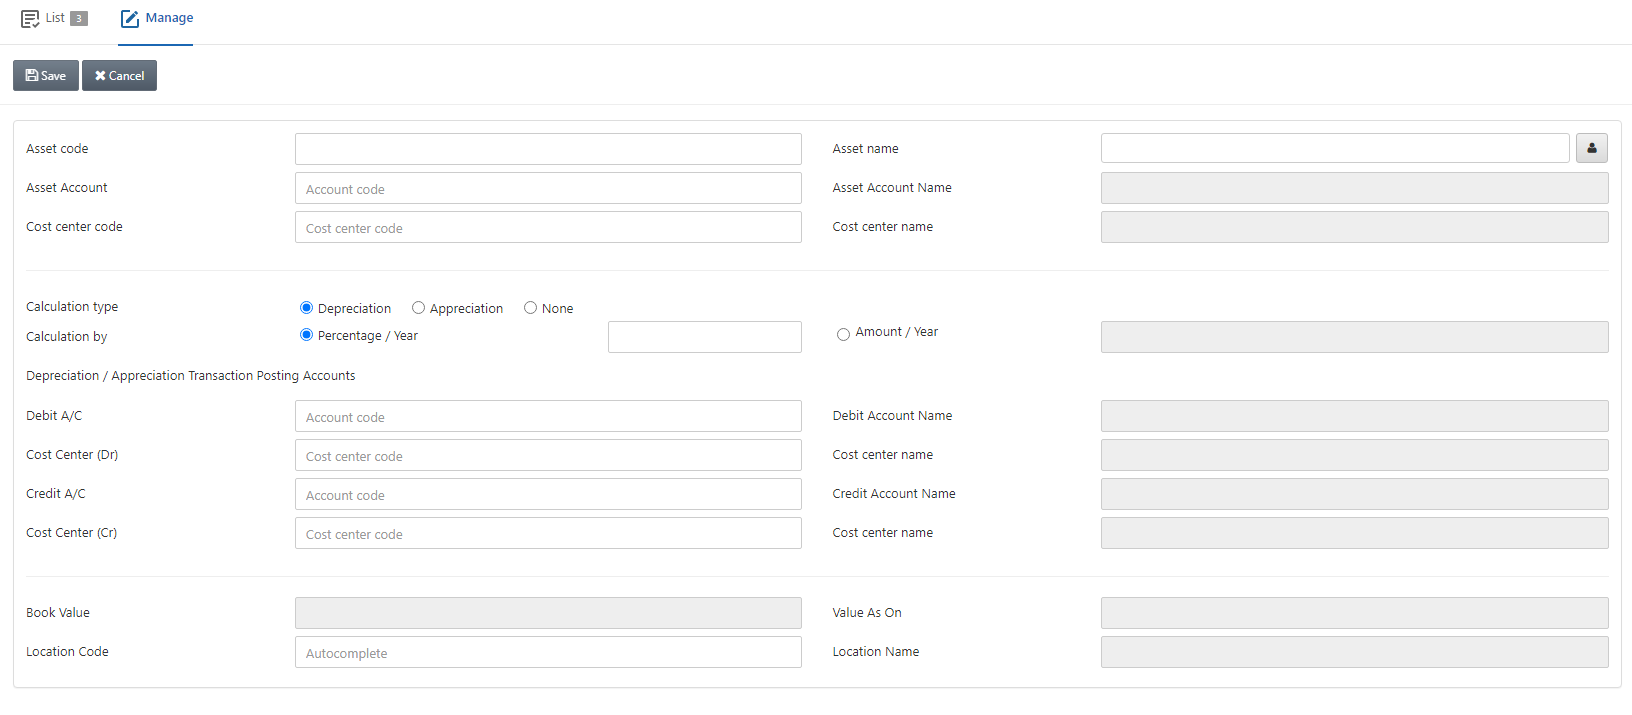
Asset Code: Enter the asset code. The code has to be unique.
Asset Name: Enter the asset name.
Manage Names: Click on the icon in front of the asset name.

Note: With the manage name icon, you can enter the name of the fixed asset in the Arabic language.
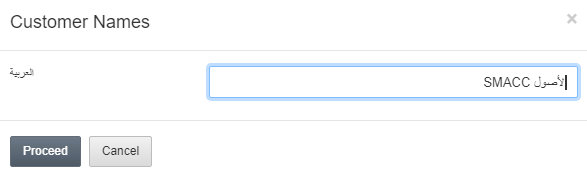
Click on the Proceed button to save the information.
Asset Account: Enter the account responsible for asset value.
Asset Account Name: This field is auto-fetched based on the asset account.
Cost Center Code: This field is either auto-fetched based on the asset account or entered manually.
Cost Center Name: This field is auto-fetched by the system based on the Cost Center Code.

Calculation Type: Select one of the three radio buttons. Select “Depreciation” for the decrease in value and “Appreciation” for the increase in value and “None” for the neutral action.
Calculation By: Select one of two radio buttons. Select “Percentage/Year” or “Amount/Year”. Percentage/Year field sets the percentage increment or decrement in value and the amount/year field sets the amount increment or decrement in value.

Depreciation/Appreciation Transaction Posting Accounts:
Debit A/C: Select the debit account for the fixed asset.
Debit Account Name: This field is auto-fetched by the system.
Cost Center (Dr): This field is either auto-fetched or manually entered.
Cost Center Name: This field is auto-fetched by the system.
Credit A/C: Select the credit account for the fixed asset.
Credit Account Name: This field is auto-fetched by the system.
Cost Center (Cr): This field is either auto-fetched or manually entered.
Cost Center Name: This field is auto-fetched by the system.
Note: The above debit and credit accounts are for the depreciation/appreciation transaction posting.

Book Value: This field is disabled initially.
Value As On: This field is disabled initially.
Note: On the first transaction, while purchasing this fixed asset, Book Value and Value As On fields are auto-fetched by the system.
Location Code: Select the location code.
Location Name: This field is auto-fetched by the system based on the location code.
Click on the Save button at the top of the page.
“Insertion Successful” message is shown at the top of the page.
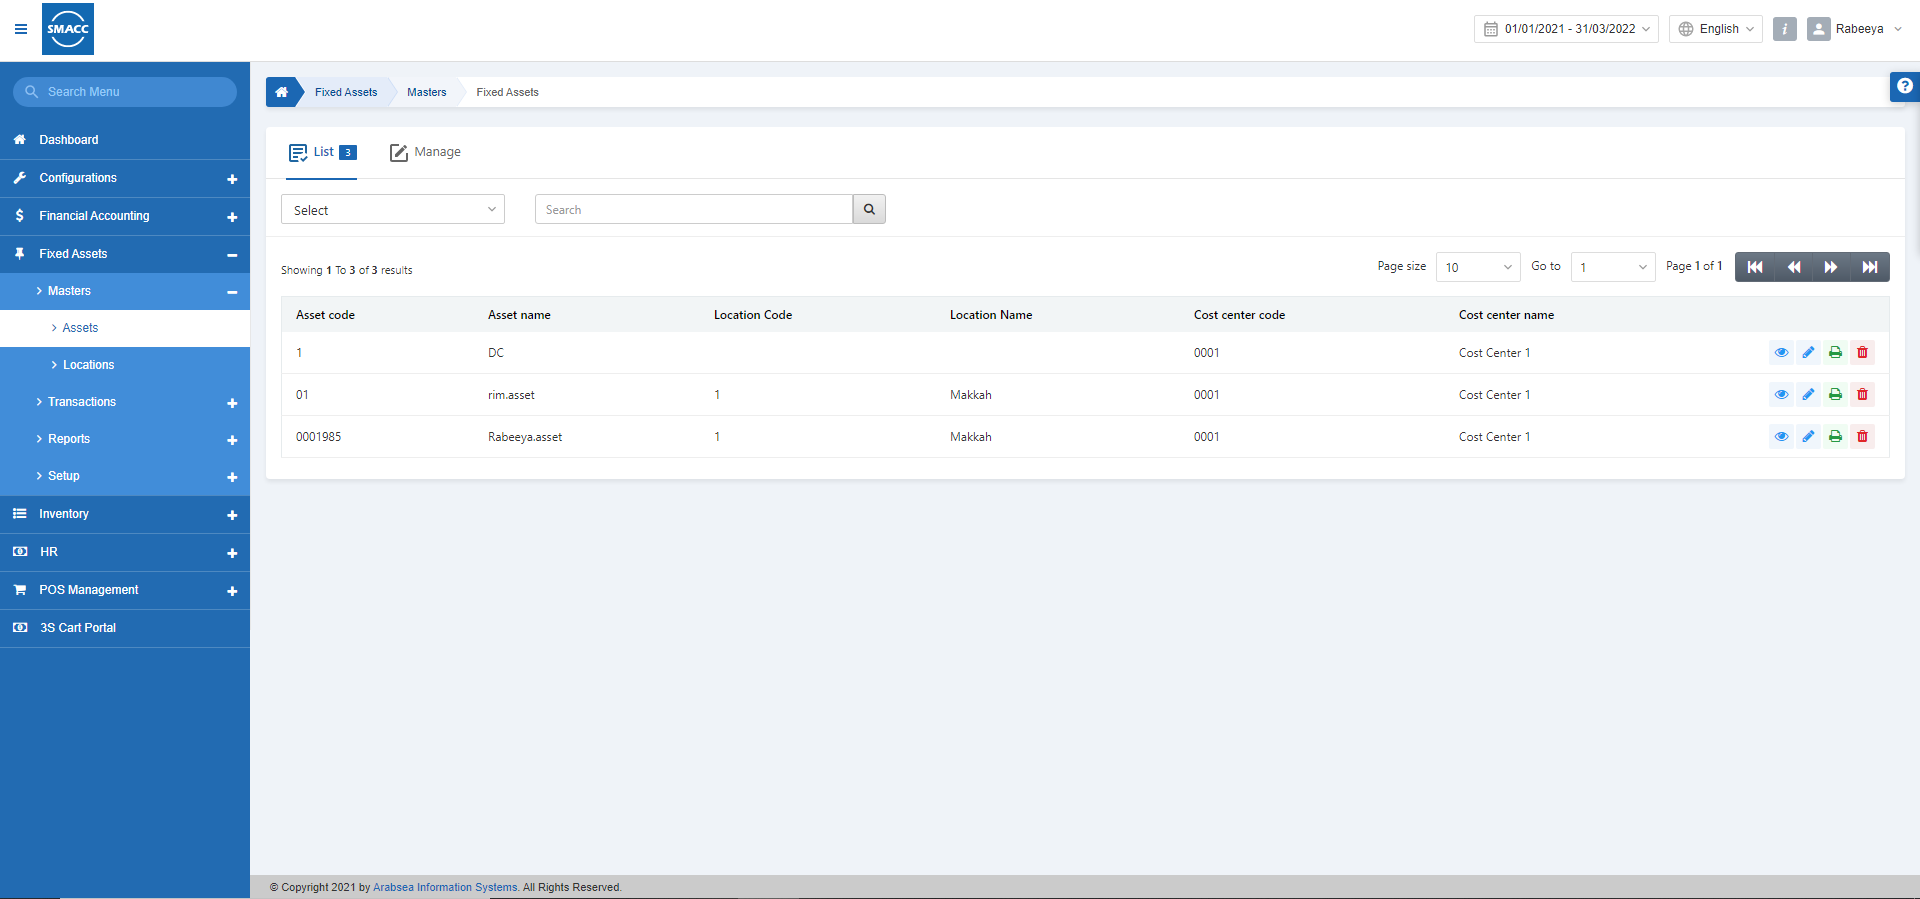
Editing/Updating the Asset
To edit/update the assets, go to Fixed Assets > Masters > Assets, the assets page is displayed.
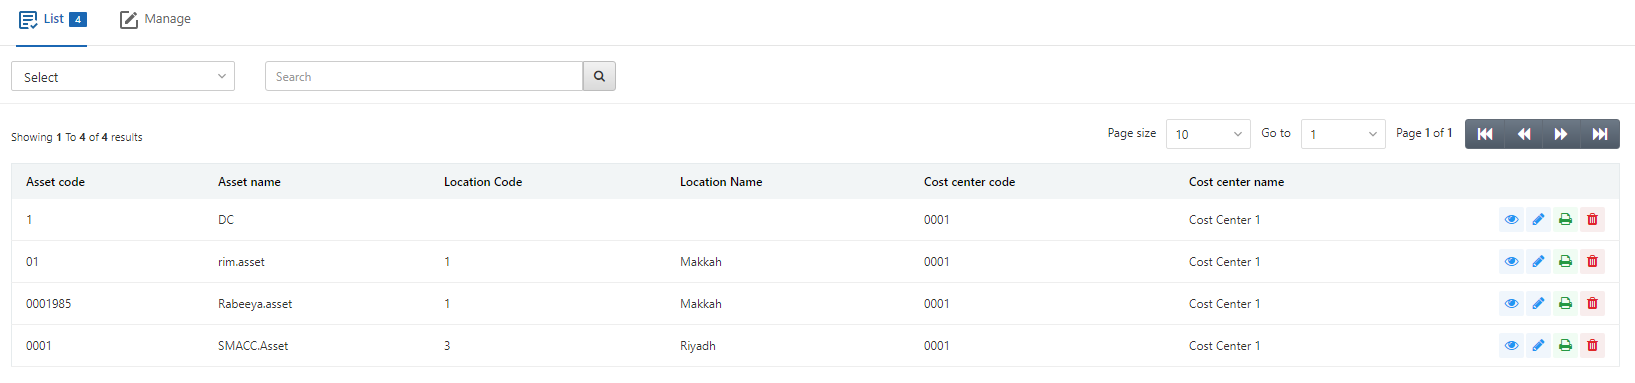
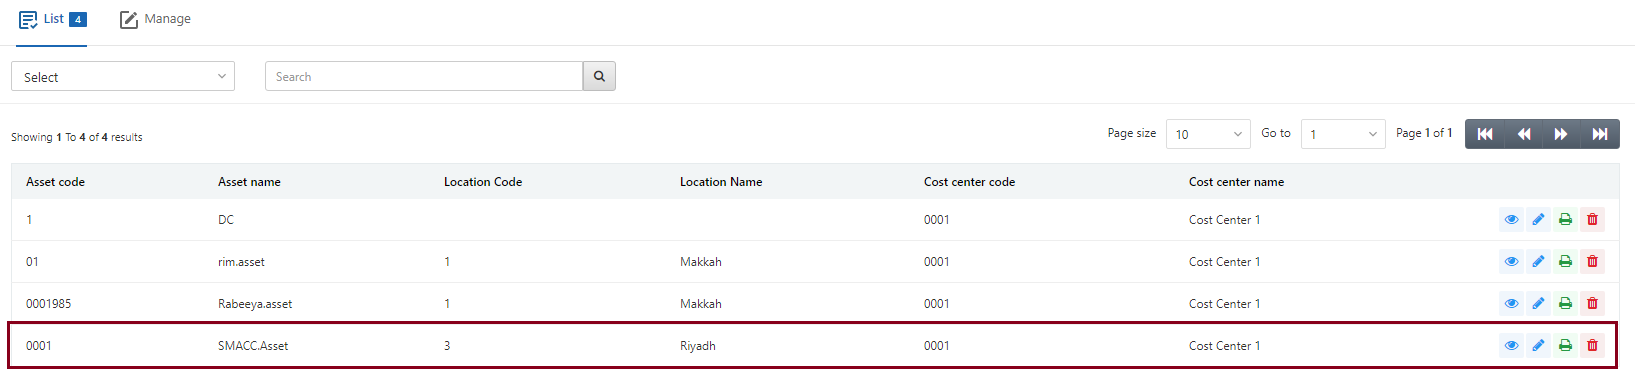
Select the desired asset from the list.
There are four icons (Load, Edit, Print, and Delete) in front of each entry.
![]()
Click on the Edit (blue pencil) icon.
You can update the asset details. Click on the Save button to save the information.
Deleting the Asset
To delete the assets, go to Fixed Assets > Masters > Assets, the assets page is displayed.
Select the desired asset from the list.
There are four icons (Load, Edit, Print, and Delete) in front of each entry.
![]()
Click on the Delete (red) icon to delete the entry.
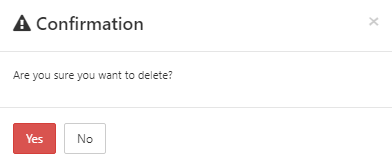
Click on the Yes button to confirm the deletion.
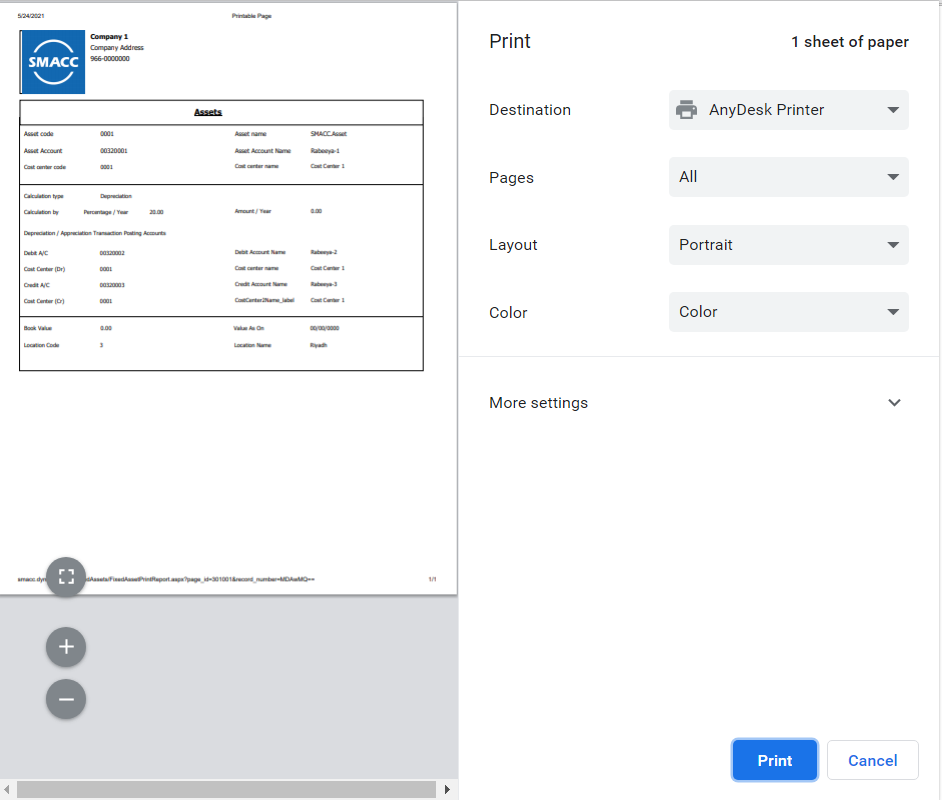
Printing the Asset
To print the assets, go to Fixed Assets > Masters > Assets, the assets page is displayed.
Select the desired asset from the list.
There are four icons (Load, Edit, Print, and Delete) in front of each entry.
![]()
Click on the Print (green) icon to print the entry.