

In salary advance, you can keep salary advance information of the employees. You can update and delete the information.
Adding new Entries in Salary Advance.
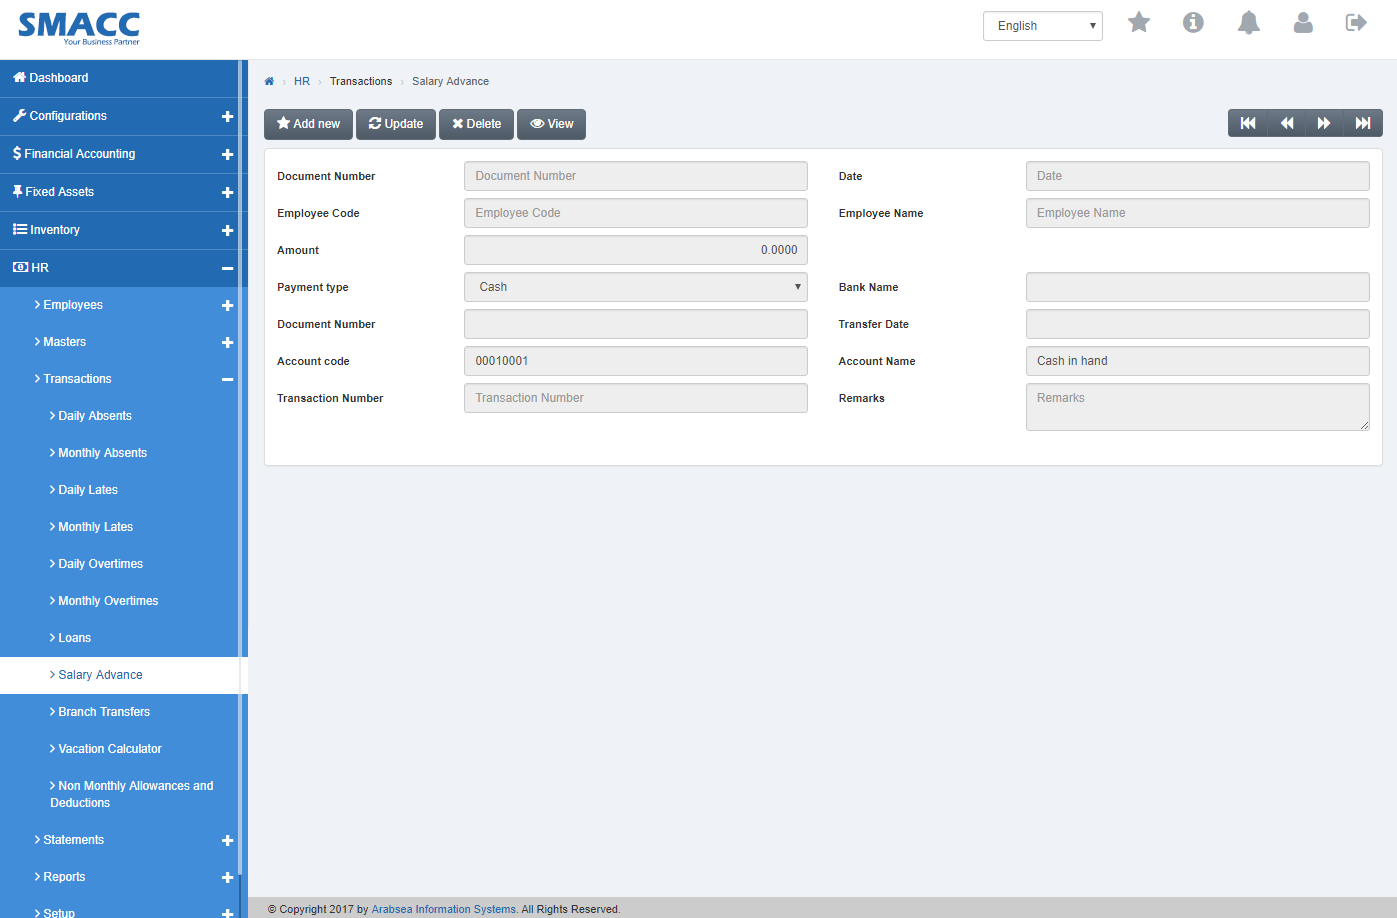
To add “New Entries in Salary Advance”, click on the “HR”, then “Transactions”, then click “Salary Advance”.Salary Advance page will be displayed.

Click “Add new” button on the top of Salary Advance page.

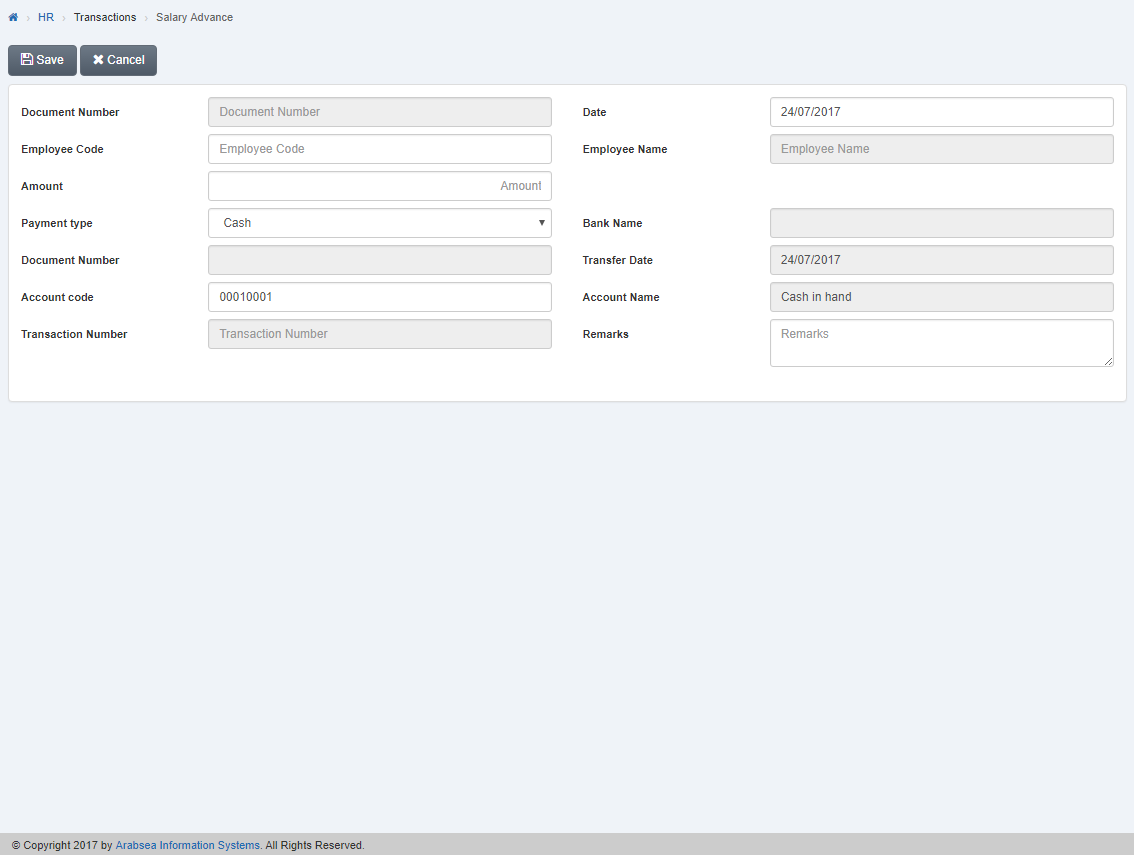
Enter employee code or click in “Employee Code” input box then employee code list will be drop down. Select your desired employee code then selected employee name will be appeared in “Employee Name” input box.

Enter date in “Date” input box.
![]()
Enter loan amount in “Amount” input box.
![]()
Click in “Payment” list box then payment list will be drop down. Select your desired payment type.
![]()
If you select e transfer in payment type then enter bank name in “Bank Name” input box. Enter payment number in “Payment Number” input box, then enter payment date in “Payment Date” input box.

If you select cheque in payment type then enter bank name in “Bank Name” input box. Enter cheque number in “Cheque Number” input box, then enter Cheque date in “Cheque Date” input box.

Enter account code in “Account Code” input box then account code list will be drop down. Select your desired account code then selected account name will be displayed in “Account Name” input box.

Enter remarks in “Remarks” input box.


Click “Save” button to save the information.
Setting Payment Type in Salary Advance.
To set “Payment Type in Salary Advance”, click on the “HR”, then “Transactions”, then click “Loans”. Loans page will be displayed.
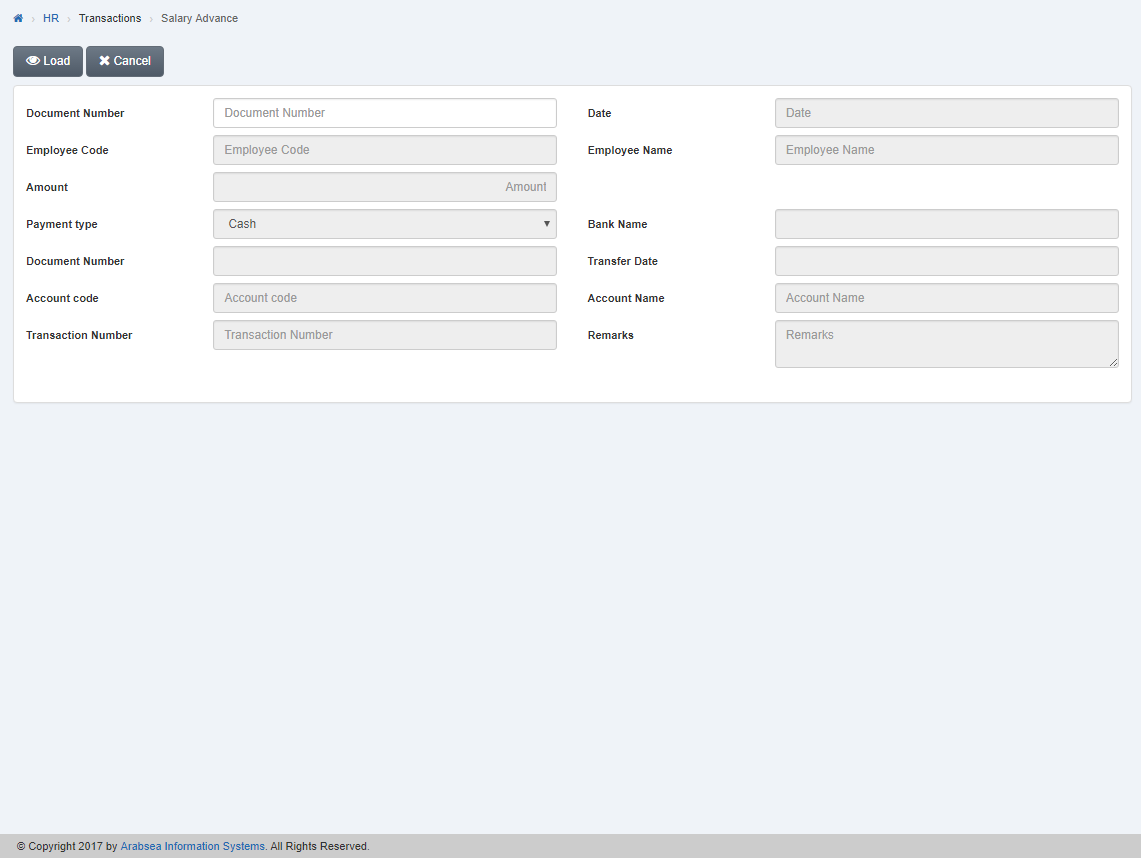
Select employee code by navigation bar or click “Update” button on loans page. Enter document number in “Document Number” input box then click “Load” button.

Click in “Payment” list box then payment list will be drop down. Select your desired payment type.

If you select e transfer in payment type then enter bank name in “Bank Name” input box. Enter payment number in “Payment Number” input box, then enter payment date in “Payment Date” input box.

If you select cheque in payment type then enter bank name in “Bank Name” input box. Enter cheque number in “Cheque Number” input box, then enter Cheque date in “Cheque Date” input box.

Click “Save” button to save the information.
Setting Account Code in Loans.
To set “Account Code in Loans”, click on the “HR”, then “Transactions”, then click “Loans”. Loans page will be displayed.

Select employee code by navigation bar or click “Update” button on loans page. Enter document number in “Document Number” input box then click “Load” button.

Enter account code in “Account Code” input box then account code list will be drop down. Select your desired account code then selected account name will be displayed in “Account Name” input box.


Click “Save” button to save the information.
Deleting Entries in Loans.
To delete “Entries in Loans”, click on the “HR”, then “Transactions”, then click “Loans”. Loans page will be displayed.

Select employee code by navigation bar or click “Update” button on loans page. Enter document number in “Document Number” input box then click “Load” button.
A prompt box will be appeared.

Click “Yes” button to delete the information.