In the warehouse, you can add new warehouse details in your desired language. You can set nested warehouse and sub warehouse support. You can update, delete, and print your desired warehouse information.
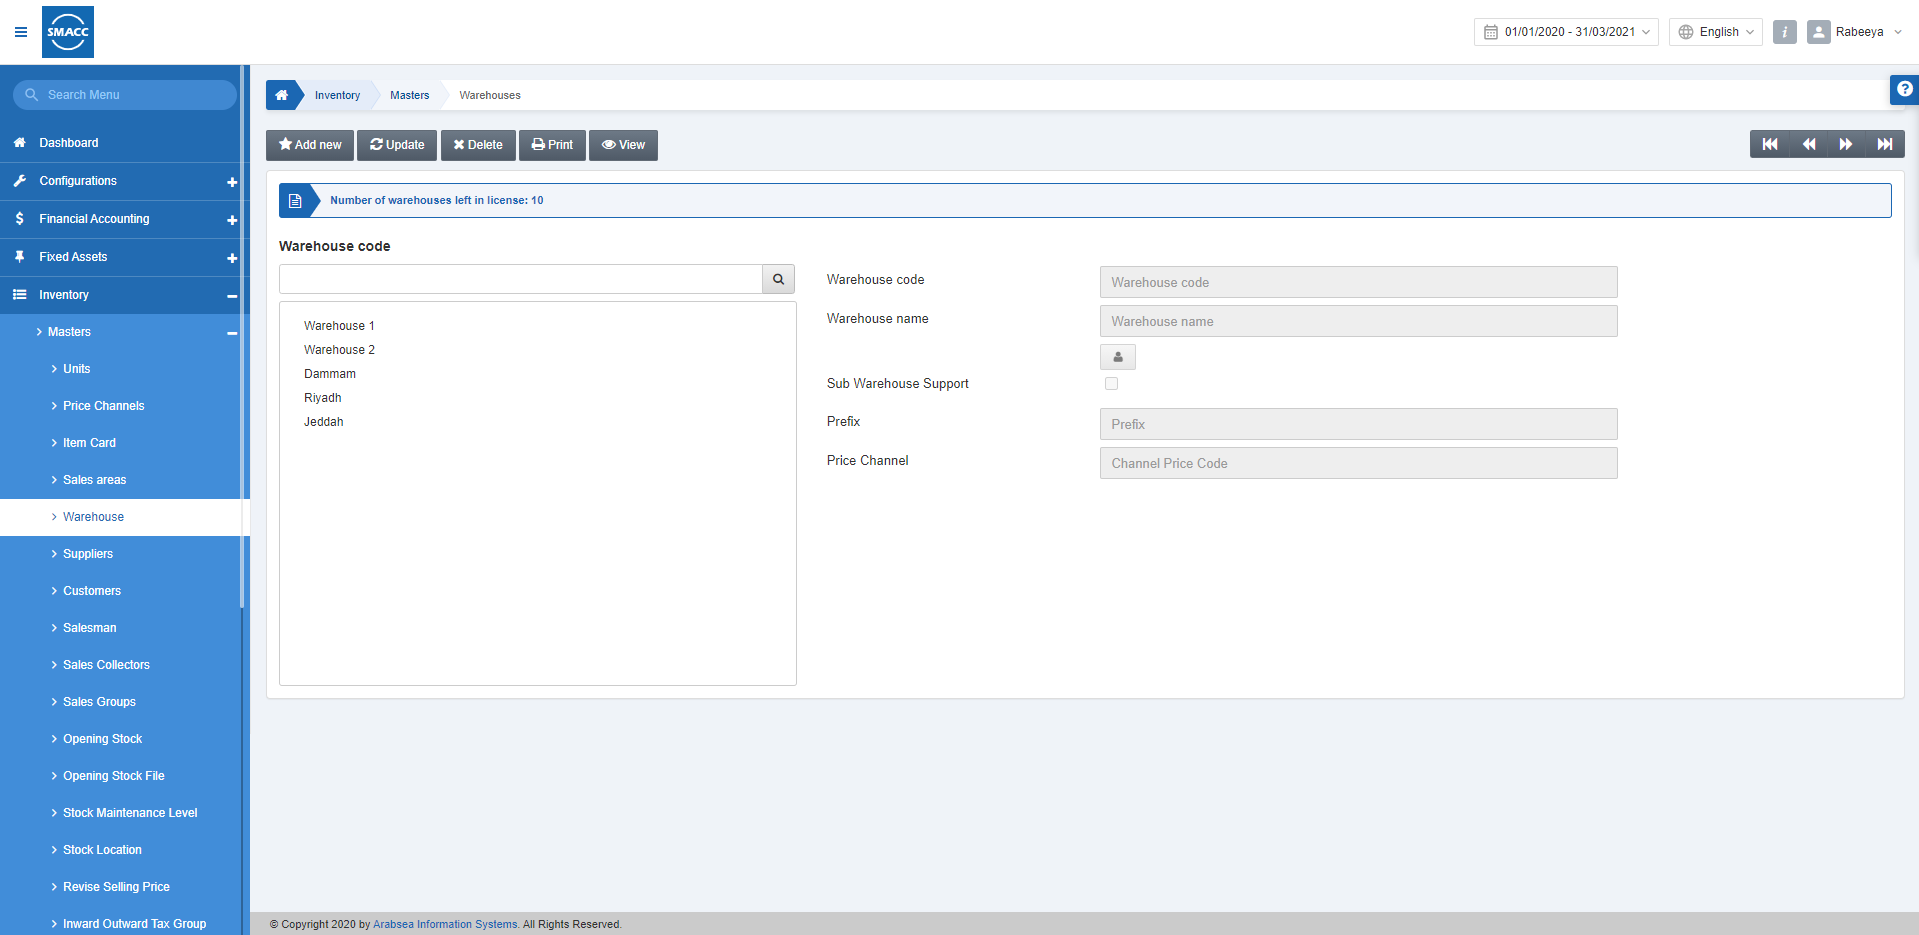
Adding a New Warehouse
To add a new Warehouse, go to Inventory > Masters > Warehouse, the Warehouse page is displayed.

Click on the Add new button at the top of the page.

Add this Item at Root: This checkbox allows the warehouse to be added in the end/root.
Warehouse Code: This field is auto-generated by the system.
Warehouse Name: Enter the warehouse name.
Manage Names: Click on the Manage Names button to set the name of the warehouse in multiple languages.


Click on the Proceed button to save the information.
Sub Warehouse Support: This checkbox when unchecked allows a single entry of the warehouse.
Prefix: Add a unique prefix for the warehouse that will identify the warehouse.
Price Channel: This field allows the selection of price channel from the drop-down list.
Note: The warehouse Prefix is shown in POS Management Module while you operate the POS WPF application.

Click on the Save button to save the information.
Setting Sub Warehouse Support
To set Sub Warehouse Support go to Inventory > Masters > Warehouse, the Warehouse page is displayed.

Warehouse Code: Enter the desired warehouse code in the search bar.
Click on the Search button.

Click on the Update button at the top of the page.

Sub Warehouse Support: Check the checkbox of Sub Warehouse Support.
Click on the Save button to save the information.
Nested Levels of Warehouse
You can add 9 nested levels (1 parent warehouse, 8 child warehouses). To add nested warehouse, go to Inventory > Masters > Warehouse, the Warehouse page is displayed.

Warehouse Code: Enter the desired warehouse code in the search bar.
Click on the Search button.
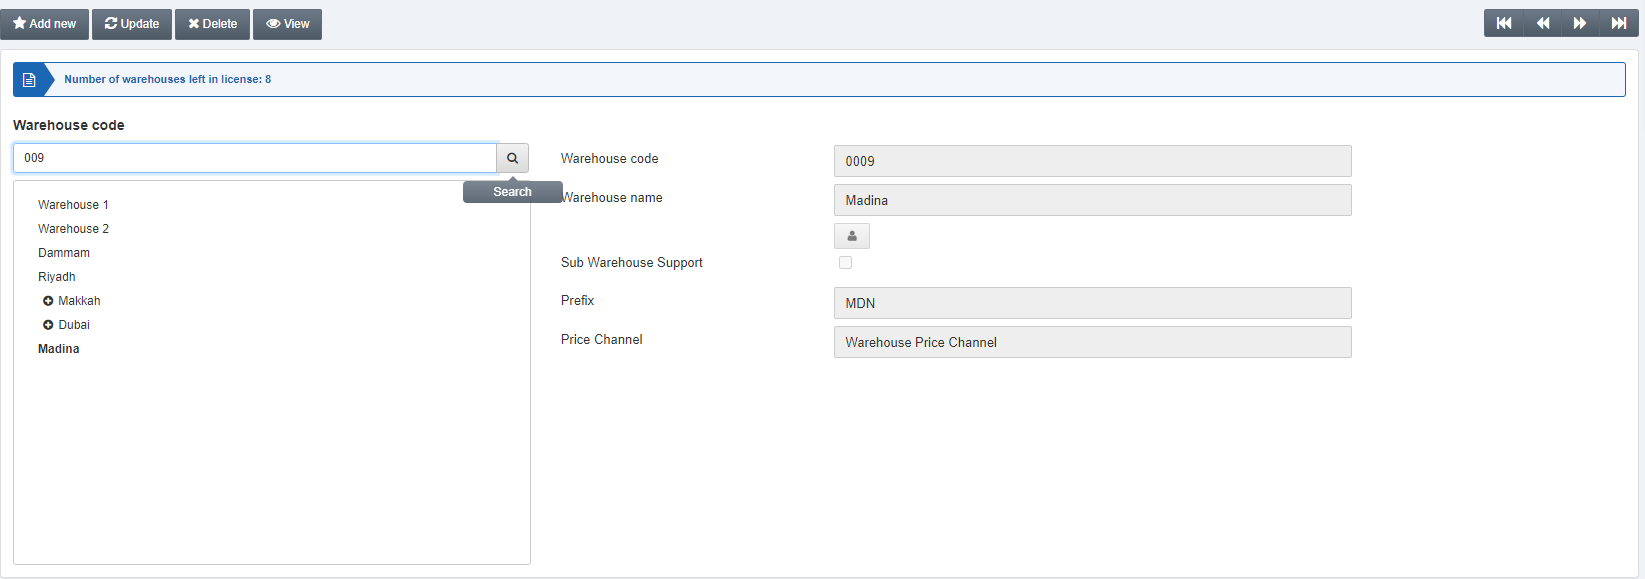
Click on the Add New button to add a nested warehouse under the “Madina” warehouse with code 0009.
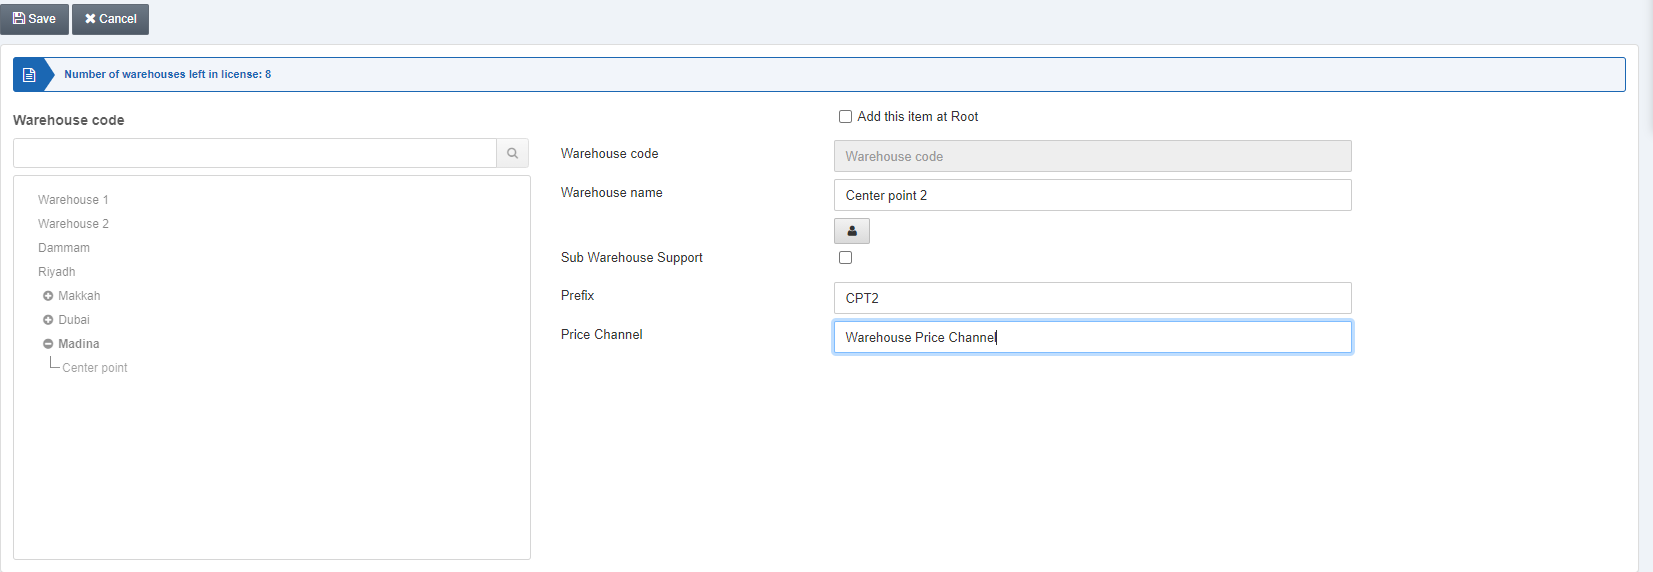
You can set up to a maximum of 9 nested levels.

Deleting Warehouse/Sub Warehouse
To delete Warehouse/Sub Warehouse go to Inventory > Masters > Warehouse, the Warehouse page is displayed.

Warehouse Code: Enter the desired warehouse code in the search bar.
Click on the Search button.
Now, click on the Delete button at the top of the page.
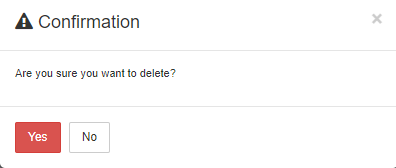
Click on the Yes button to confirm the deletion.
Printing Warehouse/Sub Warehouse
To print Warehouse/Sub Warehouse go to Inventory > Masters > Warehouse, the Warehouse page is displayed.

Warehouse Code: Enter the desired warehouse code in the search bar.
Click on the Search button.
Now, click on the Print button at the top of the page.
Note: You can add the sub item support for every nested warehouse, thus forming a hierarchical tree.
