

In account master, you can add, update, view, and delete all the information about your account data. The type of account and cost center support can be set. Also, you can freeze an account by checking its dependency.
Adding a New Account
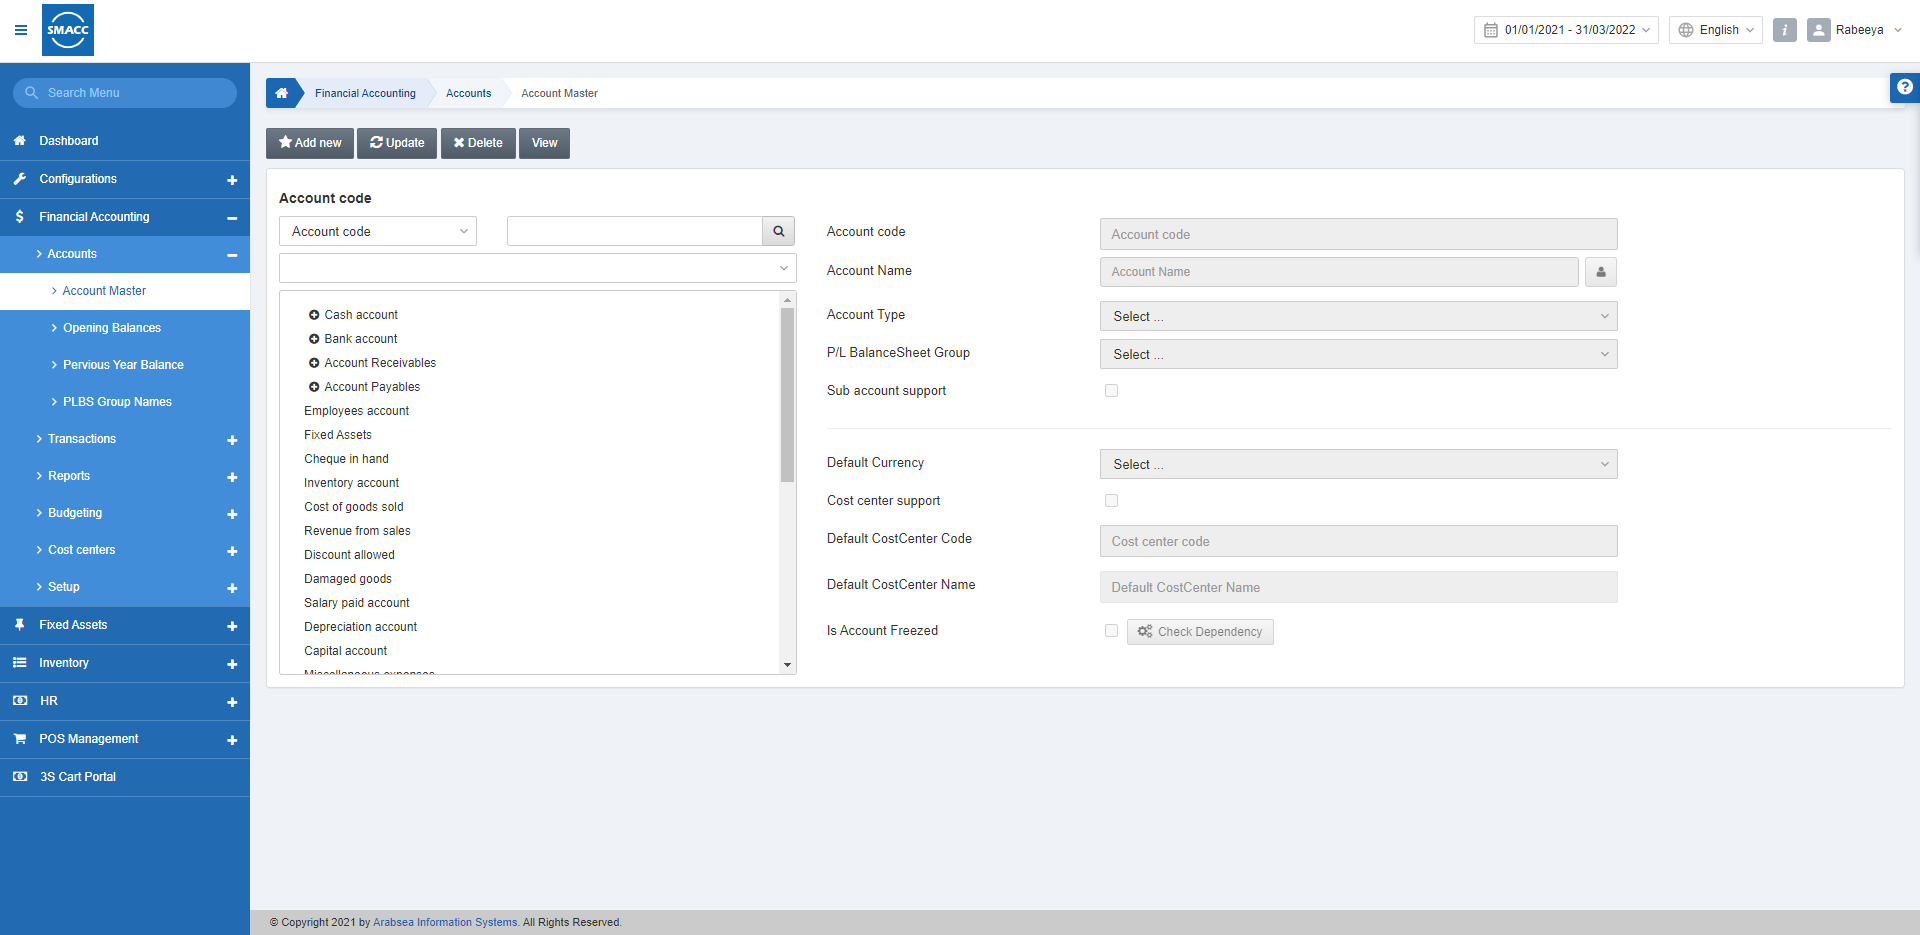
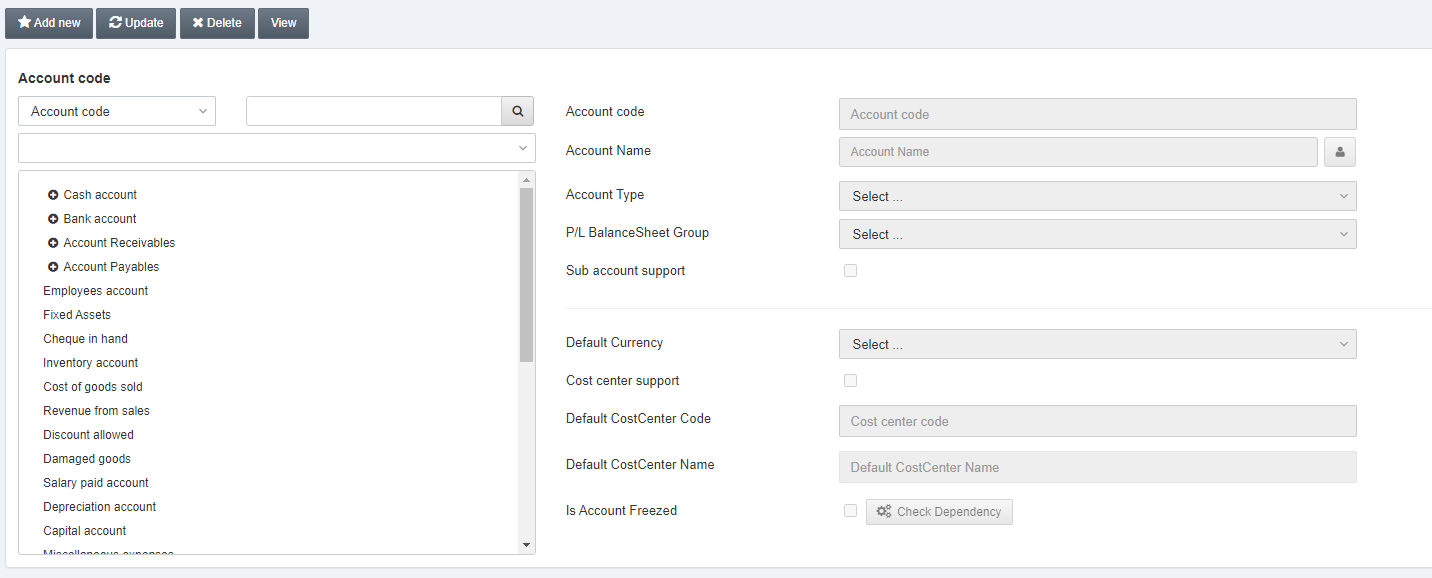
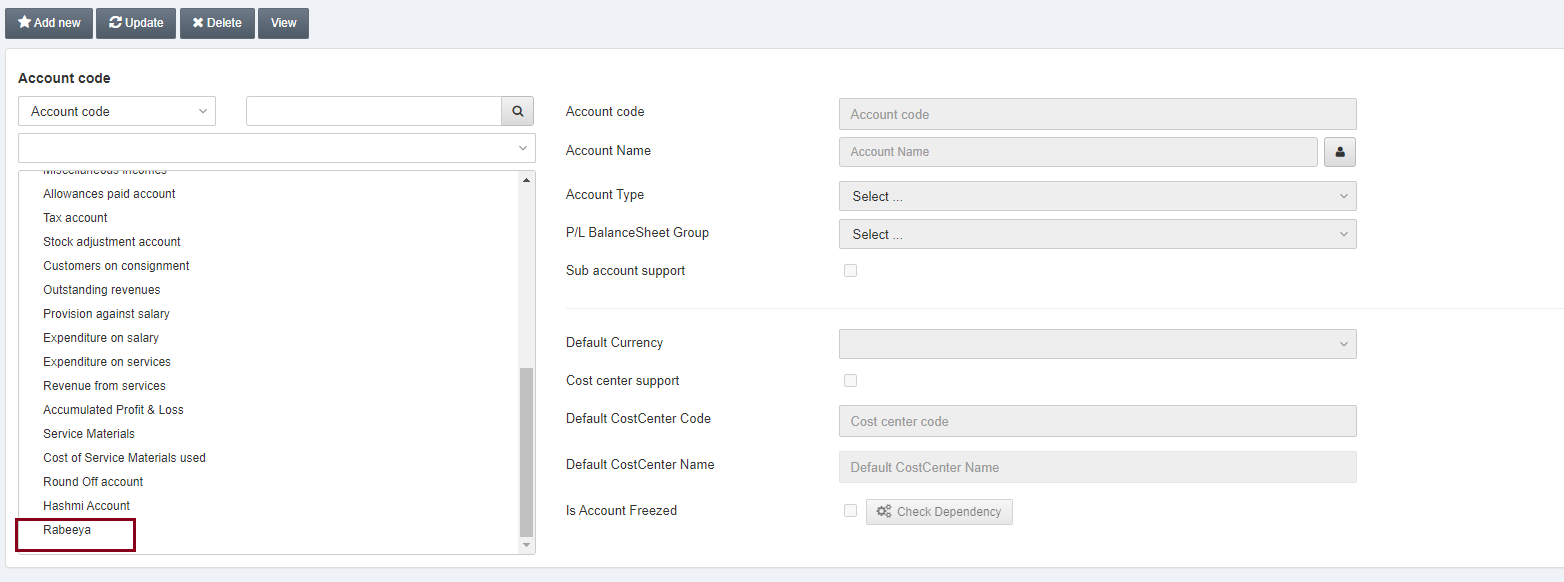
To add a new account go to Financial Accounting > Accounts > Account Master, the Account Master page is displayed.
Click on the Add new button at the top of the page.
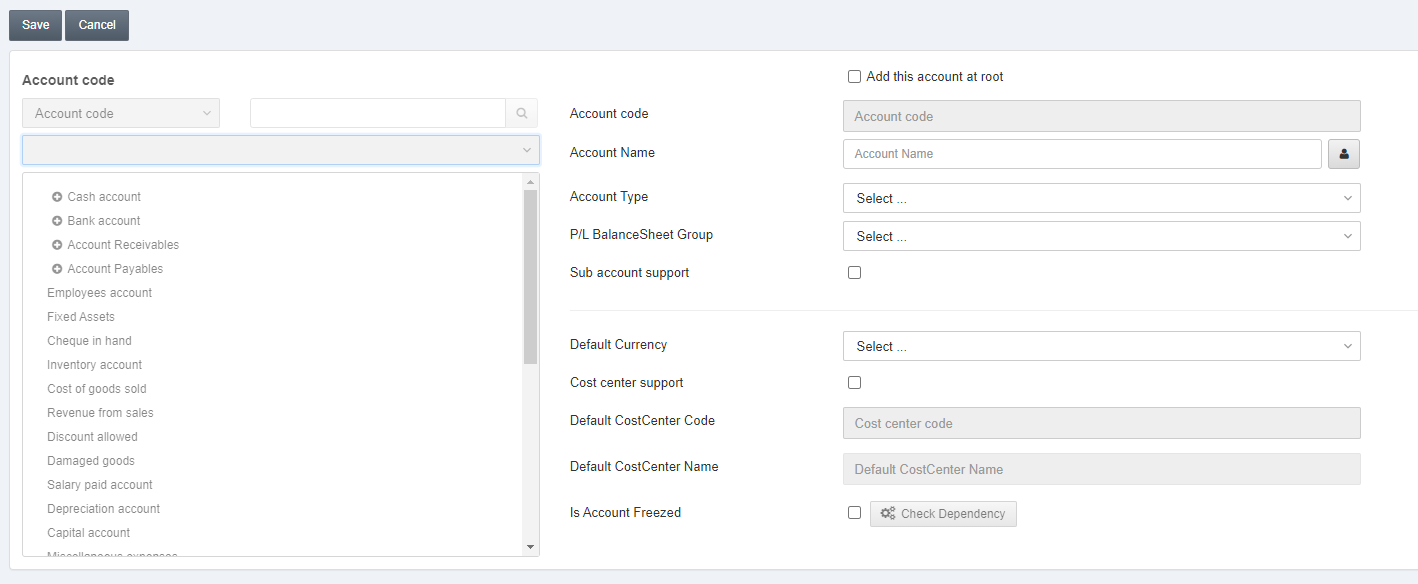
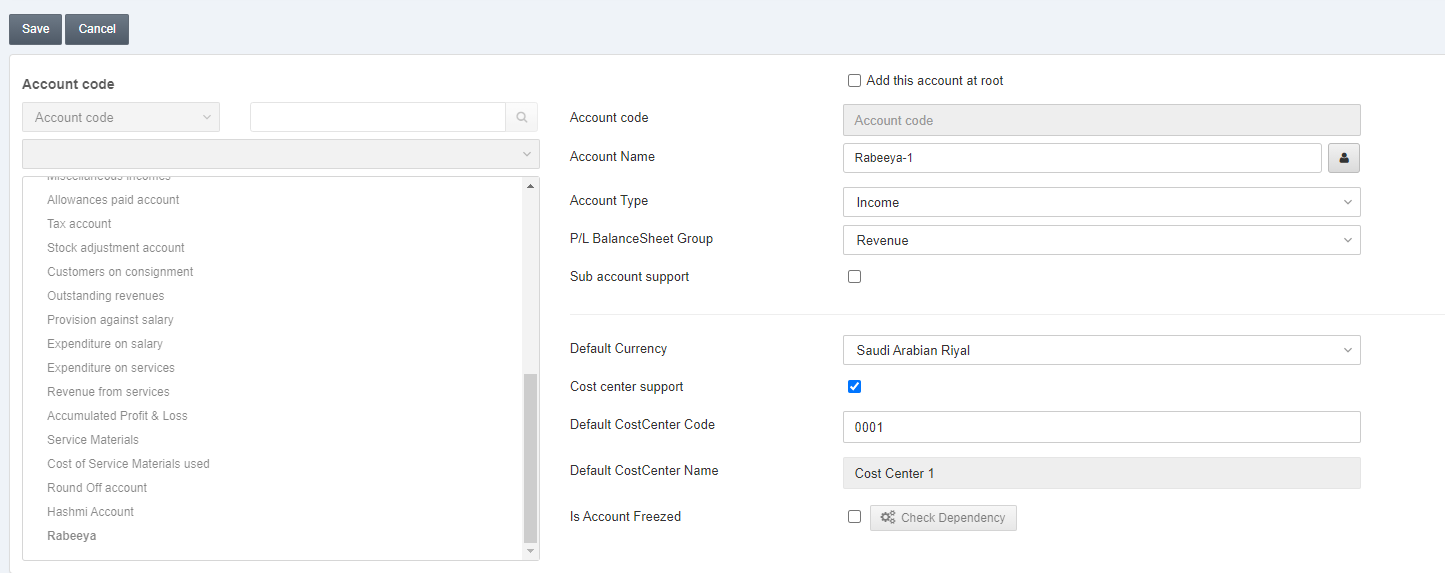
Add this account at root: By checking this checkbox, you can add the new account at the end of all the given accounts.
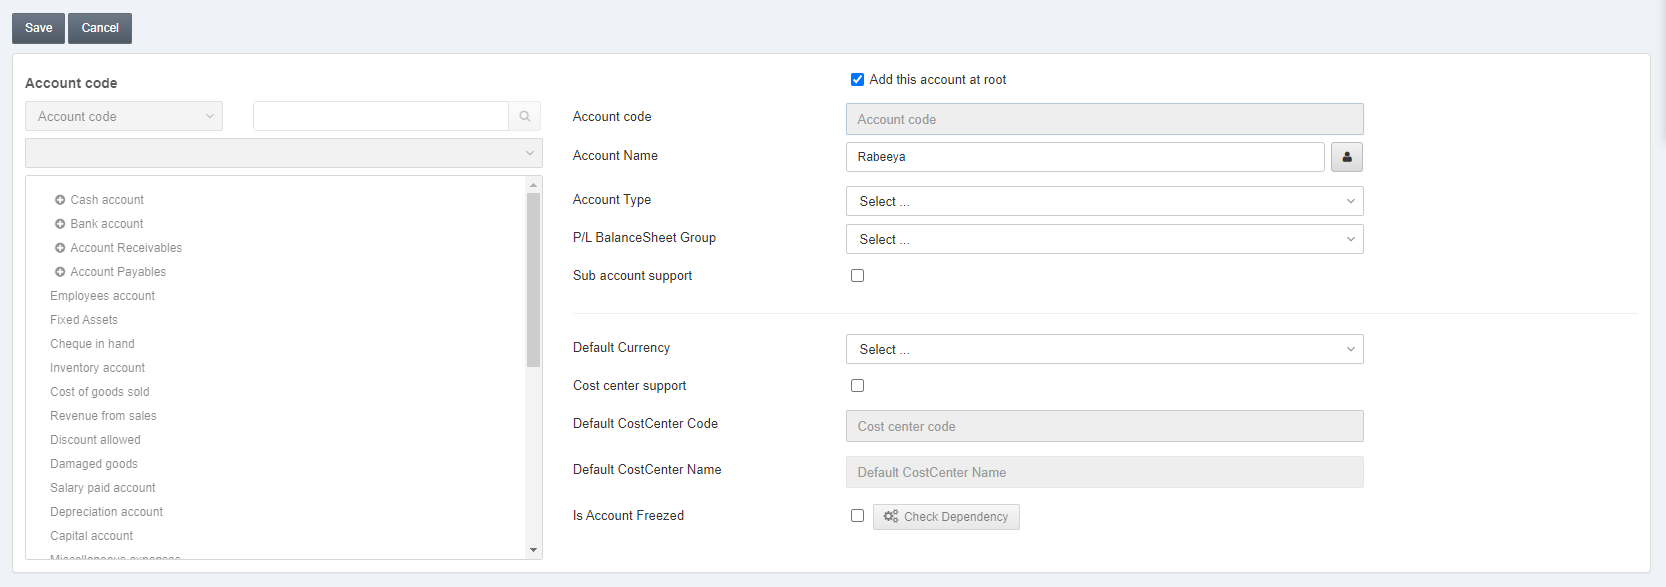
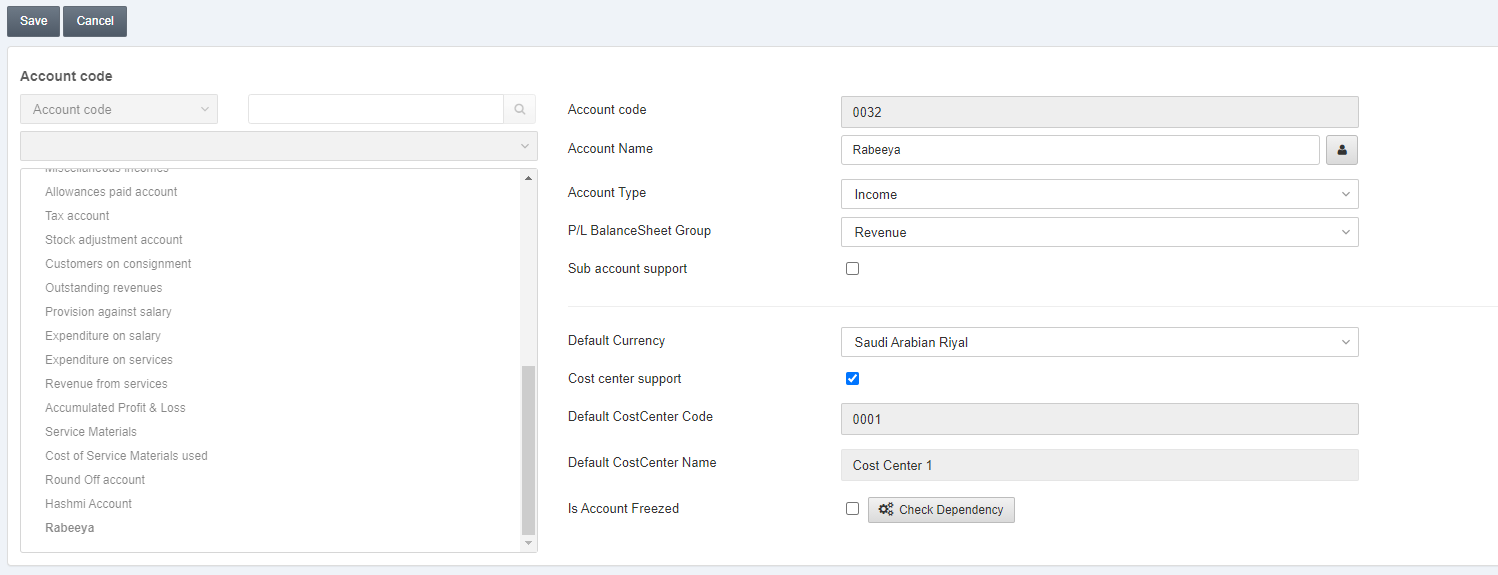
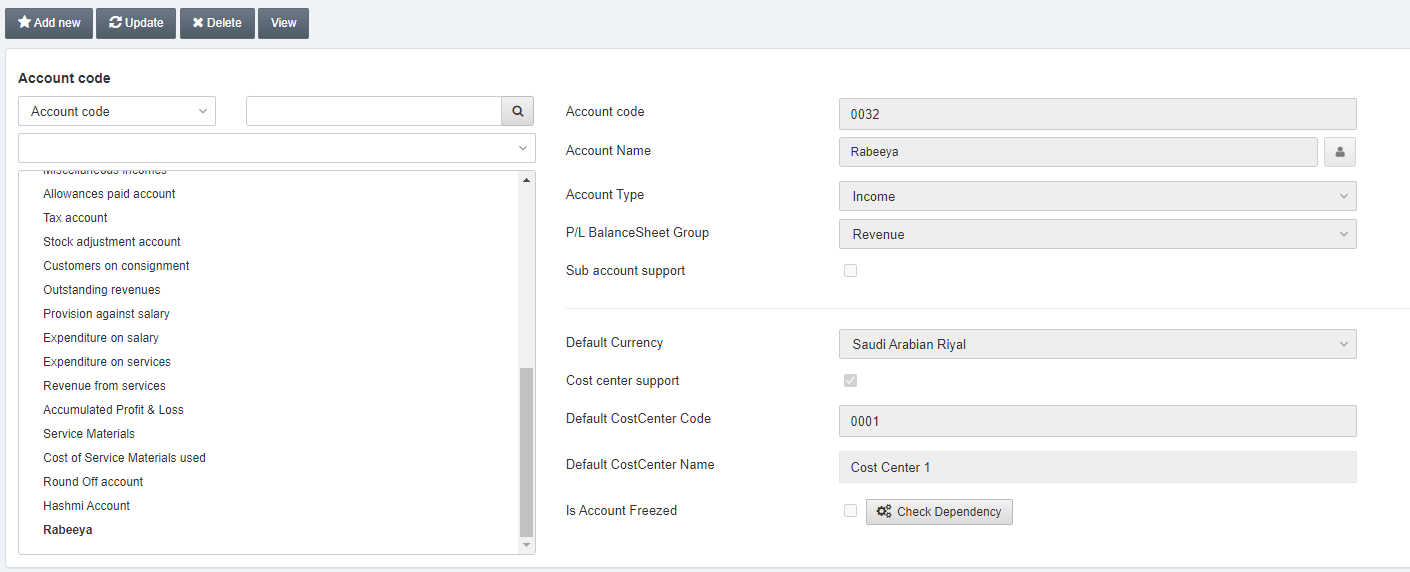
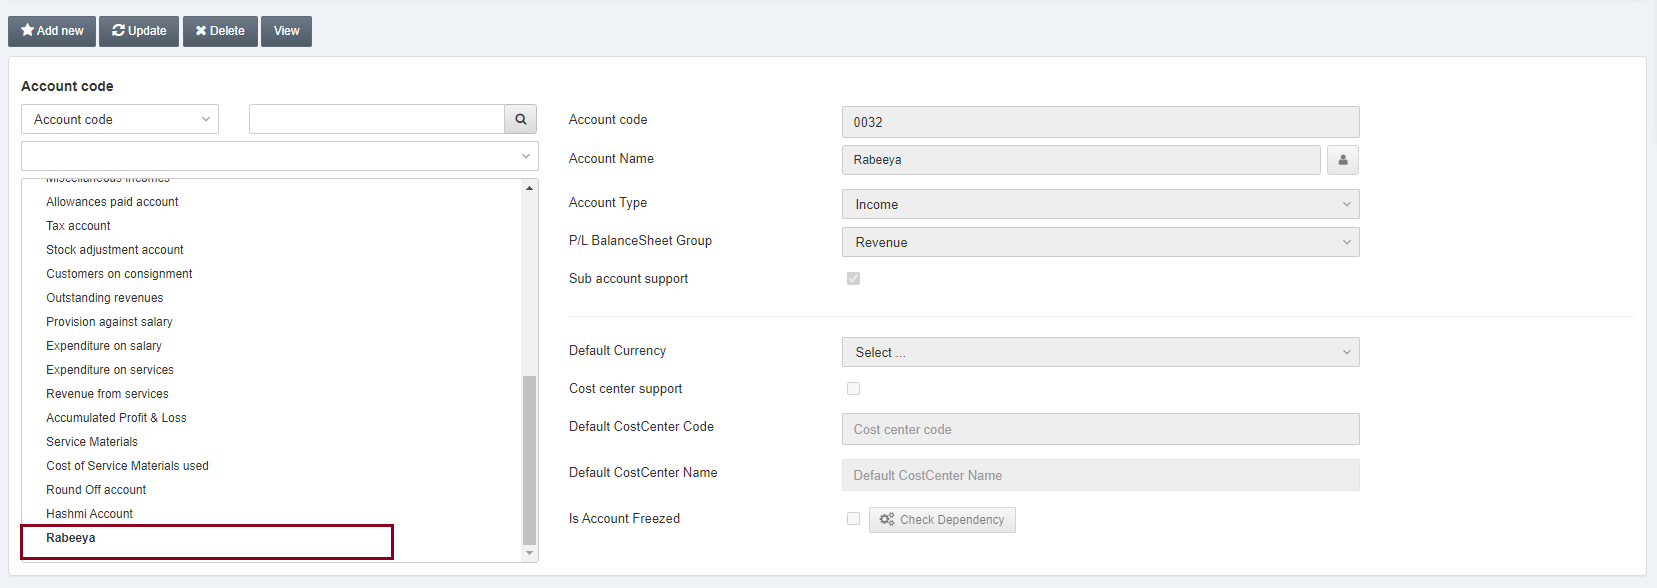
Account Code: This code is auto-generated by the system.
Account Name: Enter your desired account name.
![]()
Manage Names button: Click on the highlighted manage names button to add the equivalent name of the account in other languages like Arabic.
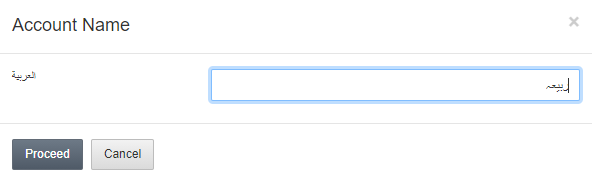
Click on the Proceed button to save the information.

Account Type: This field allows the selection of the account type from the drop-down list. For example, select income type.
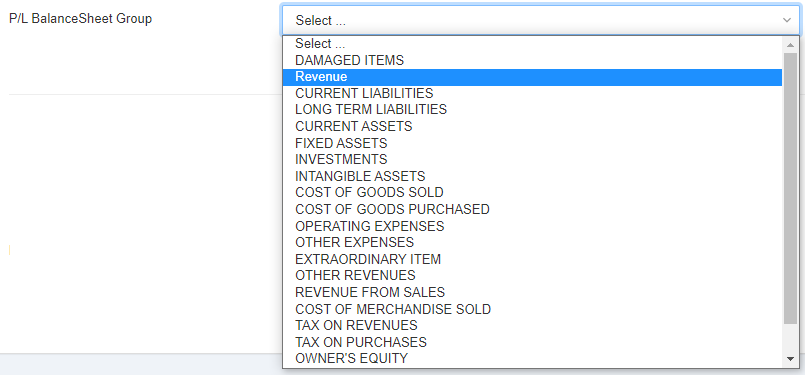
P/L Balance Sheet Group: This field allows the selection of profit or loss balance sheet groups from the drop-down list.

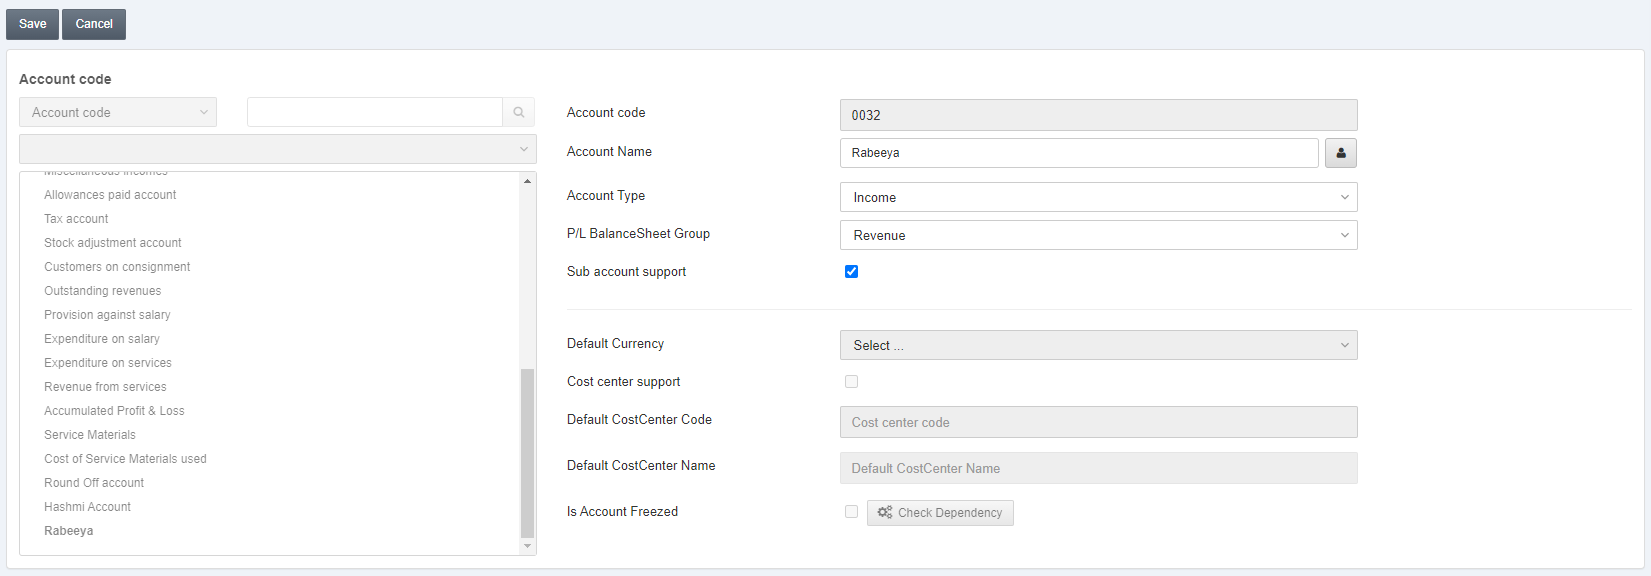
Sub Account Support: This checkbox when checked turns the account into the parent category and further child accounts can be added called nested levels of accounts.
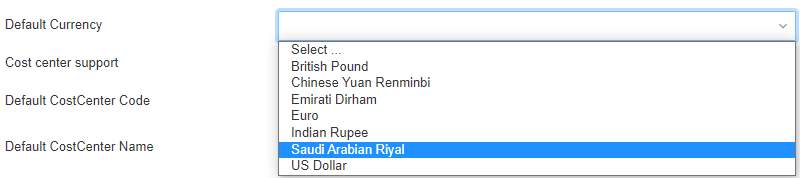
Default Currency: This field allows the selection of default currency for the account from the drop-down list.

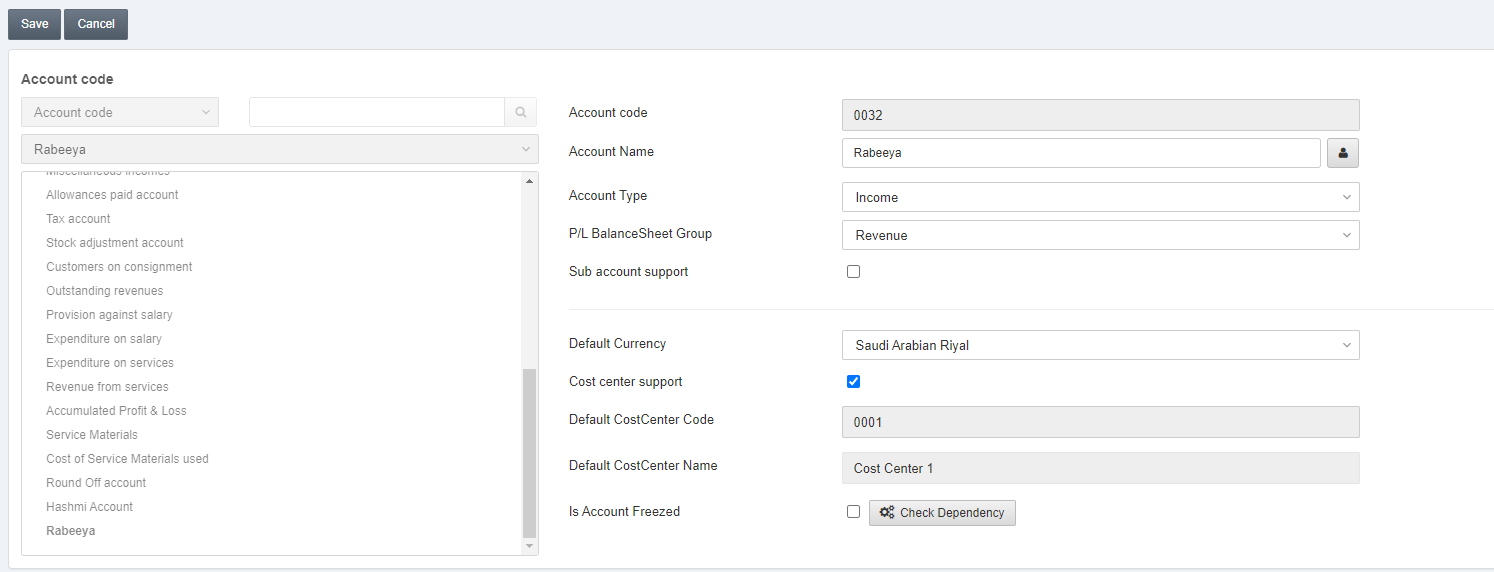
Cost Center Support: This checkbox when checked, allows the cost center connection with your account.
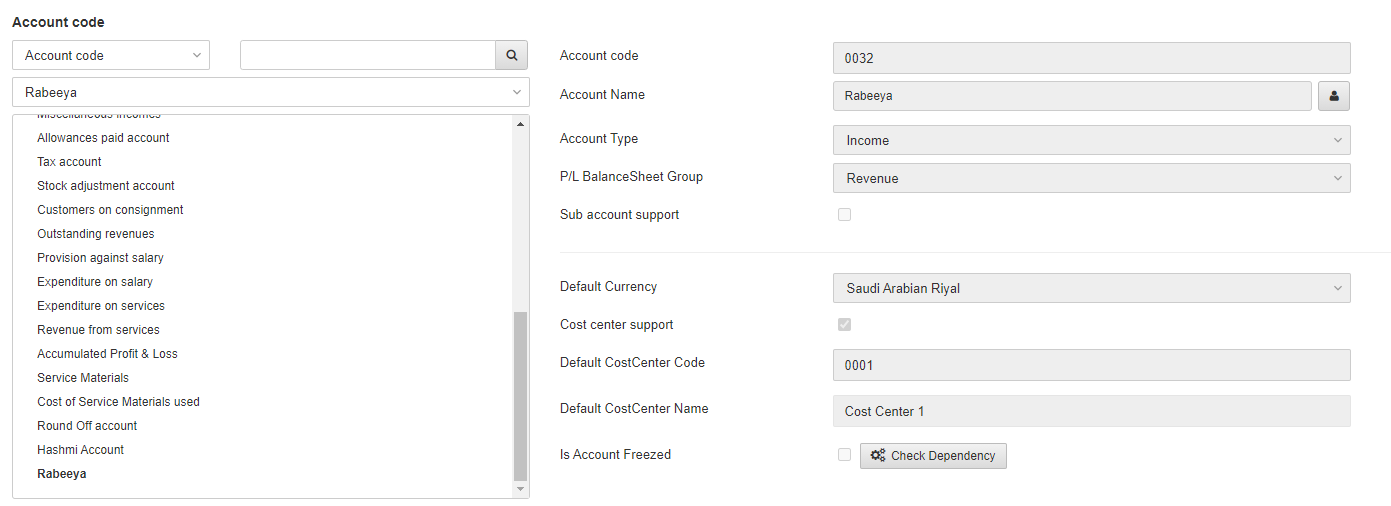
Default Cost Center Code: You can select a cost center from the drop-down list. For example, 0001.
Default Cost Center Name: This field is auto-fetched by the system based on the default cost center code.

Is Account Freezed: This checkbox is checked to freeze this account.
Check Dependency: To check the dependency you first save the new account by clicking on the Save button at the top of the page.
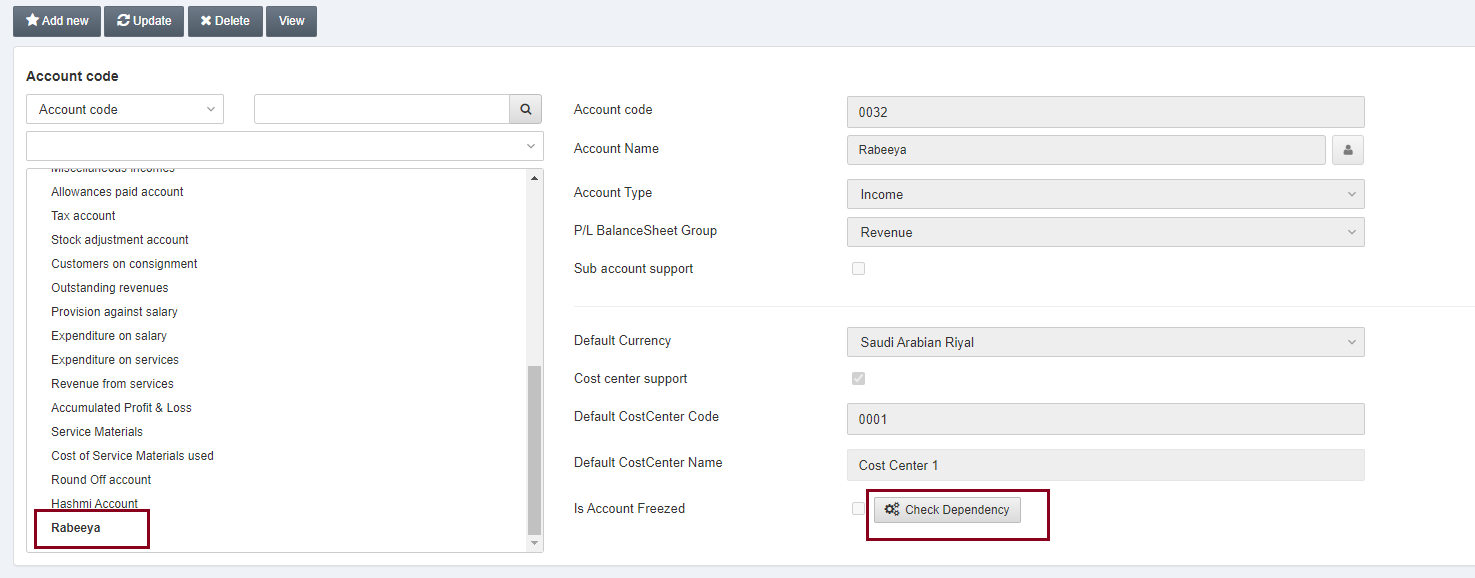
Click on the desired account name from the left side grid and click on the check dependency button.
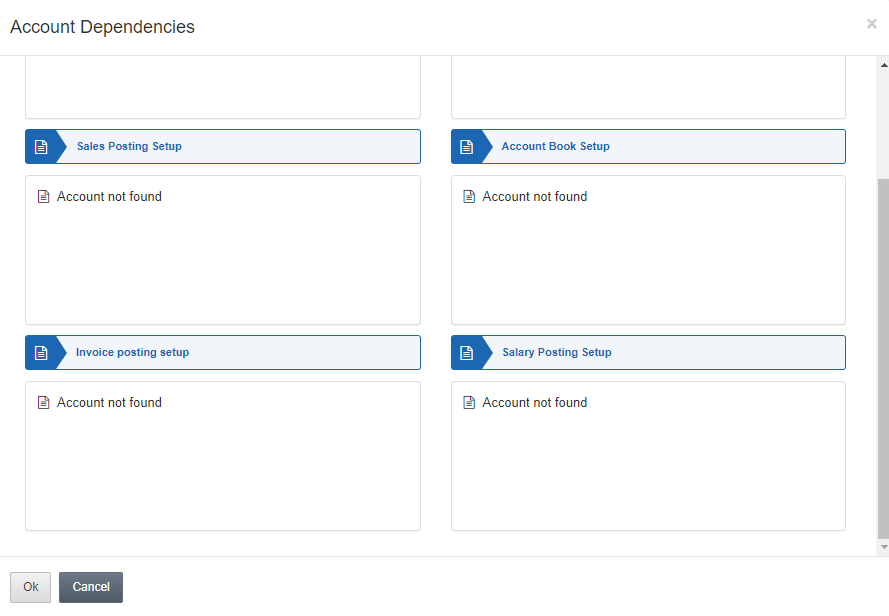
The pop-up window shows the account dependencies such that to freeze an account you must know what posting setup may get affected. Since it is a new account and dependency is nil, you can freeze this account by checking the checkbox of Is Account Freezed and clicking the Save button at the top of the page.
Updating the Account
To edit/update the account go to Financial Accounting > Accounts > Account Master, the Account Master page is displayed.

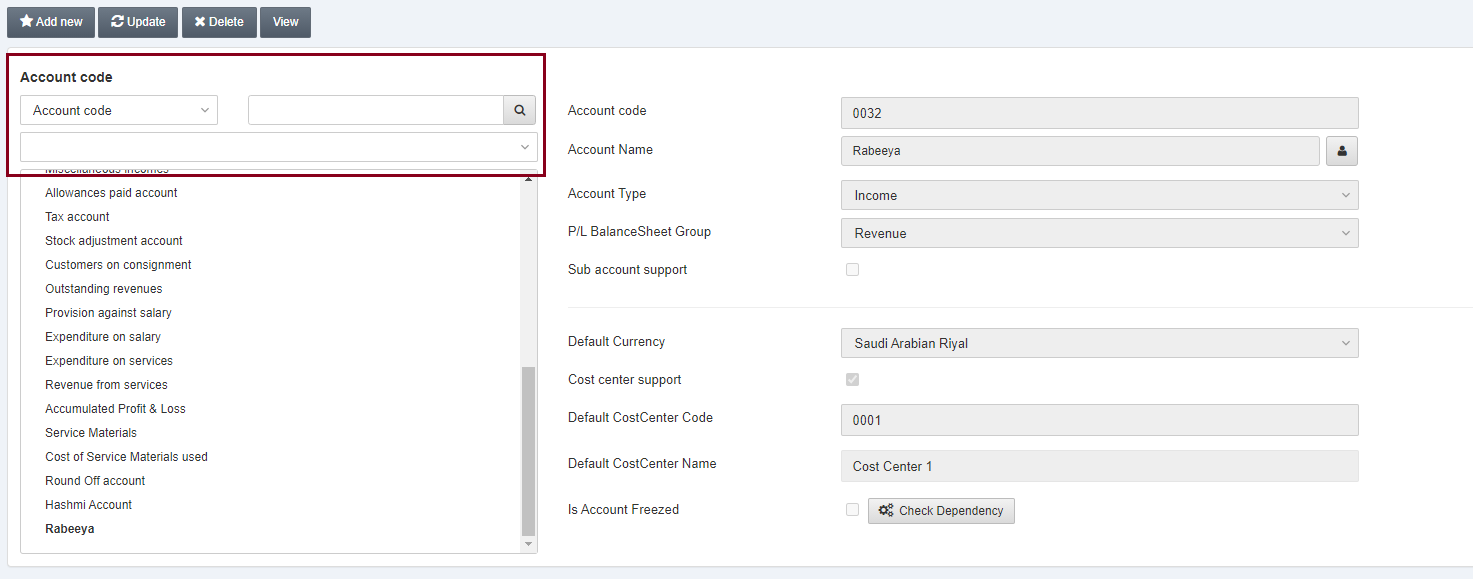
Select the desired account from the left side grid.
Click on the Update button at the top of the page.
You can update the desired account details as per requirement.
Click on the Save button at the top of the page.
Deleting the Account
To delete the account go to Financial Accounting > Accounts > Account Master, the Account Master page is displayed.
Select the desired account from the left side grid.
Click on the Delete button at the top of the page.
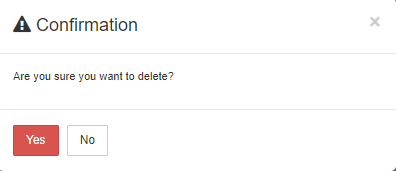
Click on the Yes button to confirm the deletion.
Viewing the Account
To view the account go to Financial Accounting > Accounts > Account Master, the Account Master page is displayed.
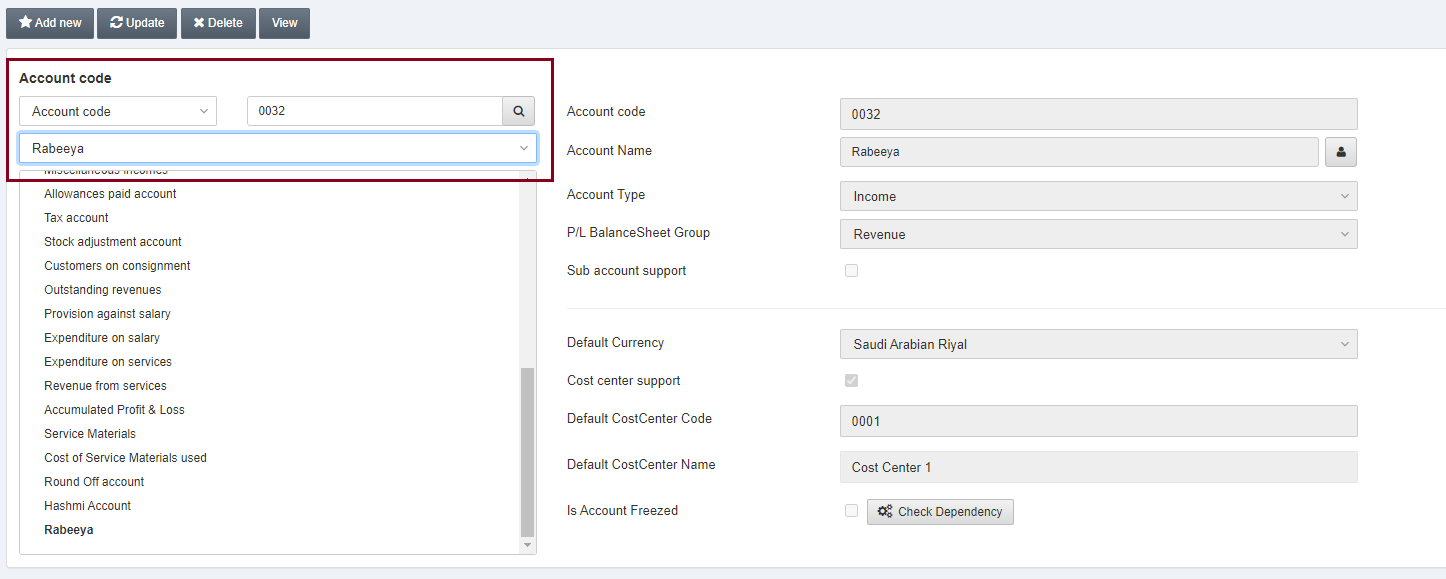
Enter the Account code/ Account name and click on the Search button.
Click on the View button at the top of the page.
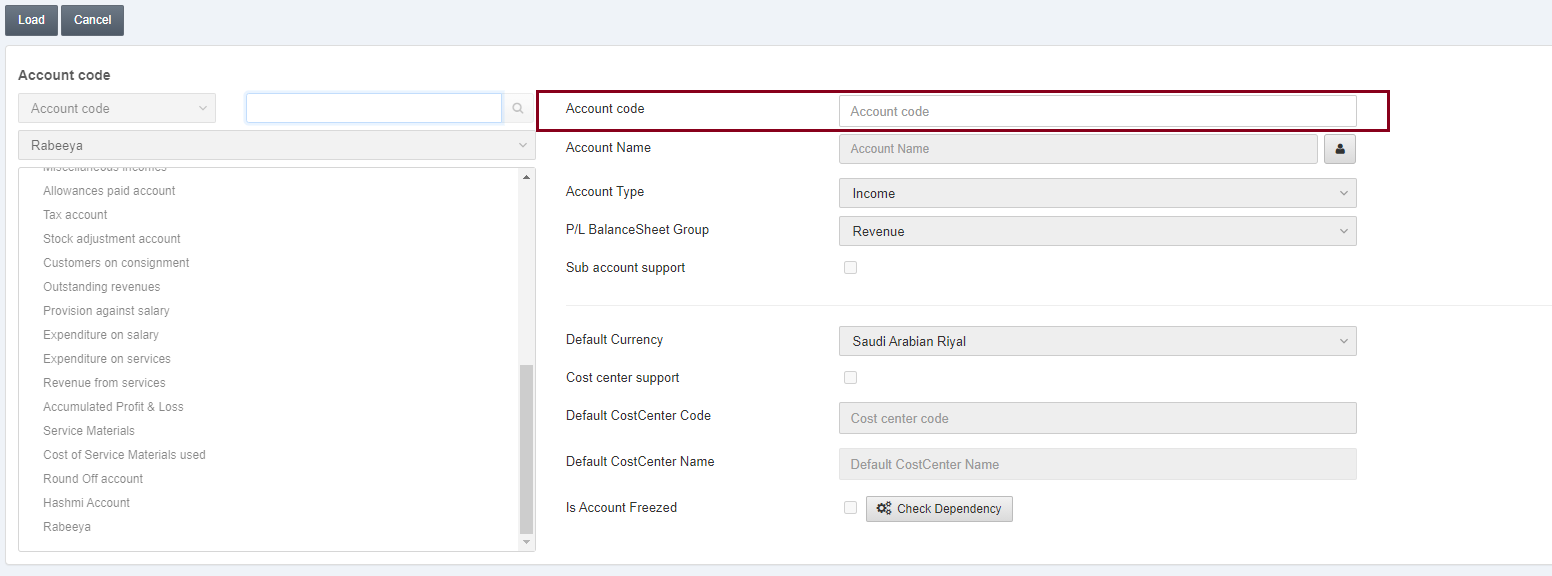
Enter the desired account code.
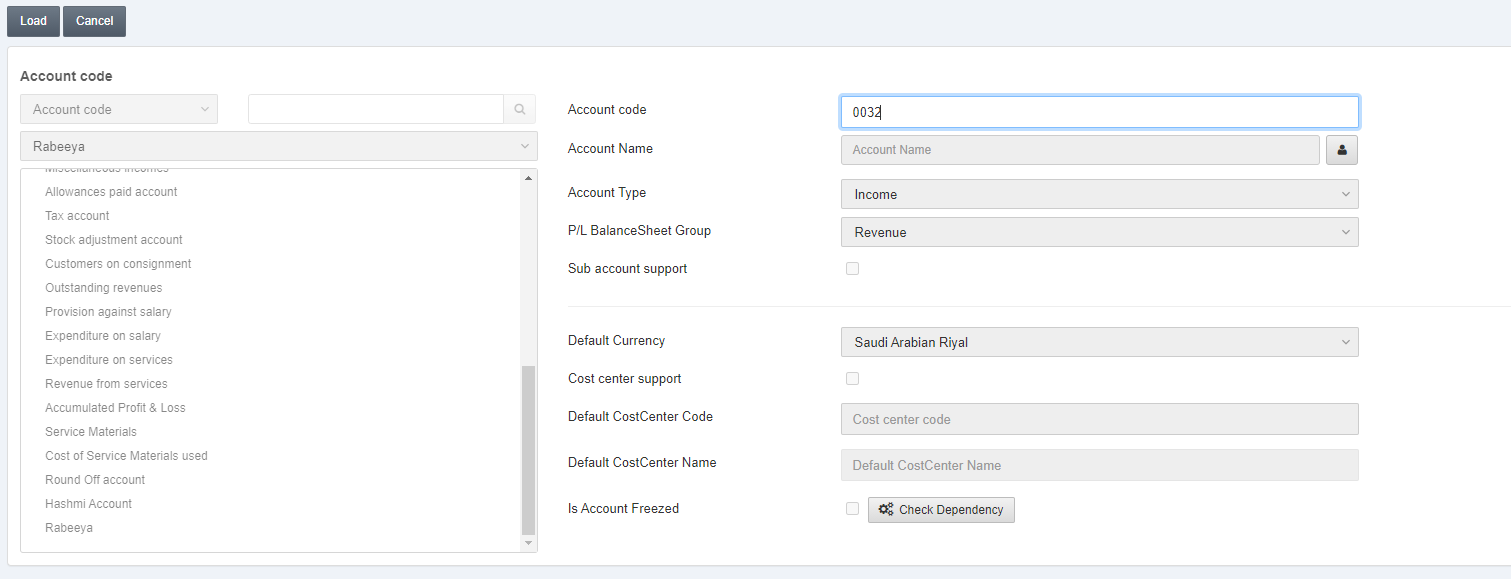
Click on the Load button at the top of the page.
Adding the Nested Levels of Account
To add a new nested level of account go to Financial Accounting > Accounts > Account Master, the Account Master page is displayed.

Select the desired account from the left side grid.

Click on the Update button.
Select the Sub Account Support checkbox to convert this account into the parent category.
Click on the Save button to save the information.
Now click on the desired parent category account name from the left-side grid.
Click on the Add new button at the top of the page.
Now enter all the fields and click on the Save button at the top of the page.
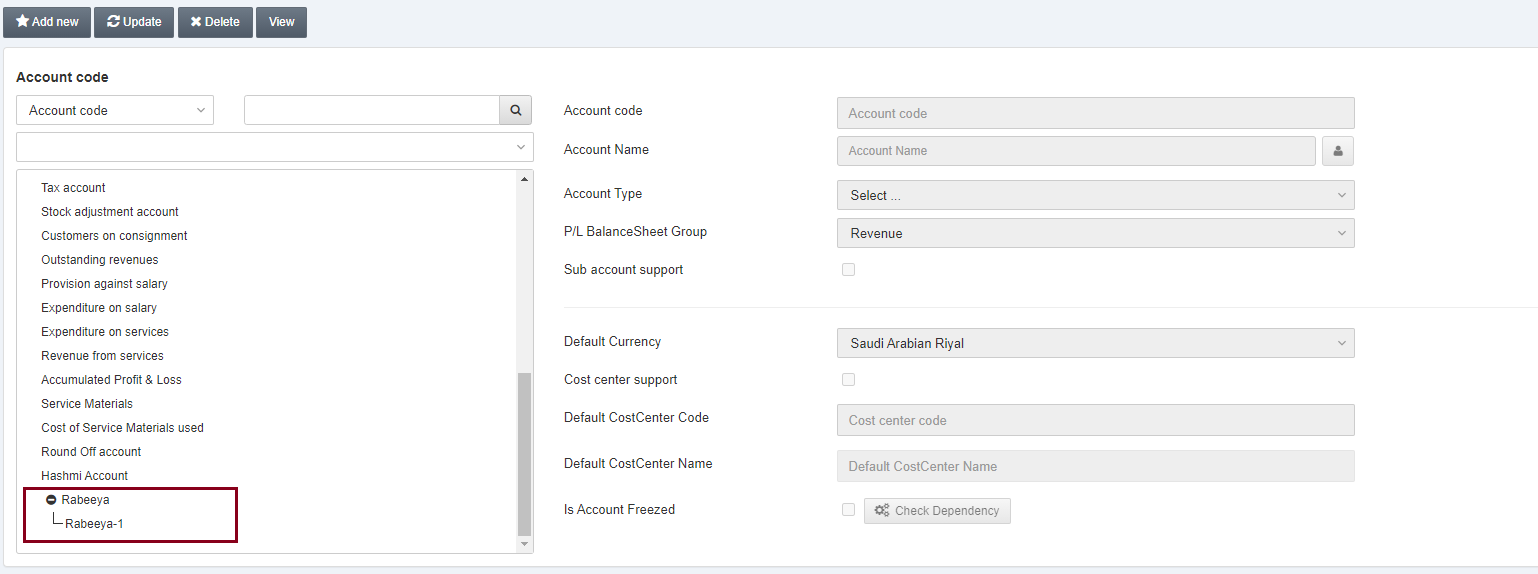
![]()

Similarly, you can add multiple child/nested accounts to the parent category of your desired account.
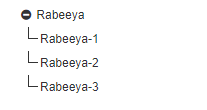
Note: You can further add more nested levels to an already nested level of your desired account.