

The receipt setup defines the settings (image, headings, and footers) of the POS Management’s receipts for the Desktop, Android, or iOS applications.
Setting the Receipt Setup
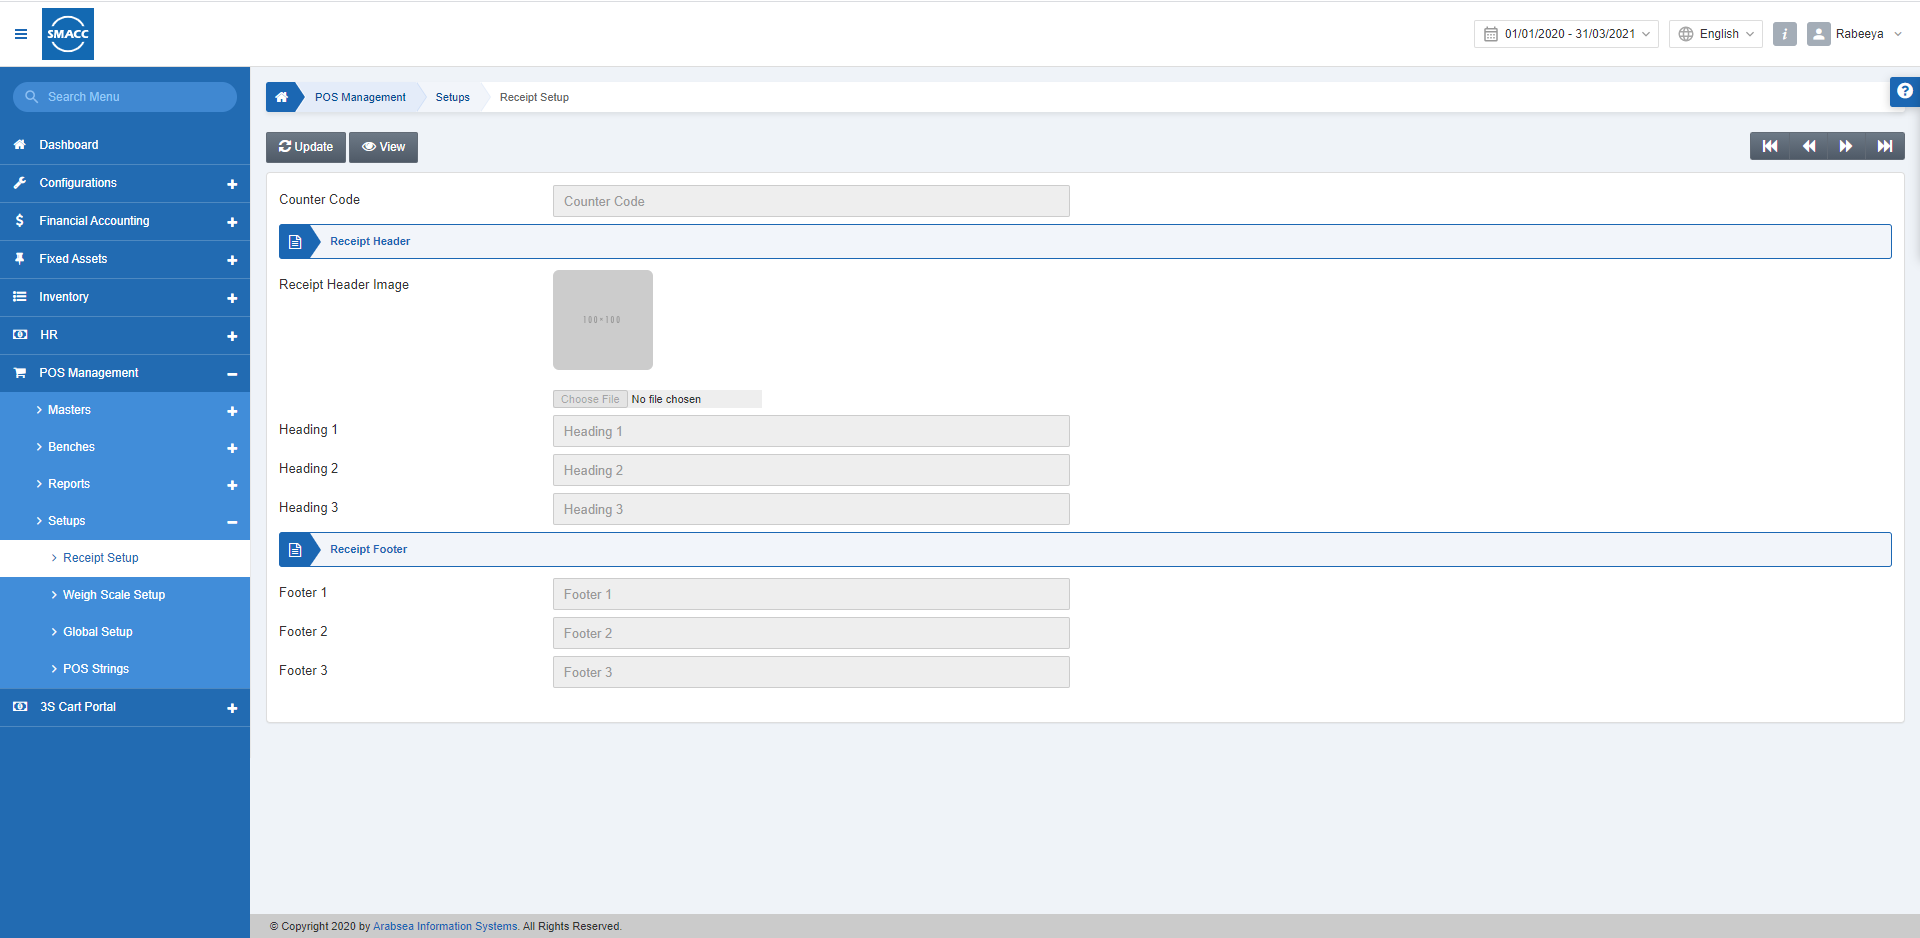
To set the receipts set up, go to POS Management > Setup > Receipt Setup, the receipt setup page is displayed.
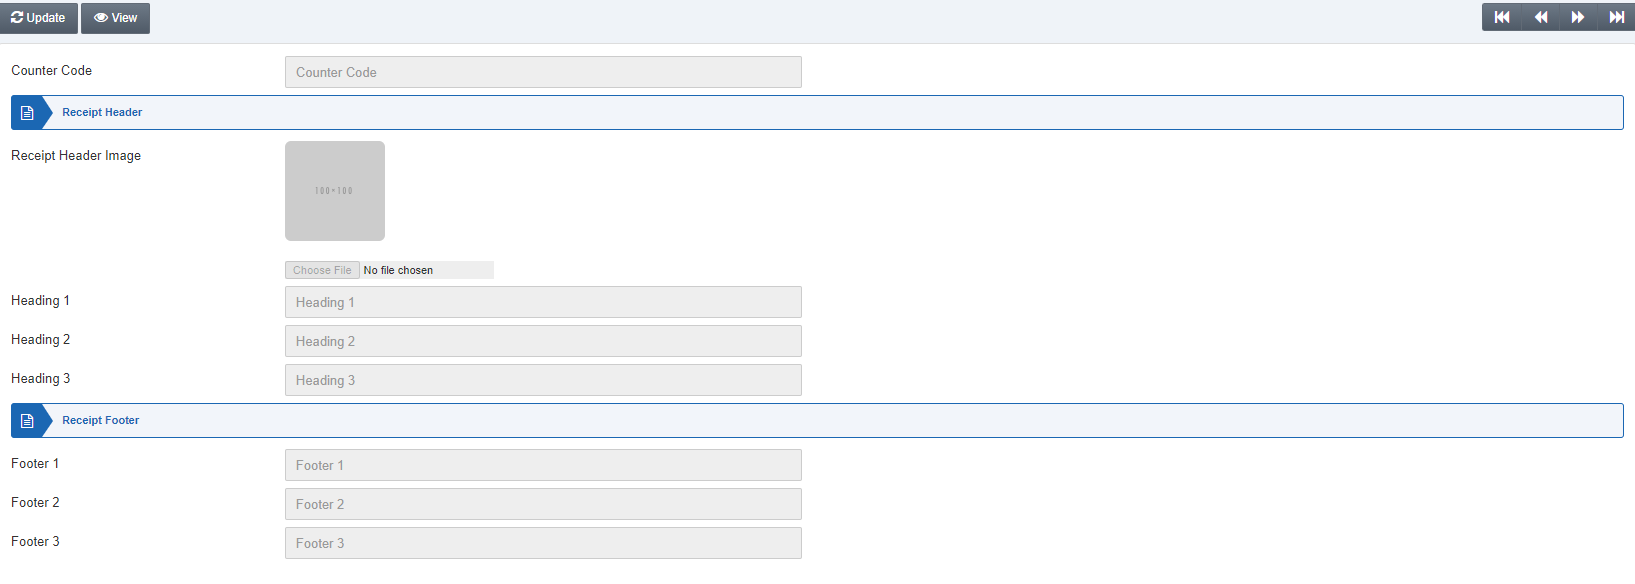
Click on the Update button and the following display is shown.

Counter Code: Select the counter code from the drop-down list. And click on the Load button at the top of the page.
Receipt Header Image: Click on the Choose File button to select an image for your counter receipts’ main logo.
Heading 1: Select Heading 1 as per your requirement. For example, SMACC.
Heading 2: Select Heading 2 as per your requirement. For example, POS WPF Application.
Heading 3: Select Heading 3 as per your requirement. For example, the fruit counter.
Footer 1: Select Footer 1 as per your requirement. For example, Thanks for shopping with us.
Footer 2: Select Footer 2 as per your requirement. For example, Happy Shopping.
Footer 3: Select Footer 3 as per your requirement. For example, Stay safe and come again.
Note: Heading1, Heading2, and Heading 3 define the headings of receipt, and Footer1, Footer2, and Footer 3 define the footers of receipt of POS Management.