The stock adjustment includes the balancing of your stock if the physical quantity of the item does not match with the in-hand quantity (of the system). To match both quantities you require stock adjustment. You can delete or print the entries of stock adjustment.
Adding a Stock Adjustment Entry with Simple Item
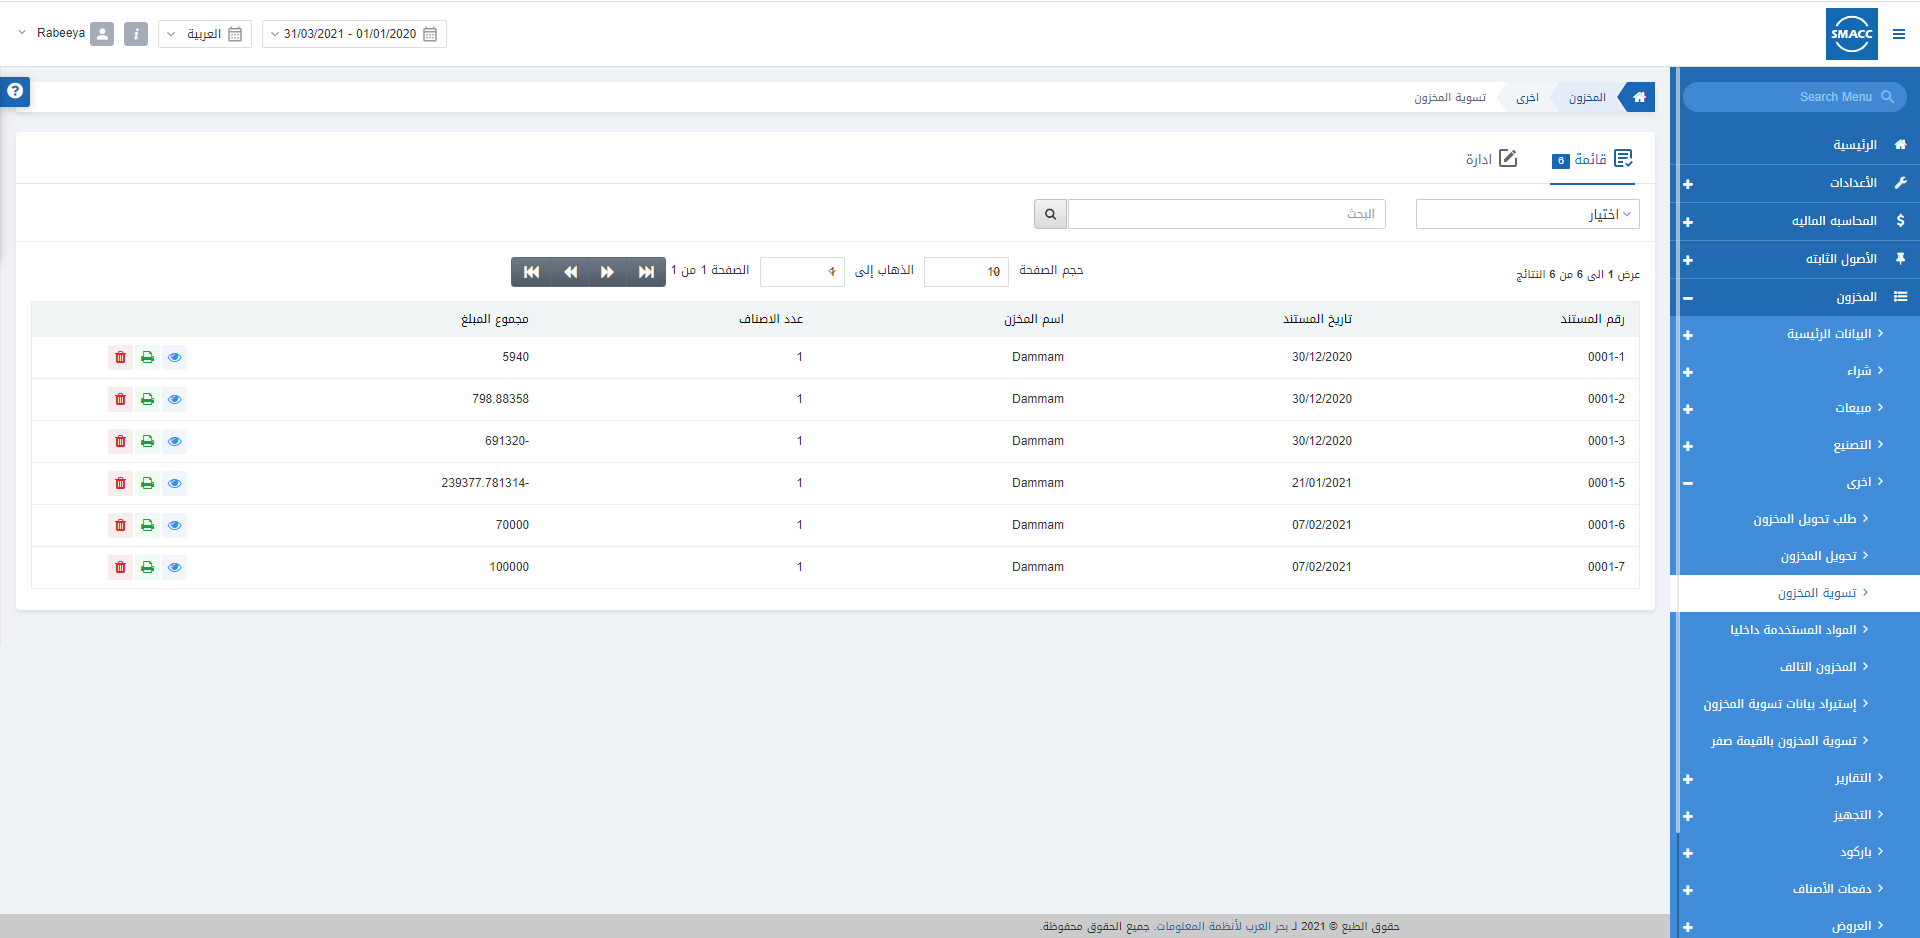
To add a stock adjustment entry, go to Inventory > Others > Stock Adjustment, the stock adjustment page is displayed.
Click on the Manage icon at the top of the page.

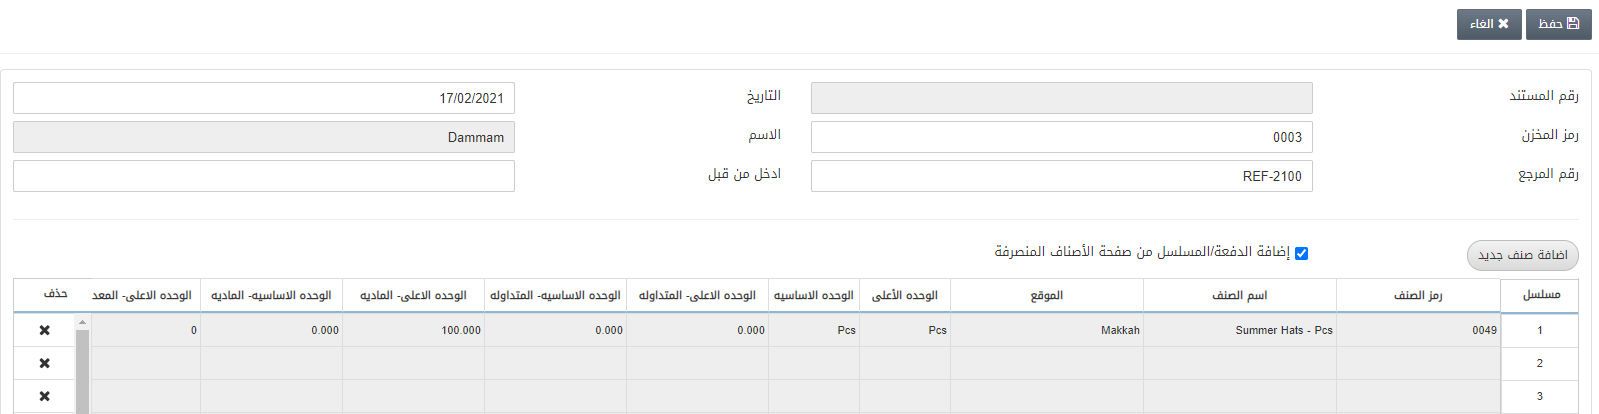
Document Number: This field is auto-generated by the system.
Date: This field sets the date of the stock adjustment which is the present date by default.
Warehouse Code: This field allows the selection of warehouse code from the drop-down list.
Name: This field is auto-fetched by the system based on the warehouse code above.
Reference Number: This field sets the reference number for your ease.
Entered By: This field sets the person’s name who makes stock adjustment’s entry.
![]()
Add New Item: This button allows you the addition of new items to your stock adjustment’s entry.
Add Batch/Serial from Stock Outward page: This checkbox allows the addition of the batch and serial numbers from the stock outward page.
Click on the Add New Item.
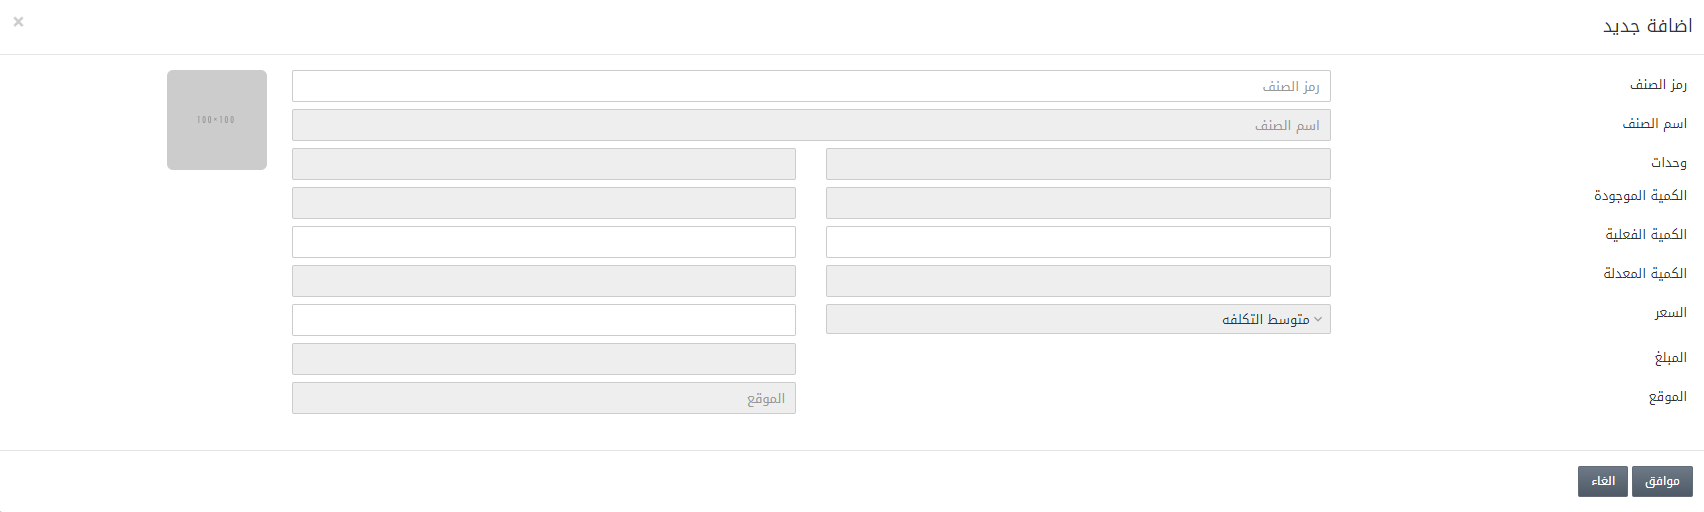
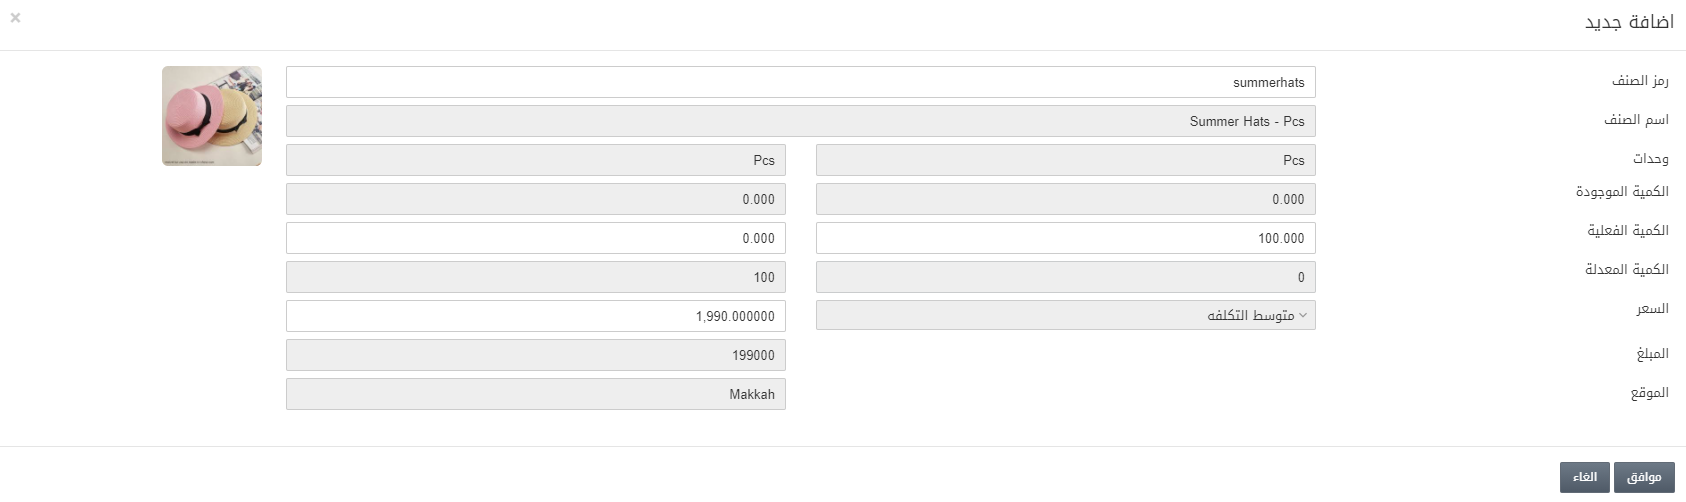
Click on the OK button to save the information.
Physical Quantity – Inhand Quantity = Adjusted Quantity.
Note: If the Adjusted Quantity is Positive, you need to add the stock.
Note: If the Adjusted Quantity is Negative, you need to subtract stock.
Click on the Save button at the top of the page.
Adding a Stock Adjustment Entry with Dimensional Item
To add a stock adjustment entry, go to Inventory > Others > Stock Adjustment, the stock adjustment page is displayed. Dimensional items include the two and three-dimensional items. They require the addition of batches and do not require the serial numbers. The batch numbers have to be unique.

Click on the Manage icon at the top of the page.
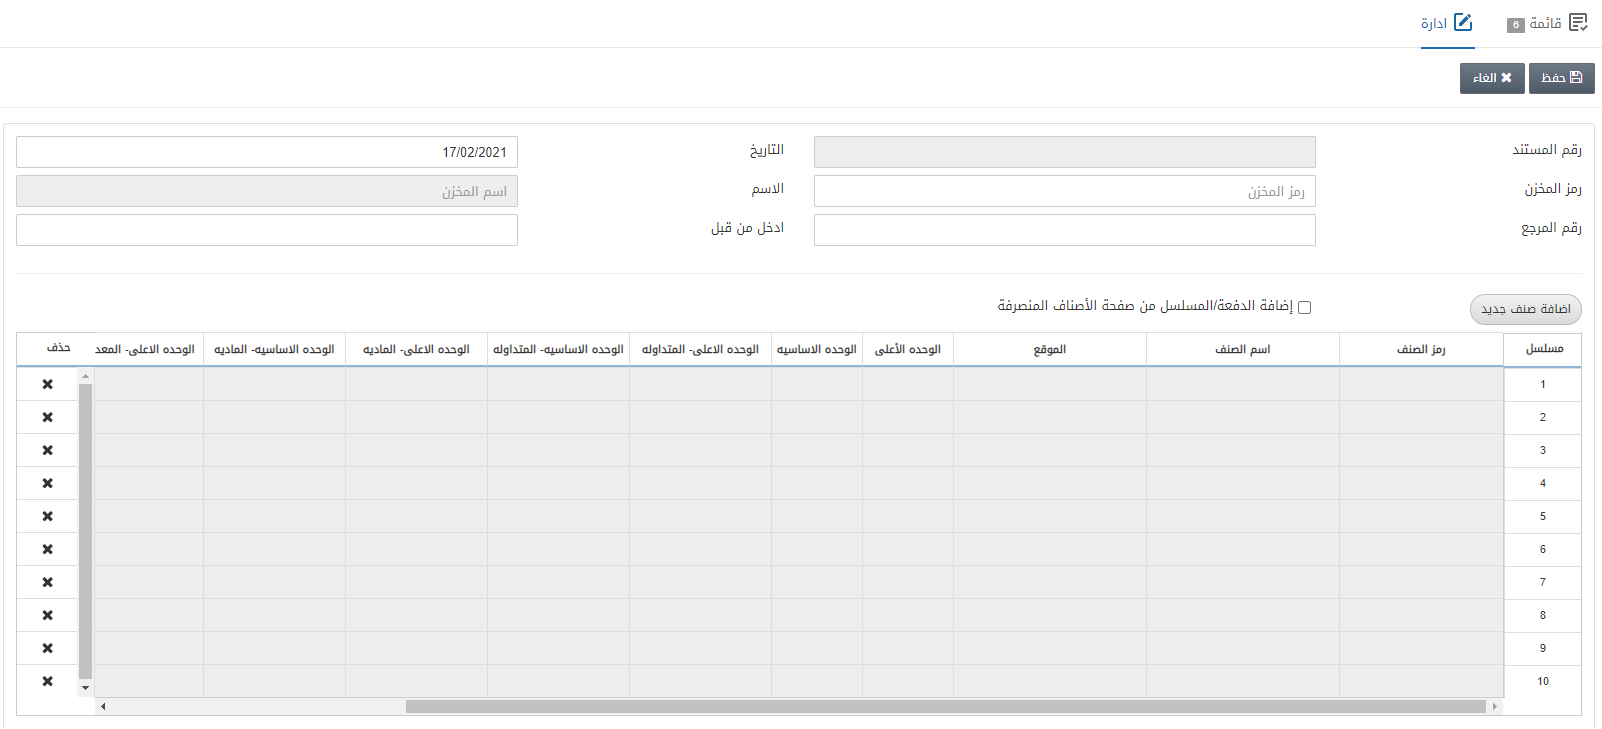
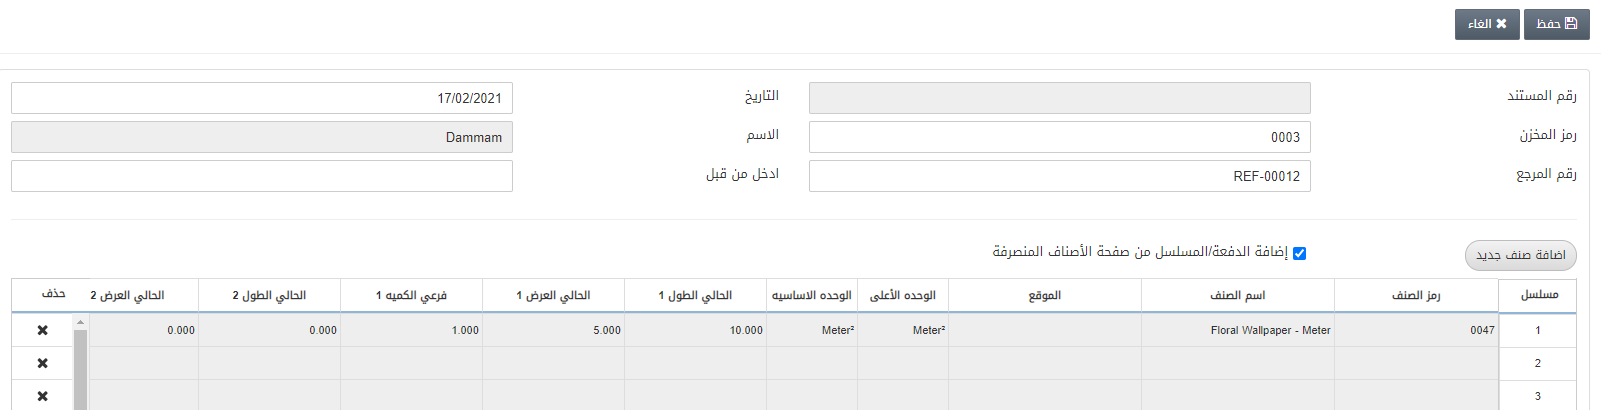
Document Number: This field is auto-generated by the system.
Date: This field sets the date of the stock adjustment which is the present date by default.
Warehouse Code: This field allows the selection of warehouse code from the drop-down list.
Name: This field is auto-fetched by the system based on the warehouse code.
Reference Number: This field sets the reference number for your ease.
Entered By: This field sets the person’s name who makes stock adjustment’s entry.
![]()
Add New Item: This button allows you the addition of new items to your stock adjustment’s entry.
Add Batch/Serial from Stock Outward page: This checkbox allows the addition of the batch and serial numbers from the stock outward page automatically.
Click on the Add New Item:

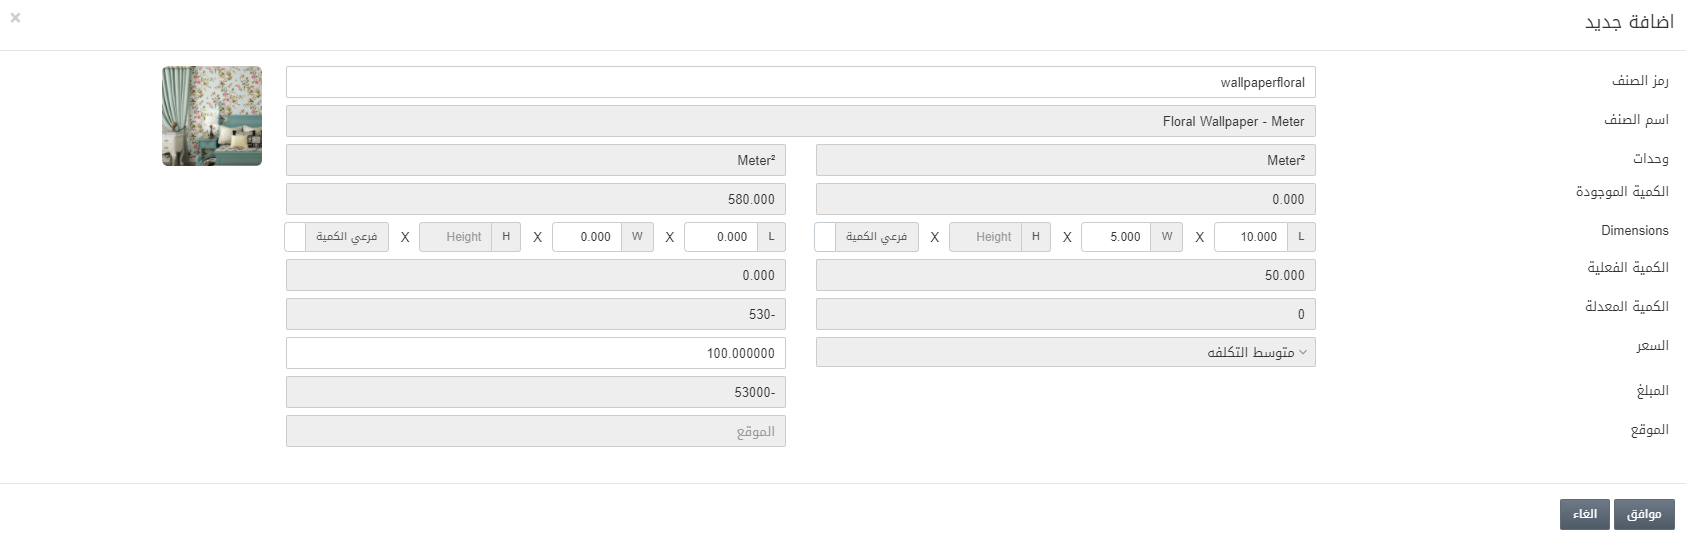
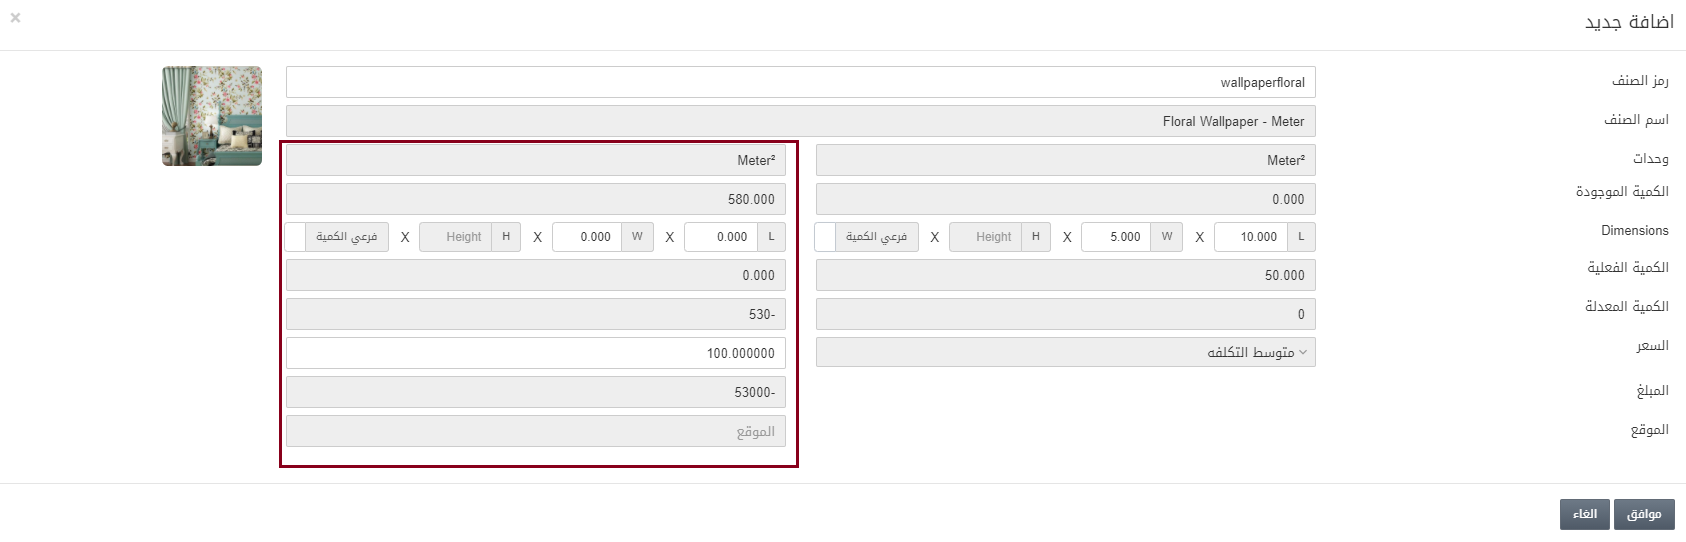
The highlighted box represents the physical quantity of stock.
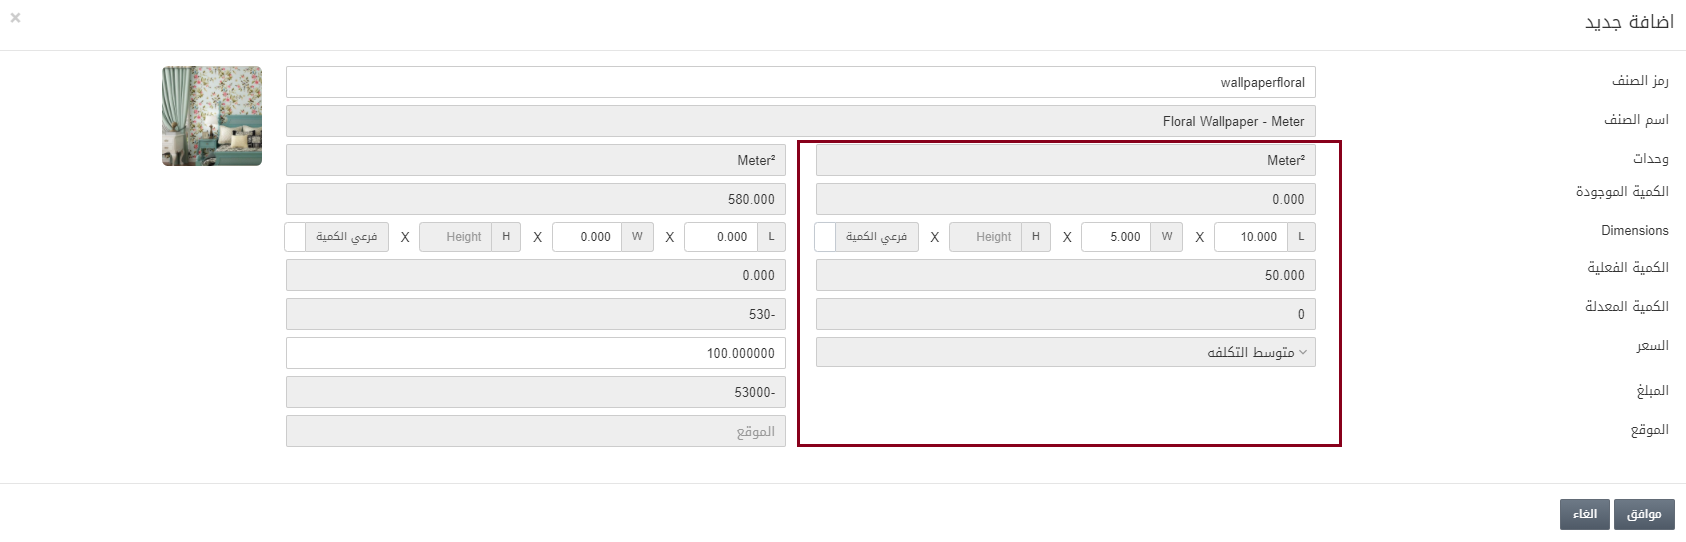
The highlighted box represents the In-hand quantity or system’s quantity.
Physical Quantity – Inhand Quantity = Adjusted Quantity.
Note: If the Adjusted Quantity is Positive, you need to add the stock.
Note: If the Adjusted Quantity is Negative, you need to subtract stock.
Adding a Stock Adjustment Entry with Size and Color Item
To add a stock adjustment entry, go to Inventory > Others > Stock Adjustment, the stock adjustment page is displayed. The items require the addition of batches and the serial numbers. The batch and serial numbers have to be unique.

Click on the Manage icon at the top of the page.

Document Number: This field is auto-generated by the system.
Date: This field sets the date of the stock adjustment which is the present date by default.
Warehouse Code: This field allows the selection of warehouse code from the drop-down list.
Name: This field is auto-fetched by the system based on the warehouse code above.
Reference Number: This field sets the reference number for your ease.
Entered By: This field sets the person’s name who makes stock adjustment’s entry.
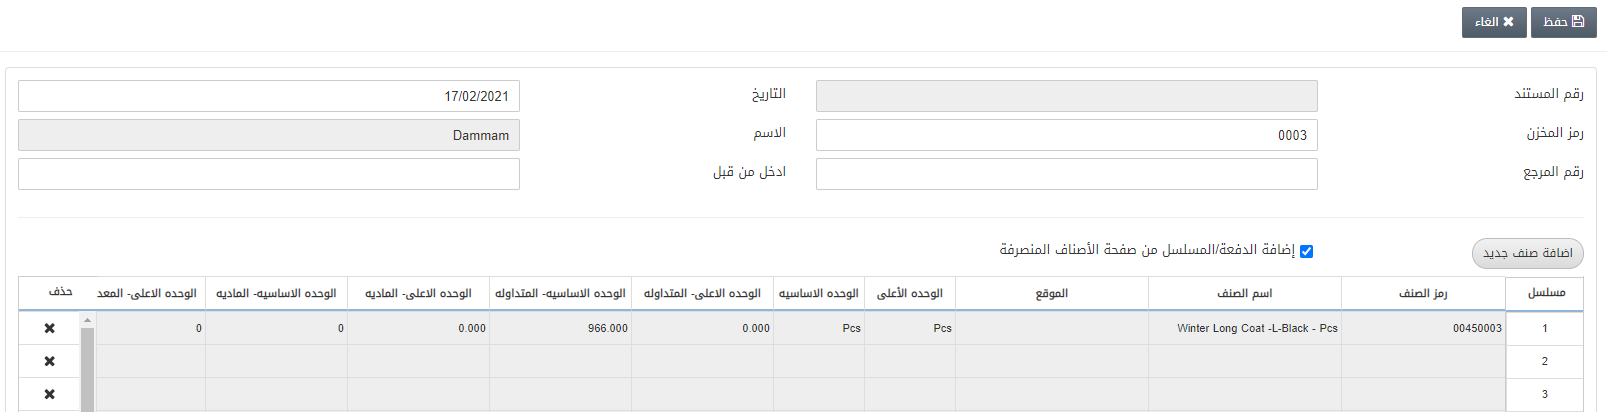
![]()
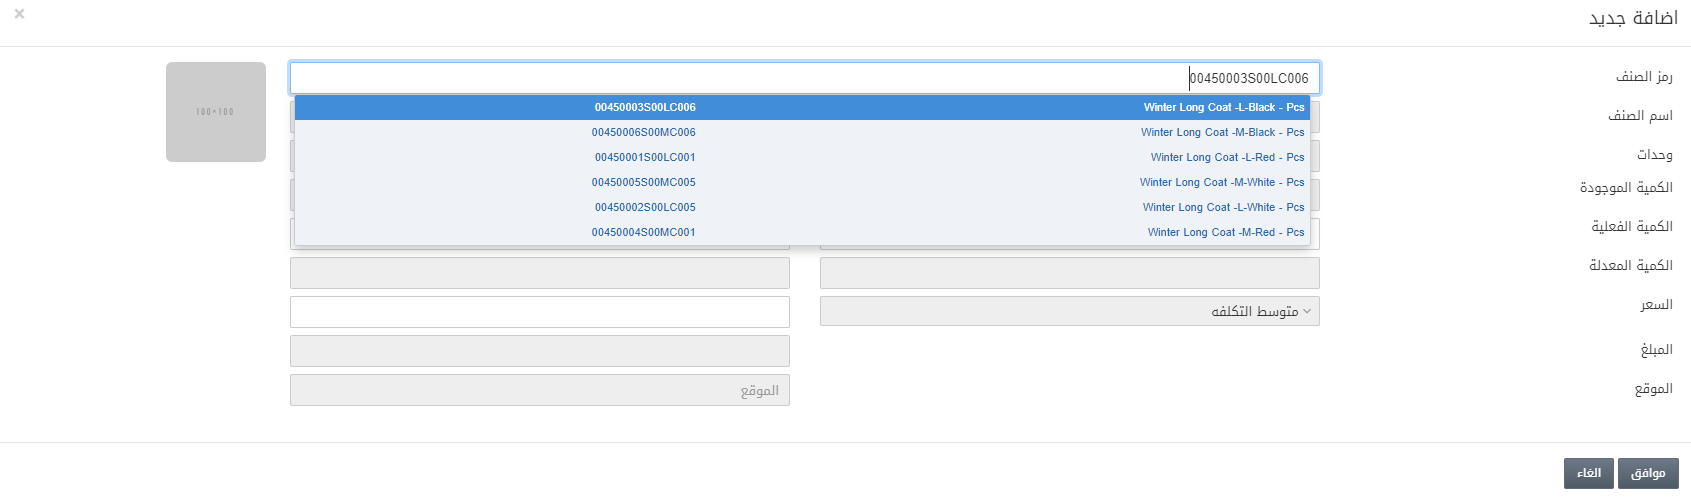
Add New Item: This button allows you the addition of new items to your stock adjustment’s entry.
Add Batch/Serial from Stock Outward page: This checkbox allows the addition of the batch and serial numbers from the stock outward page automatically.

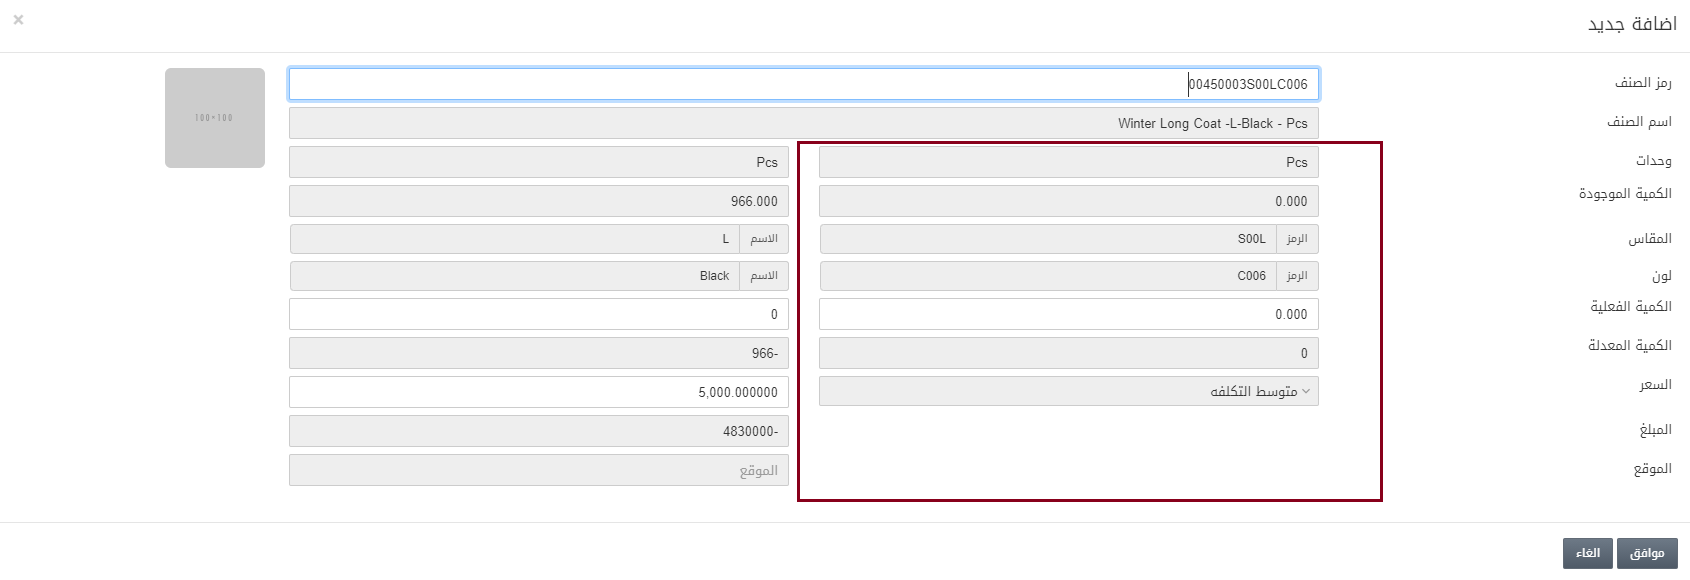
The highlighted box represents the physical quantity of stock.
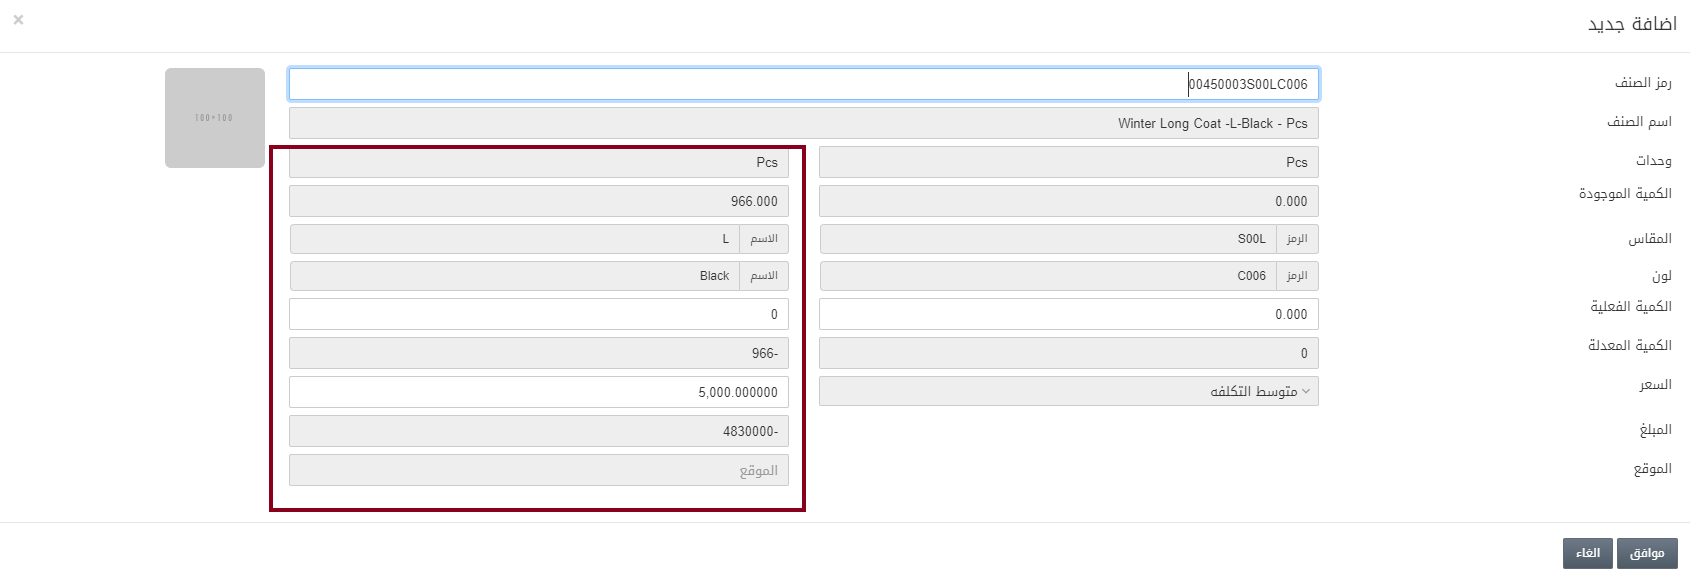
The highlighted box represents the In-hand quantity or system’s quantity.
Physical Quantity – Inhand Quantity = Adjusted Quantity.
Note: If the Adjusted Quantity is Positive, you need to add the stock.
Note: If the Adjusted Quantity is Negative, you need to subtract stock.
Click on the Save button at the top of the screen.
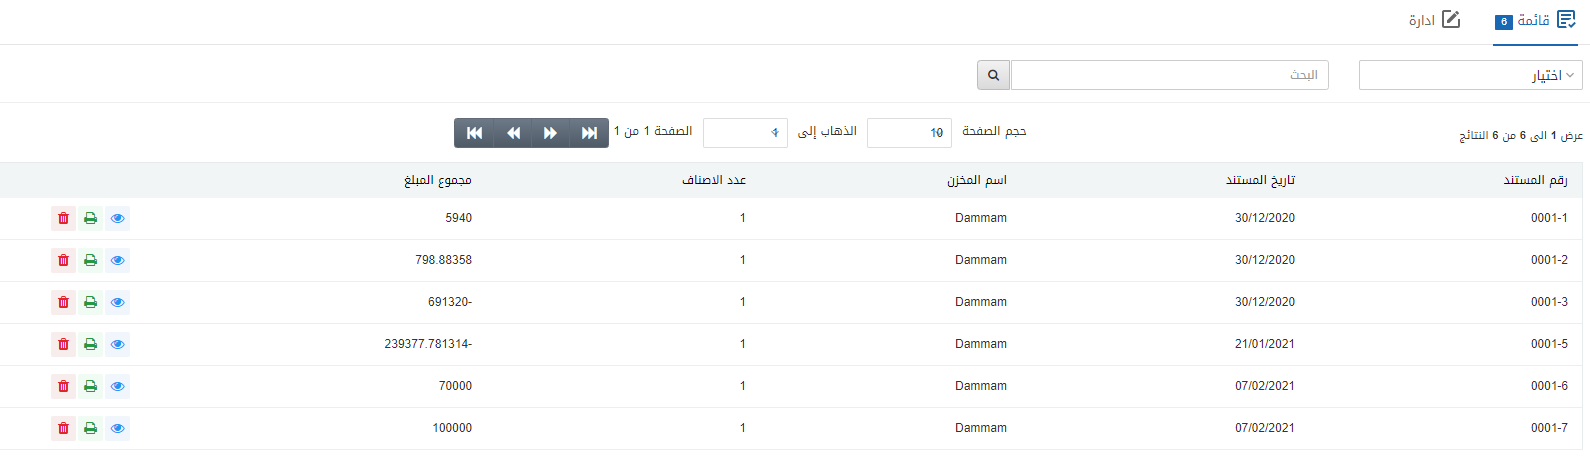
Deleting a Stock Adjustment Entry
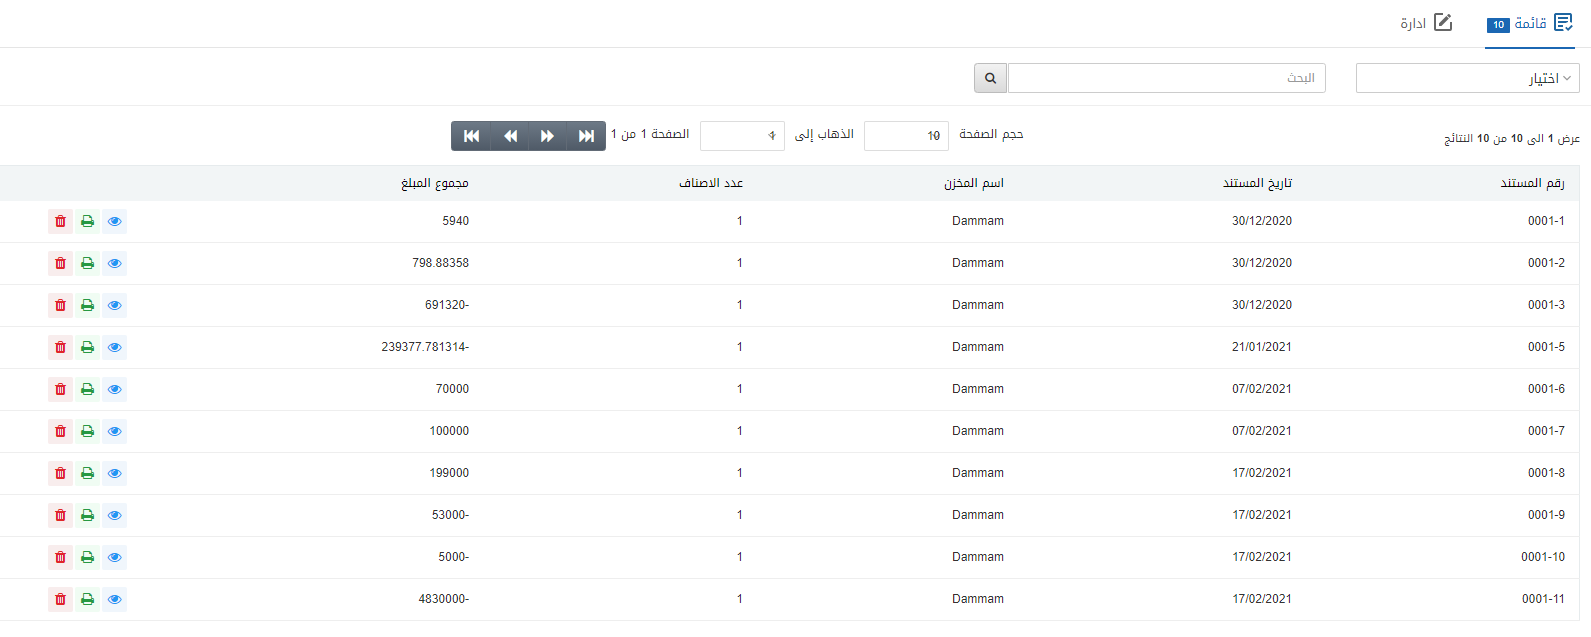
To delete a stock adjustment entry, go to Inventory > Others > Stock Adjustment, the stock adjustment page is displayed.

Select the desired row of the Document Number of stock adjustment’s entry.
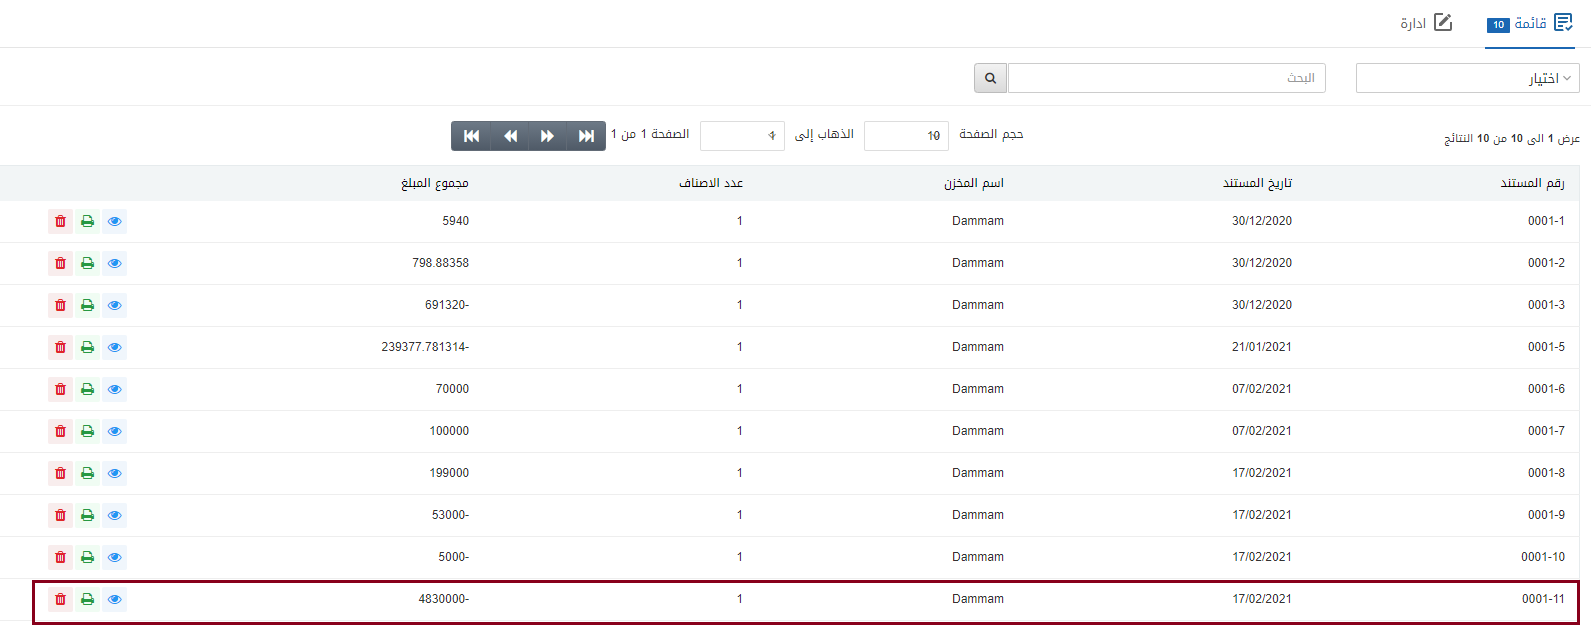
There are three icons in front of each row that is Load, Print, and Delete.
![]()
Click on the Delete button to delete the selected row.
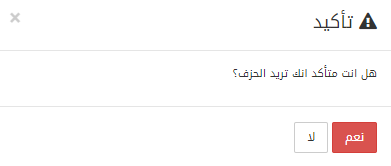
Click on the Yes button to confirm the deletion.
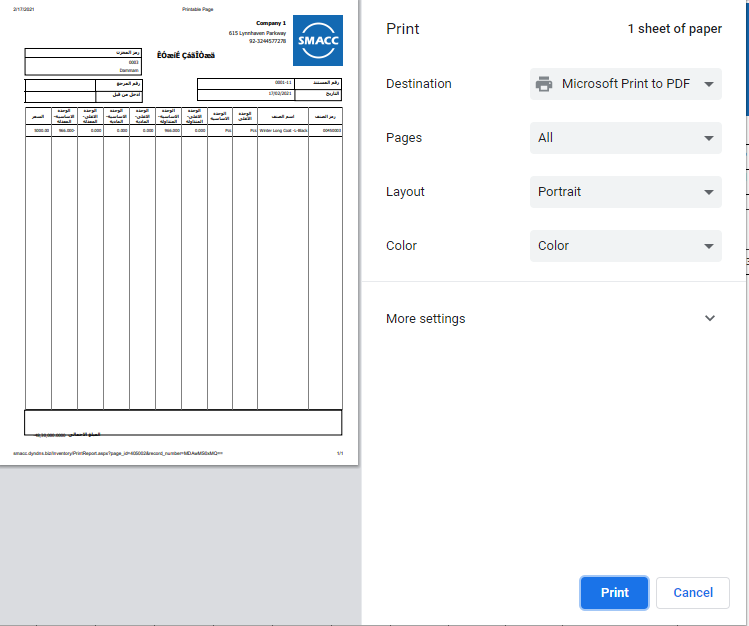
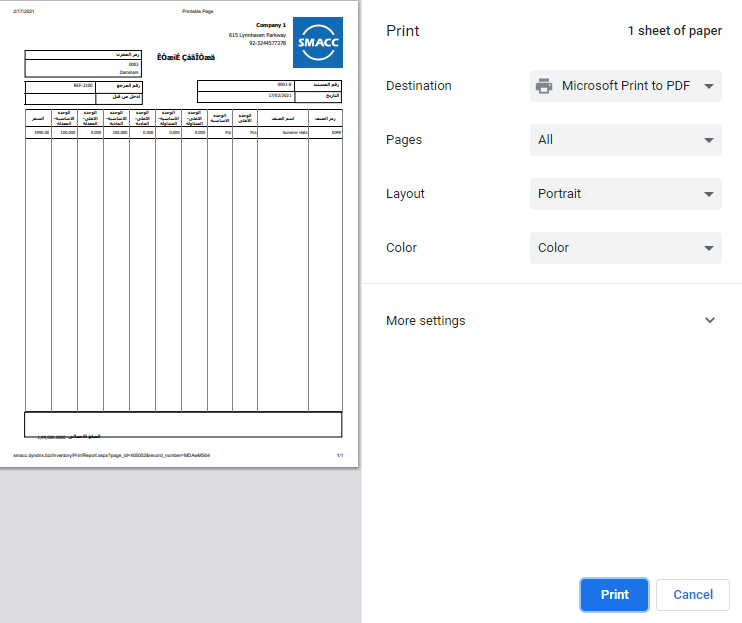
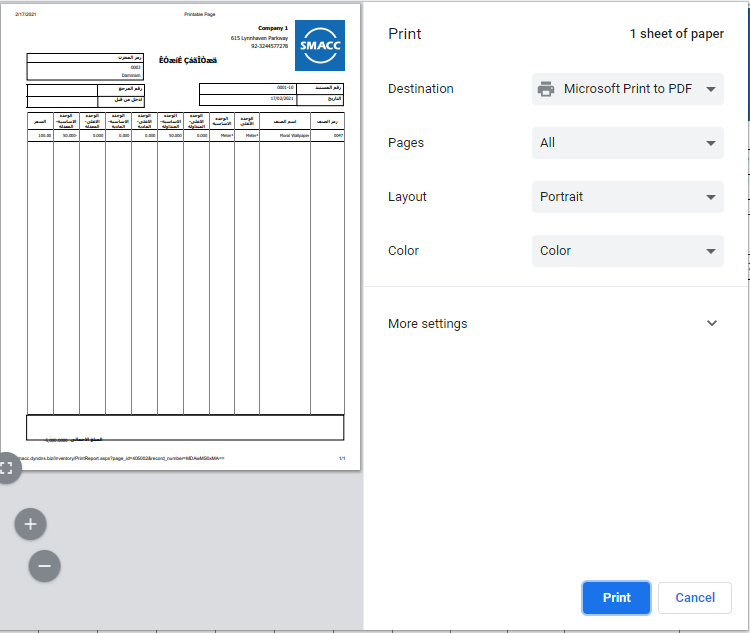
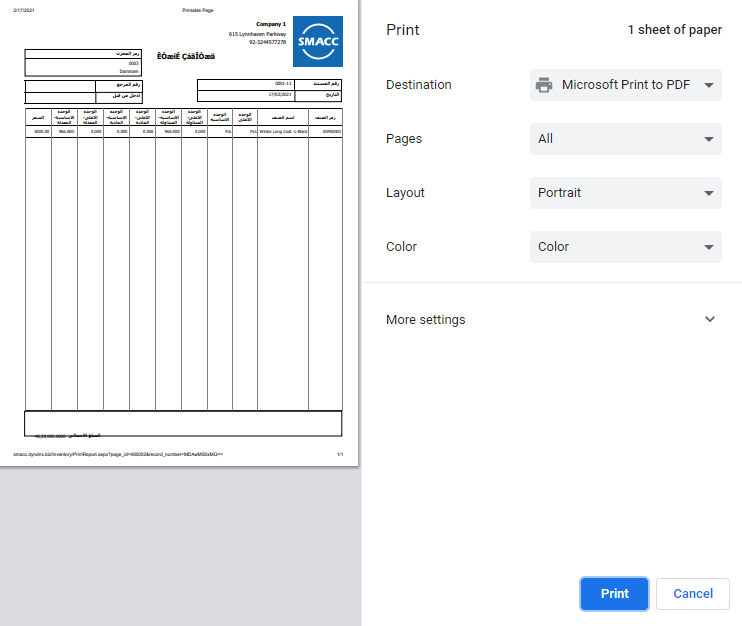
Printing a Stock Adjustment Entry
To print a stock adjustment entry, go to Inventory > Others > Stock Adjustment, the stock adjustment page is displayed.
Select the desired row of the Document Number of stock adjustment’s entry.
There are three icons in front of each row that is Load, Print, and Delete.
![]()
Click on the Print icon (green) to print the information.