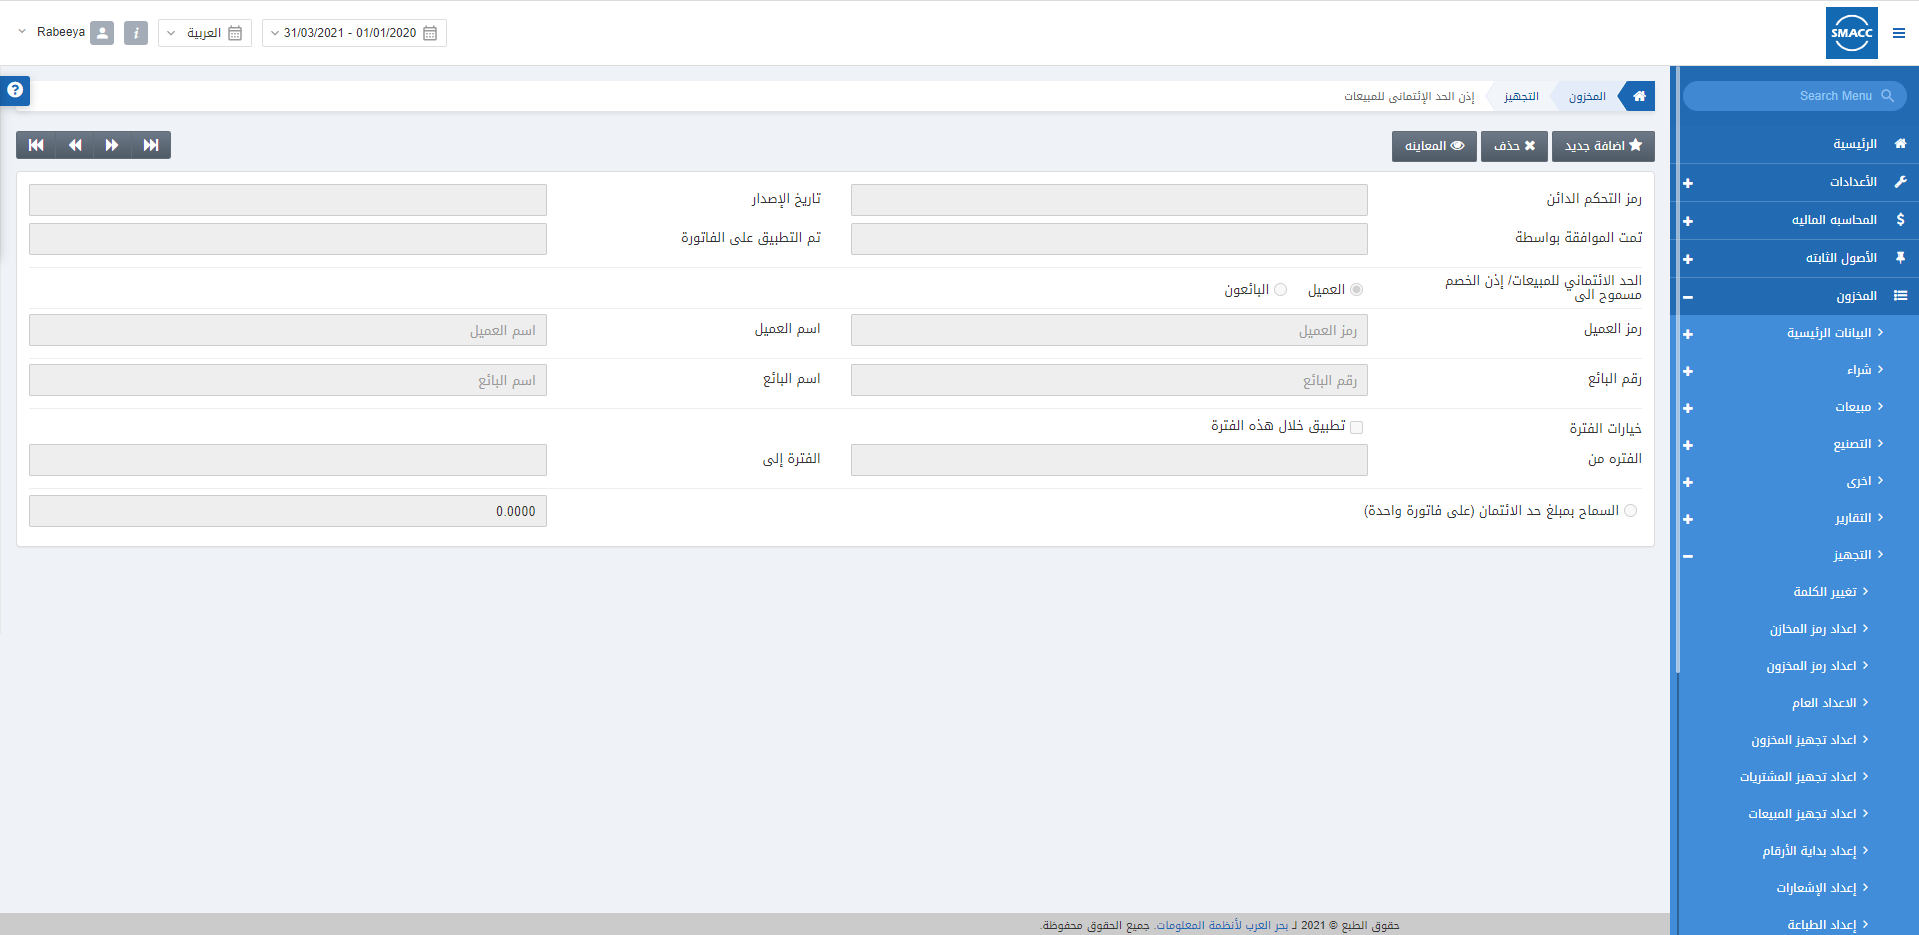
The sales credit limit permission page allows the setting of the credit limits for the salesman and customer entities. You can add, delete or view the sales credit limit entries.

Adding a New Entry of Sales Credit Limit Permission
To add a new entry of sales credit limit permission, go to Inventory > Setup > Sales Credit Limit Permission, the sales credit limit permission page is displayed.

Click on the Add New button at the top of the page.

Approved By: This field sets the name of the authorized person who approves the sales credit limit permission.
Permission Allow to: There are two radio buttons out of which you can select one at a time. One is for the Customer and the other is for the Salesman.
Customer Code: On the selection of the radio button Customer, you have to enter the Customer Code from the drop-down list.
Salesman Code: On the selection of the radio button Salesman, you have to enter the Salesman Code from the drop-down list.

Period Option: Apply within this period: Check this checkbox to implement this credit limit entry over a period.
Period From: This field sets the starting date of the period.
Period To: This field sets the ending date of the period.
Allow Credit Limit Amount Upto (On single invoice): This field sets the credit limit amount up to the desired value say “100”.
Note: Same procedure follows when the radio button Salesman is selected.

Click on the Save button to save the information. “Insertion Successful” message is displayed at the top of the screen.
Deleting an Entry of Sales Credit Limit Permission
To delete an entry of sales credit limit permission, go to Inventory > Setup > Sales Credit Limit Permission, the sales credit limit permission page is displayed.

Click on the Delete button at the top of the page.

Enter the Credit Control ID for your last entry and click on the Load button.

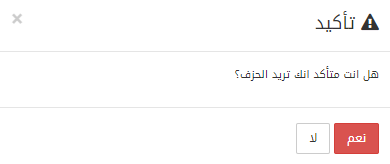
Click on the Yes button to confirm the deletion.
Note: Similarly, you can view any sales credit limit permission entry by clicking the View button followed by the Credit Control ID and the Load button. It will show the relevant information of the desired entry.
![]()
Note: The above-mentioned Navigation buttons allow you to check your last or any other entry’s code.

