

In barcode label setup, you can add, update and delete the barcode label information.
Adding New Barcode Label
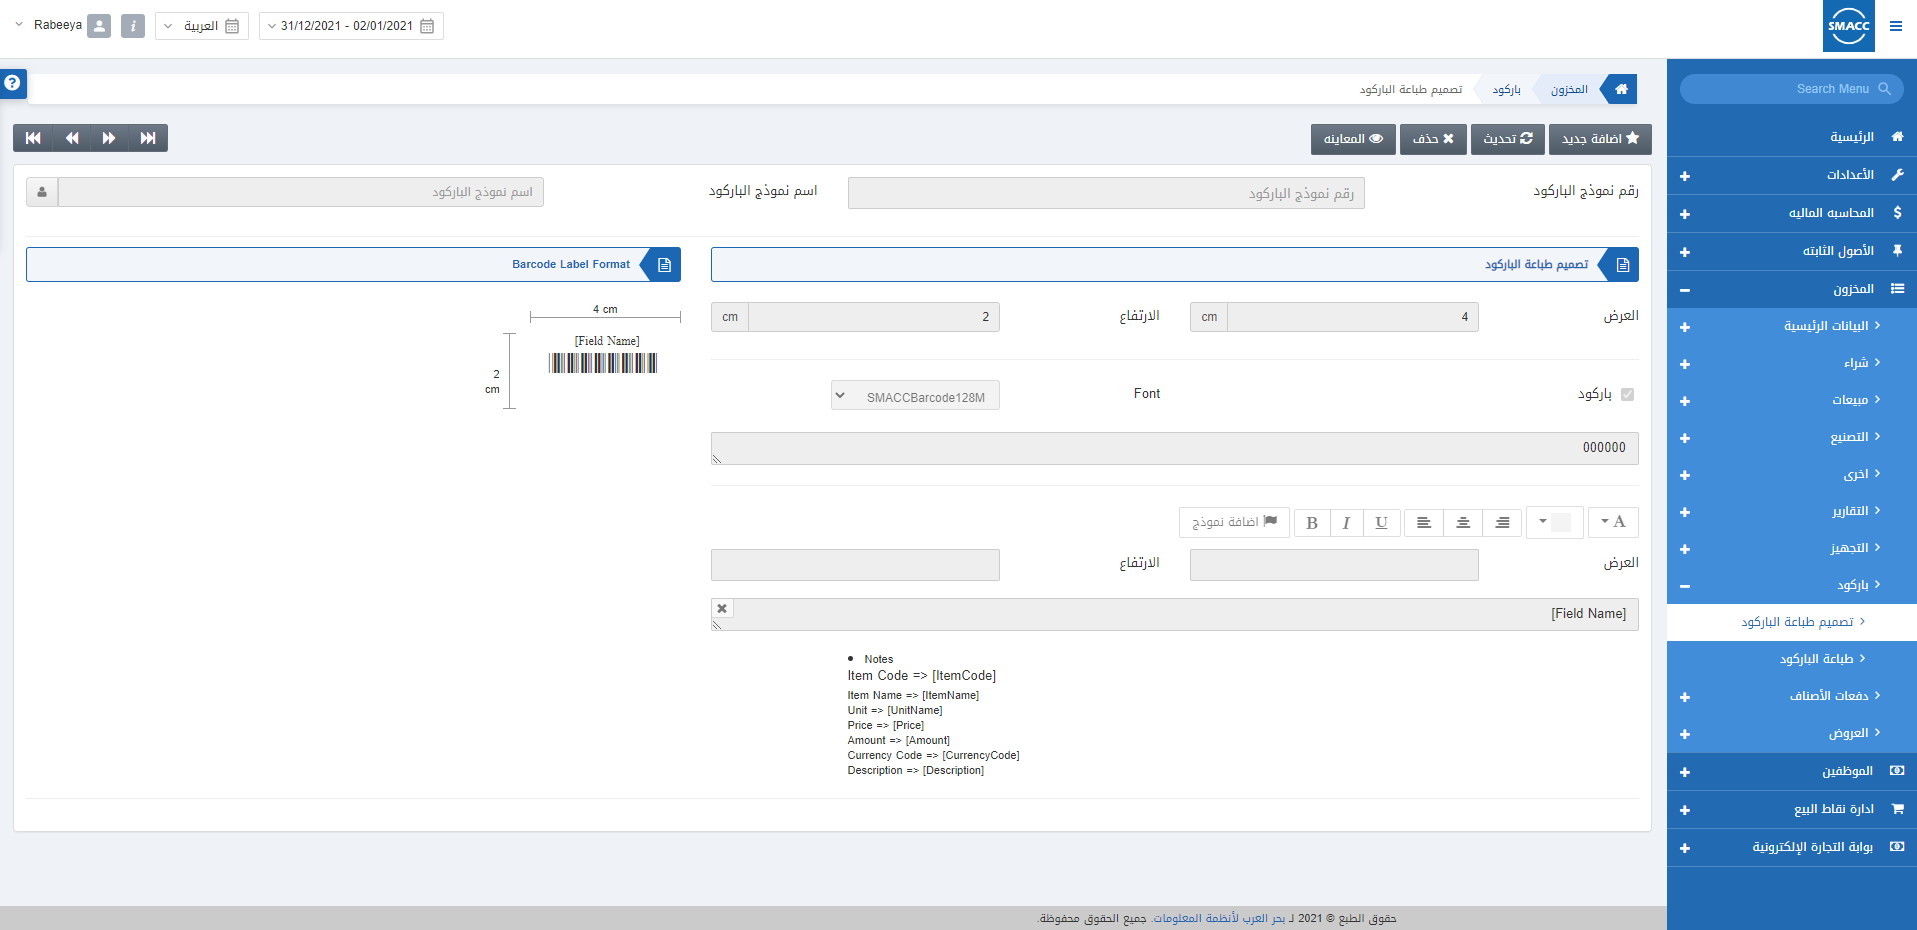
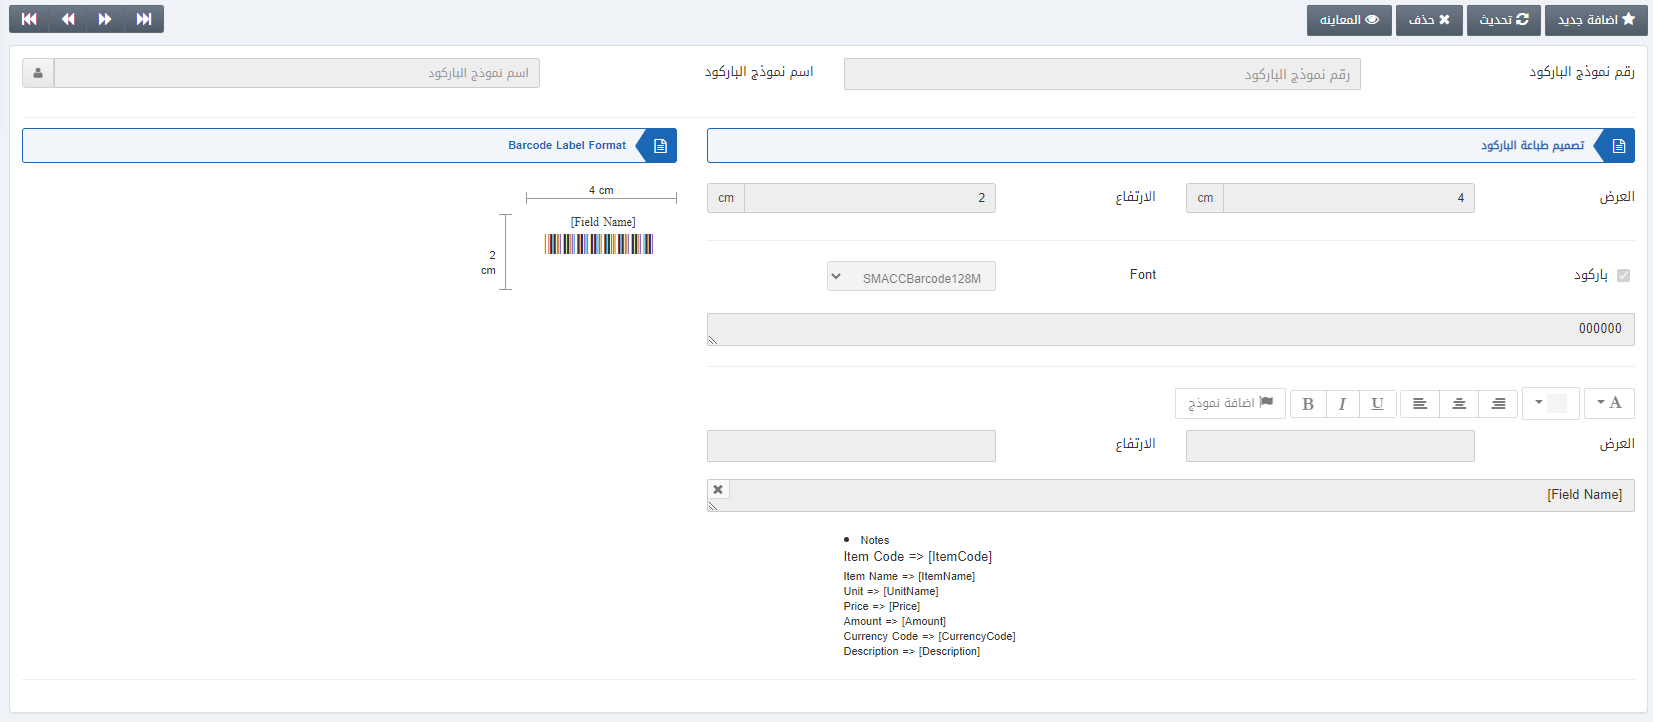
To add a new barcode label go to Inventory > Barcode > Barcode Label Setup, the barcode label setup page is displayed.

Click on the Add New button at the top of the page.

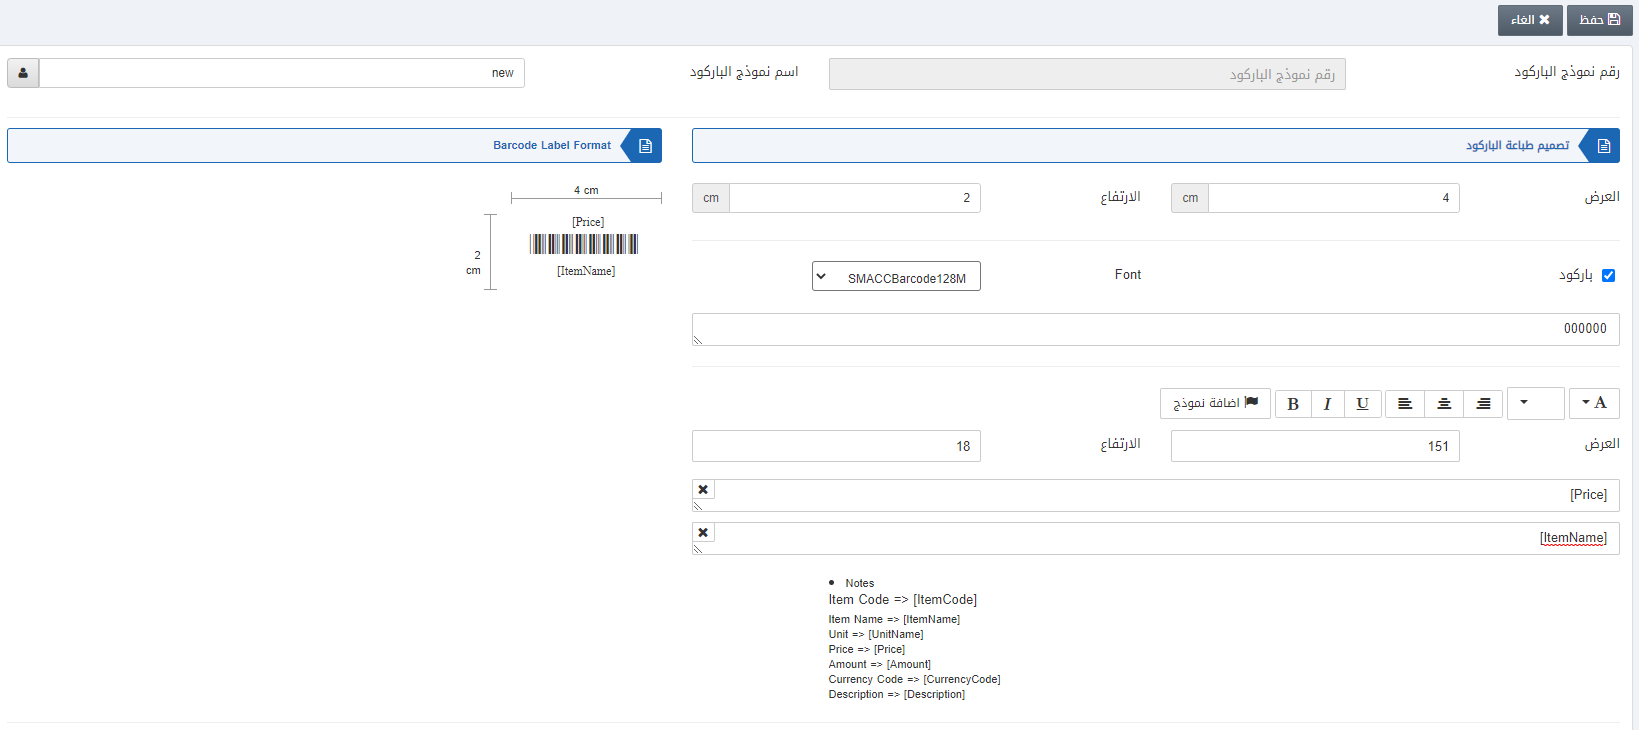
Barcode Label Code: This field is auto-generated by the system.
Barcode Label Name: This field sets the name of the barcode label.

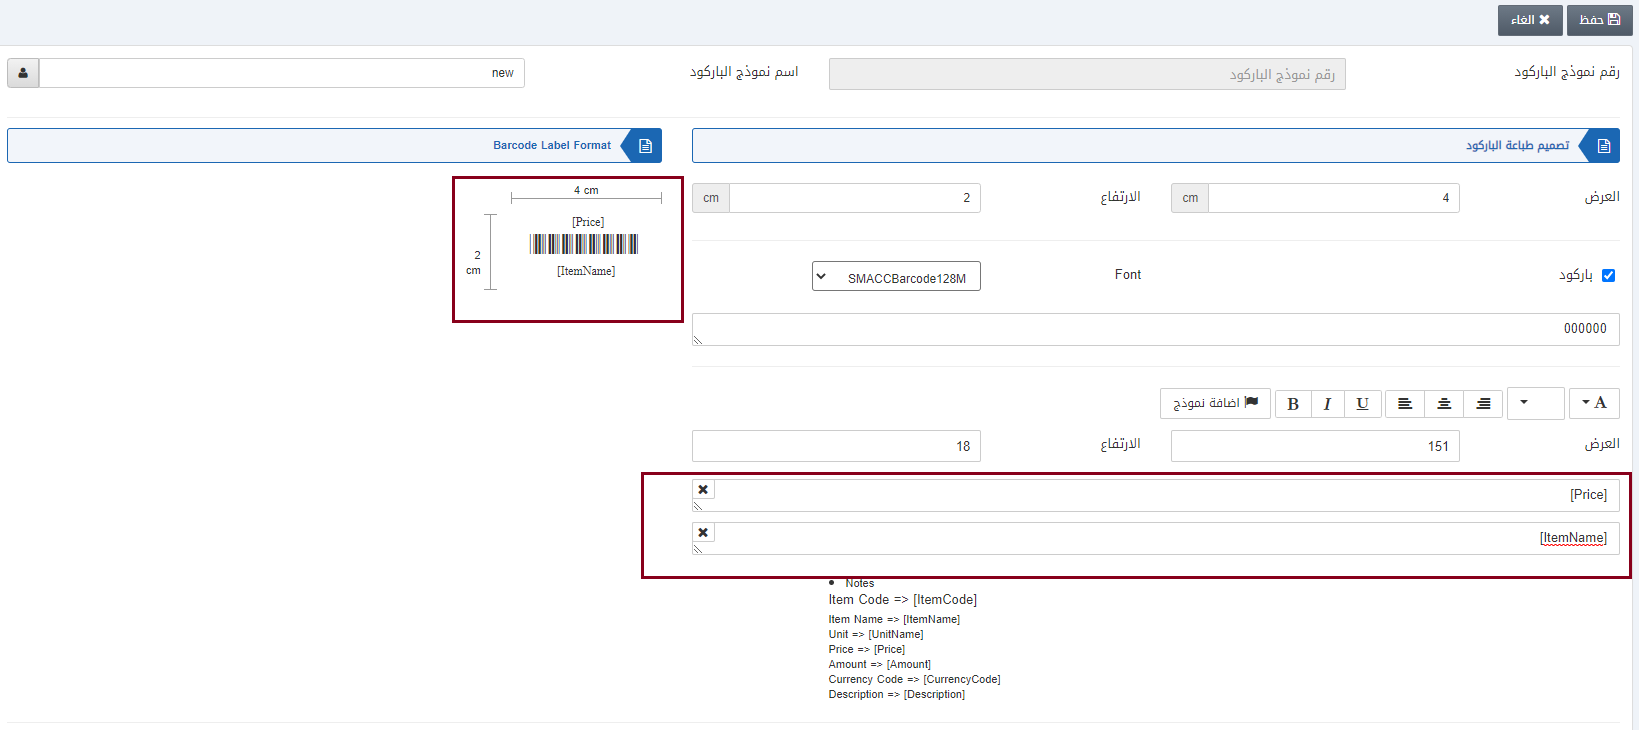
Width: This field sets the width of the barcode label format as shown on the right side.
Height: This field sets the height of the barcode label format as shown on the right side.
Barcode: This checkbox enables the barcode setup. It must be checked to allow barcode functionality.
Note: There is another field with default entry 00000. It will remain as such and is fetched by the system automatically.
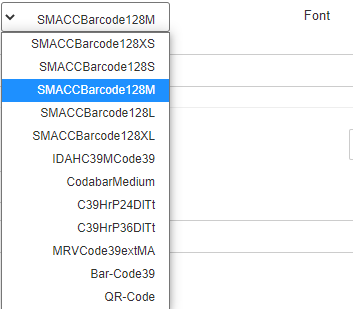
Font: Select the font from the drop-down list above.
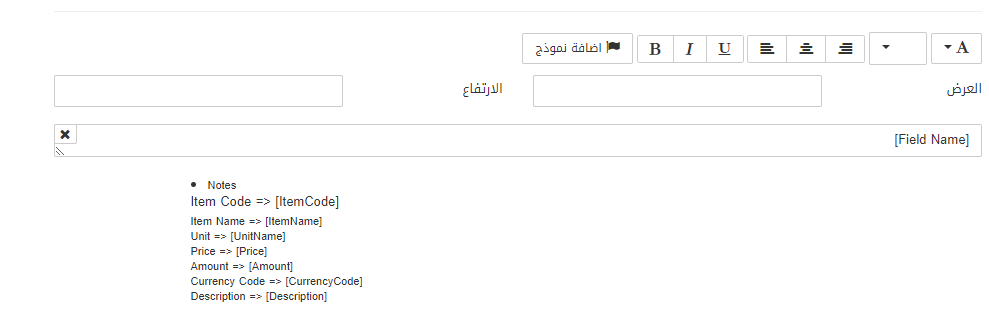
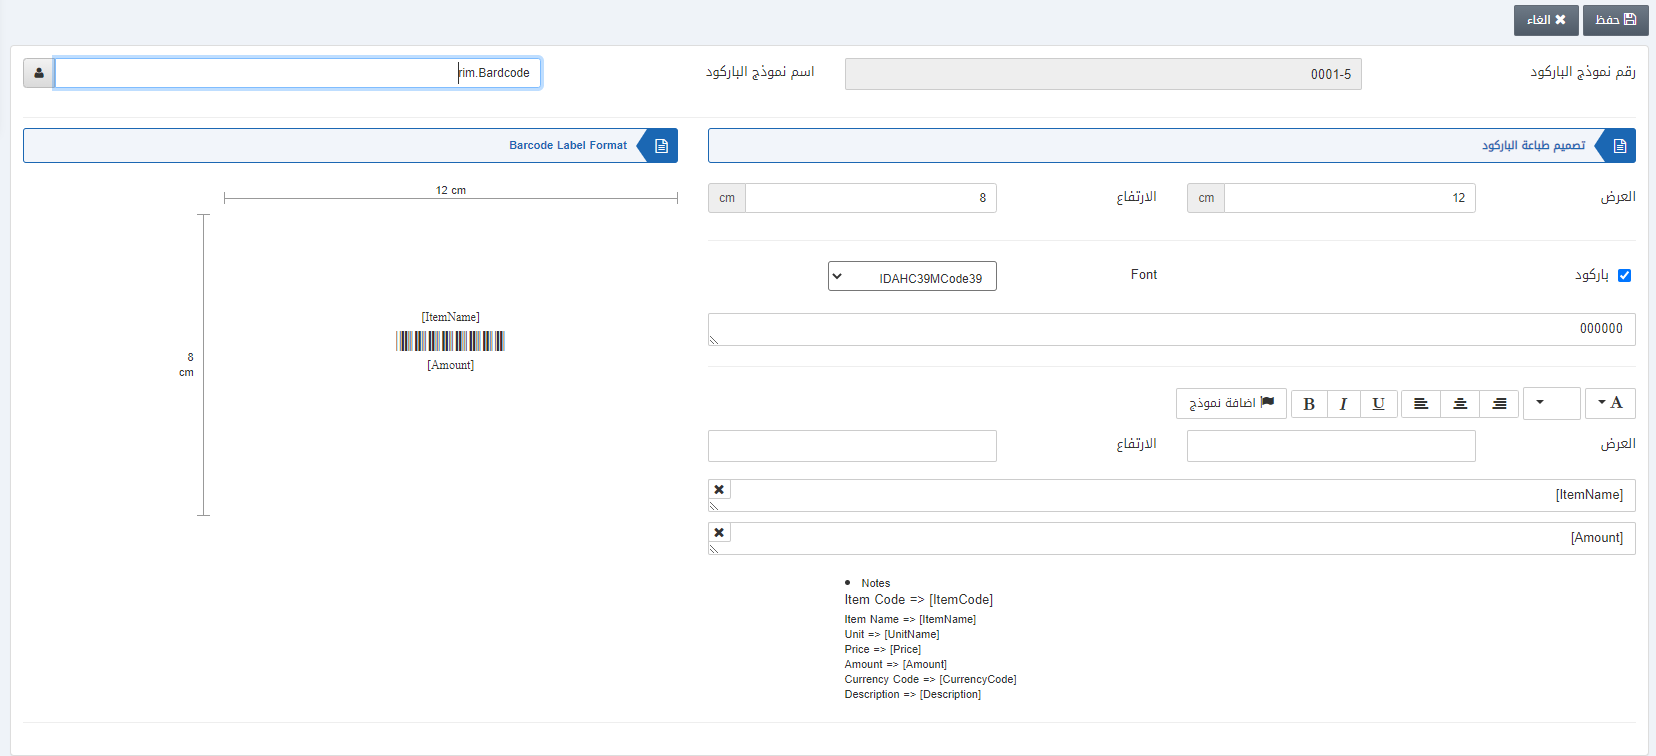
In the above section, you can Add Label by clicking on the button Add Label and adjust its font format.
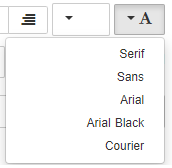
Font Button: It allows you the selection of the font for the label. For example, Serif, Sans, Arial, Arial Black and Courier font styles.

Font Size Button: It allows you the selection of the font size for the label. For example, 8 till 72.
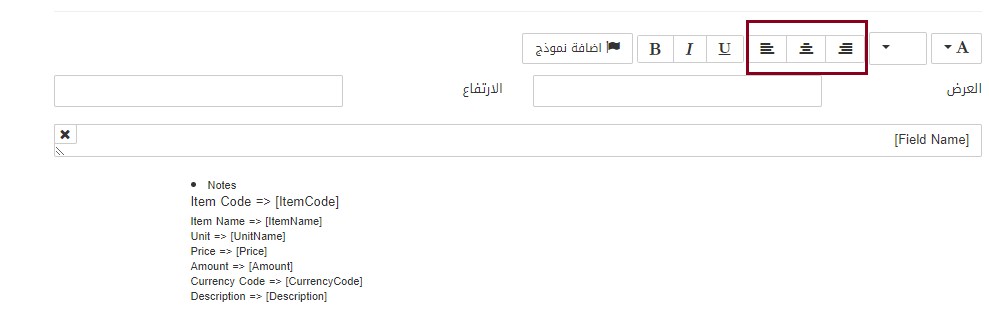
Text Alignment Buttons: The highlighted buttons allow you to select the text alignment out of three options.
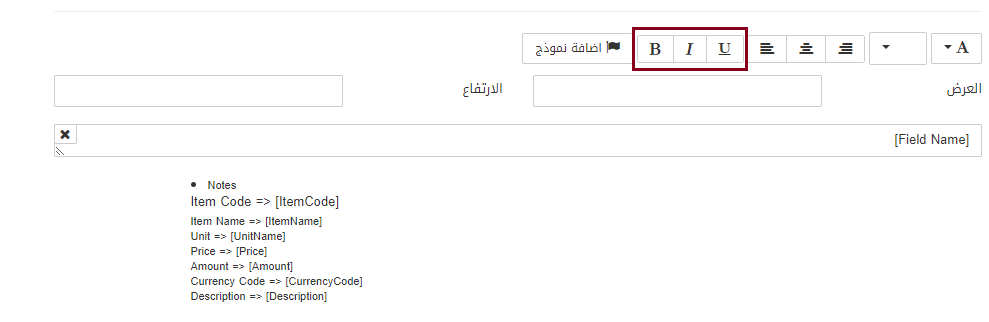
Text Styles Buttons: The highlighted buttons show Bold, Italic and Underline buttons for the label font.
Width: This field is for the width of the barcode inside the sticker. You can also edit this field
Height: This field is for the height of the barcode inside the sticker. You can also edit this field.
Field Name: Here you can select any field from the Notes given below as per your requirement.
Drag and Drop: Once any field is added you can change its location on the barcode sticker by the drag-and-drop method.
Click on the Save button at the top of the page.
“Insertion Successful” message is shown at the top of the screen.
Updating/Editing the Barcode Label
To update/edit a barcode label go to Inventory > Barcode > Barcode Label Setup, the barcode label setup page is displayed.
Click on the Update button at the top of the page.
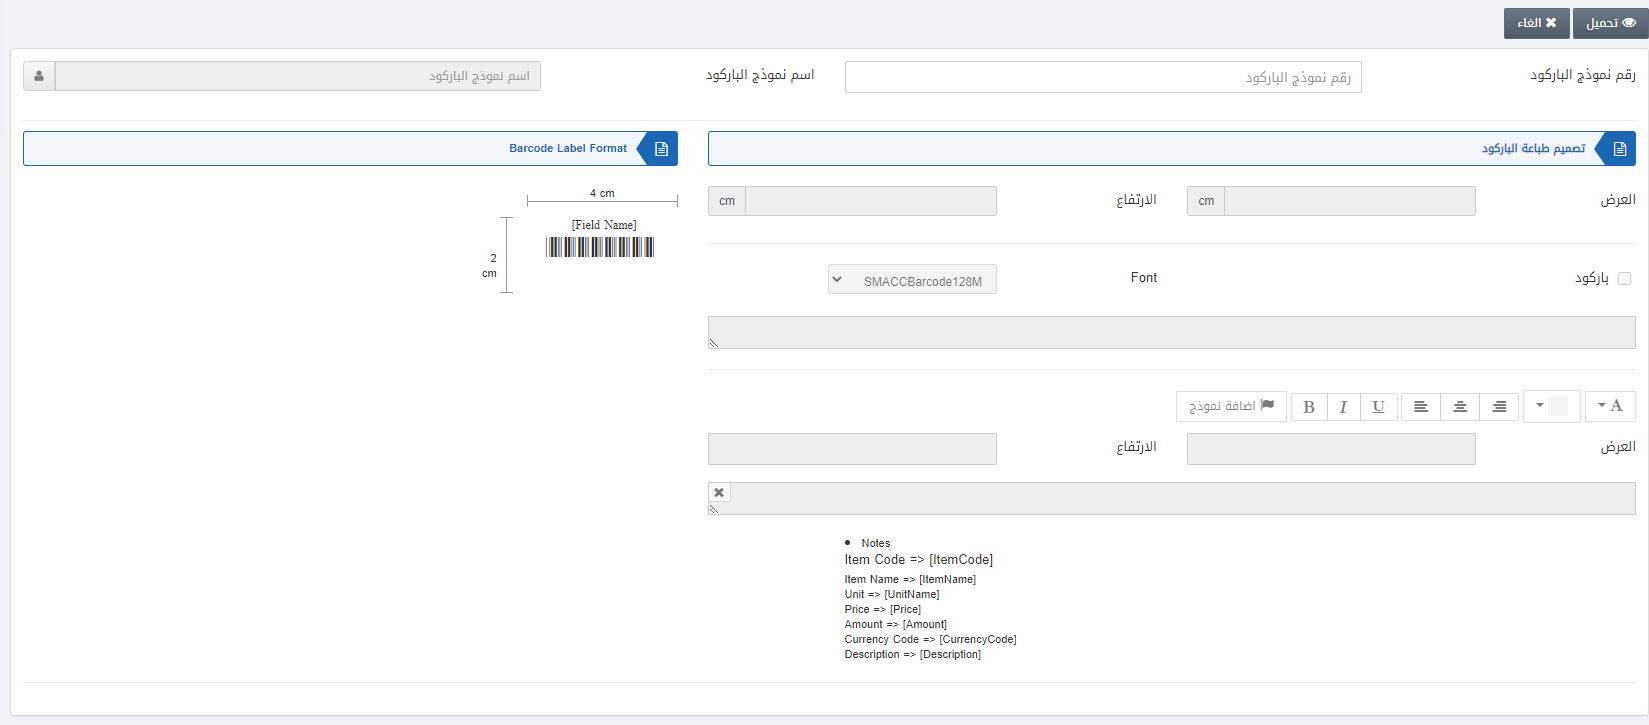
Enter the Barcode Label Code and click on the Load button at the top of the page.
You can update the barcode label on all editable fields.
Click on the Save button at the top of the page.
Deleting the Barcode Label
To delete a barcode label go to Inventory > Barcode > Barcode Label Setup, the barcode label setup page is displayed.

Click on the Delete button at the top of the page.

Enter the barcode label code and click on the Load button at the top of the page.

Click on the Yes button to confirm the deletion.