Return
In return, you can add new date entries of return cheques. You can update, delete the information.
Searching Return Cheques In Post Paid Cheques
Click on the “Financial Accounting”, then “Transactions”, then“Post Paid Cheques”, then click “Return”. Return page will be displayed.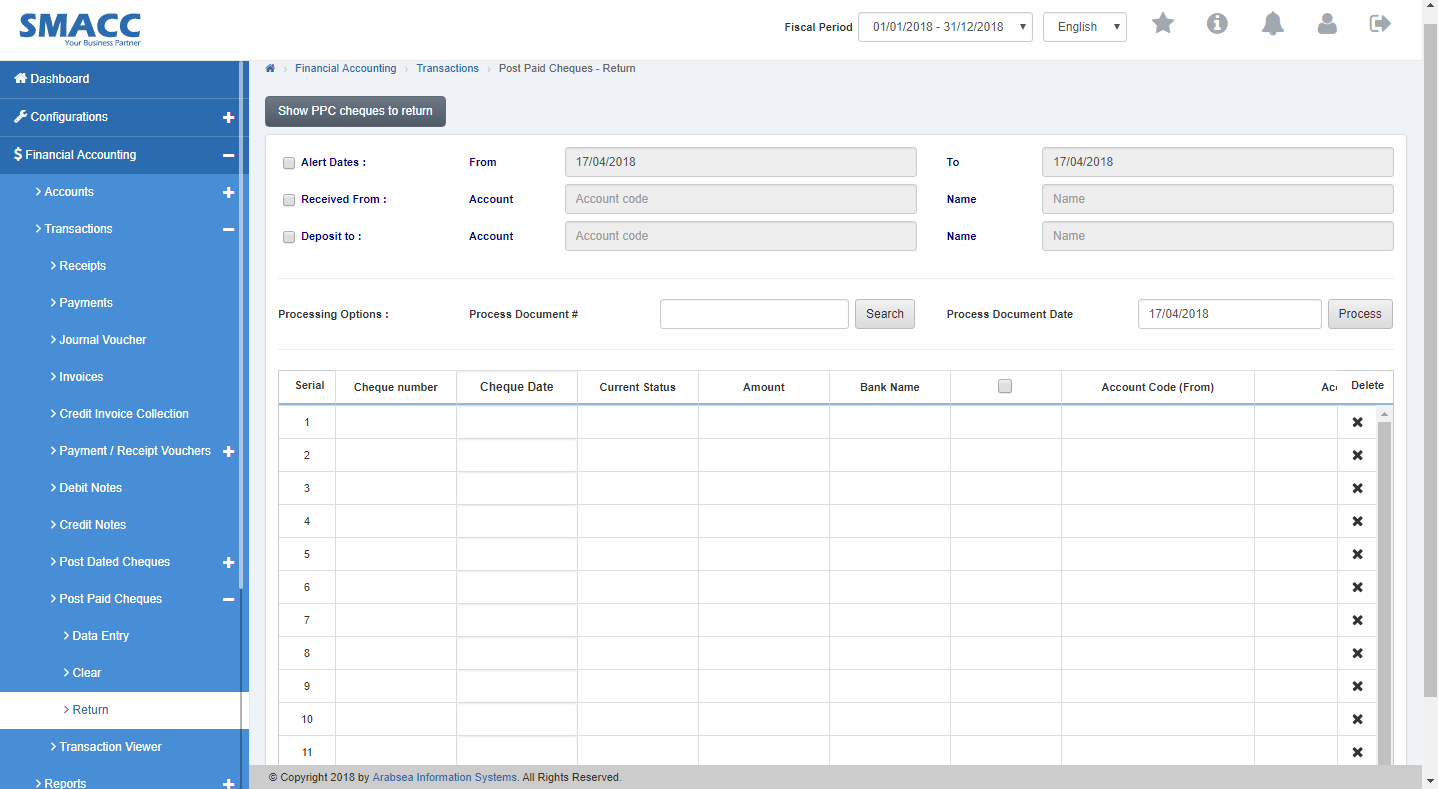 Click on “Show PPC Cheques To Return” button in Return page.
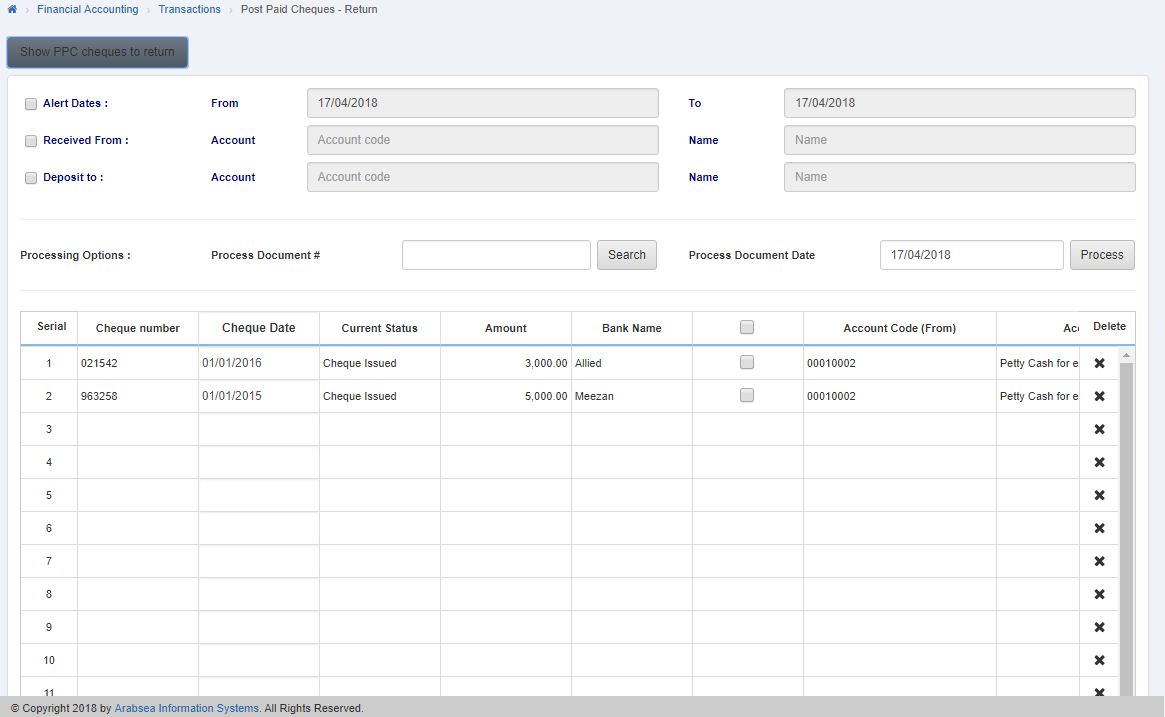 If you need to return all cheques then you may click on chekbox under in the table.

Return Cheques In Specific Date
Click on the “Financial Accounting”, then “Transactions”, then“Post Paid Cheques”, then click “Return”. Return page will be displayed.
Click on “Show PPC Cheques To Return” button in Return page.
Check the “Alert Dates:” check box then set the date in “From” inbox and in “To” inbox.
Delete Return Cheques Entries In Post Paid Cheques
Click on the “Financial Accounting”, then “Transactions”, then“Post Paid Cheques”, then click “Return”. Return page will be displayed.
Click on “Show PPC Cheques To Return” button in Return page.
Click on delete icon in “Delete” column against the desired entry then it will delete the selected entry in the grid.

Was this article helpful?
Start with SMACC today
Try free for 14 days — no credit card, no commitment.