

In the user setup, you can add, update, and delete user details. This module of POS Management in the SMACC cloud also supports the SMACC POS Desktop Application.
Setting the User
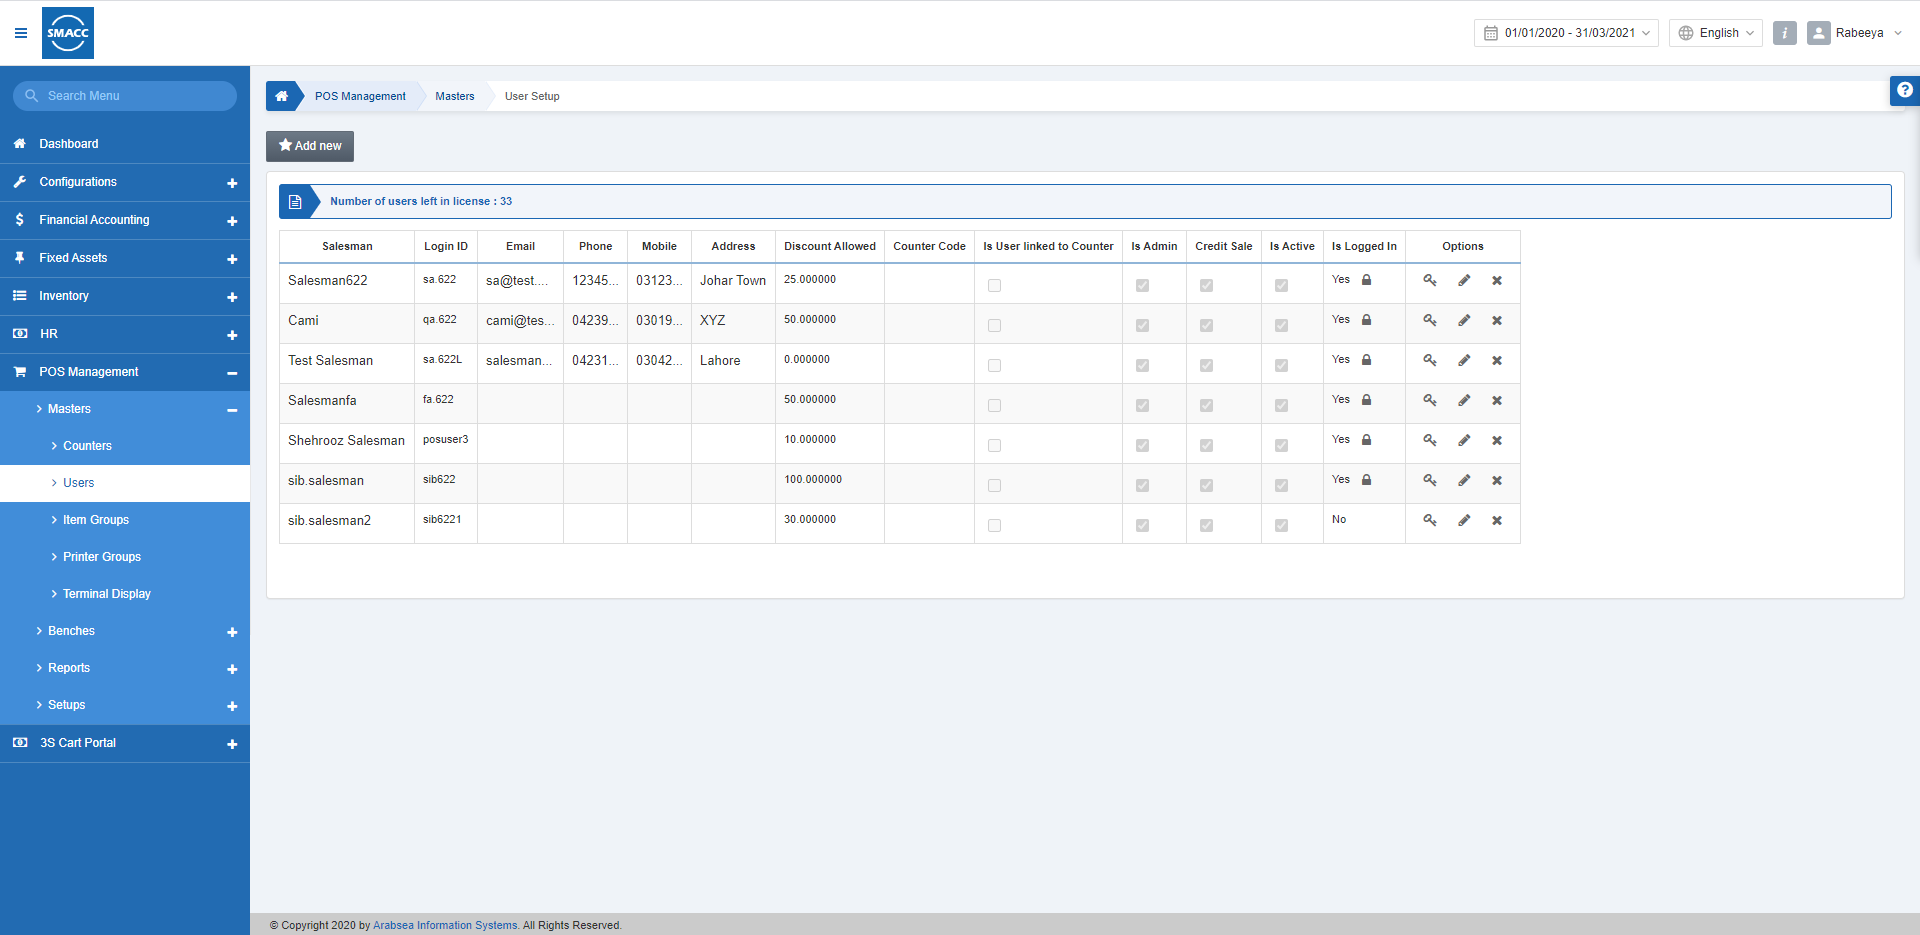
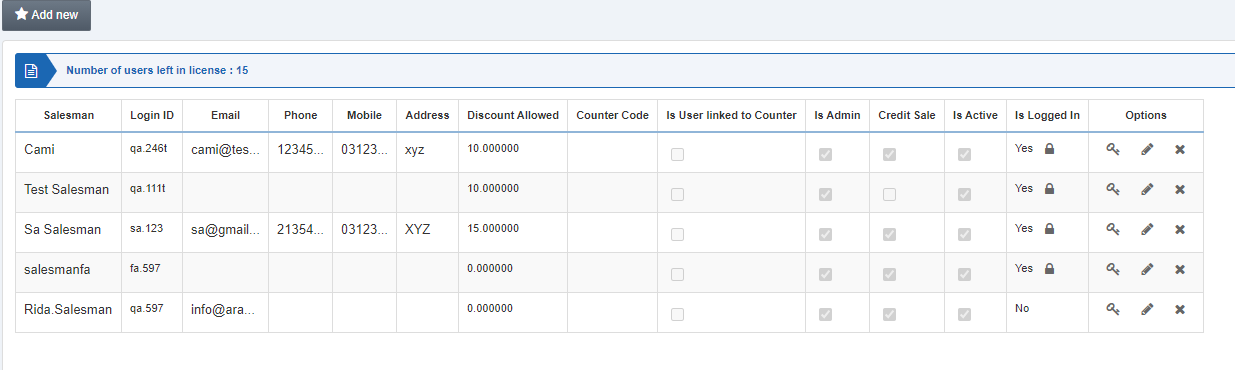
To set the user, go to POS Management > Masters > Users, the Users page is displayed.
Click the Add New button on the top of the page.
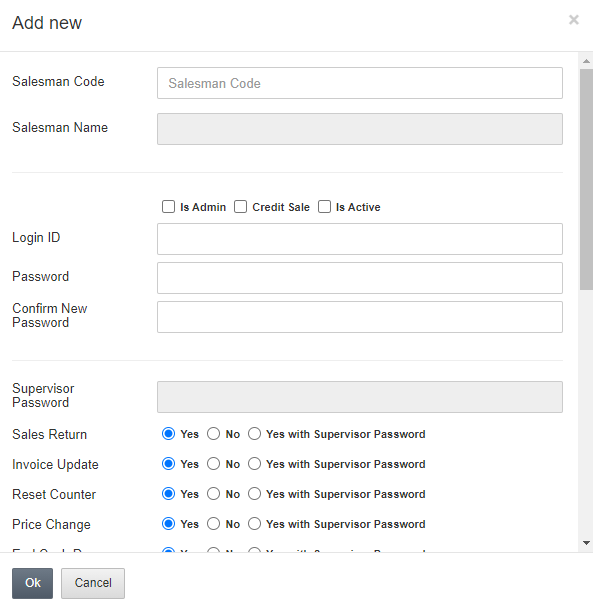
Salesman Code: The Salesman selection is mandatory and one salesman can be linked to one POS User only. Click on the field and select a salesman from the drop-down list.
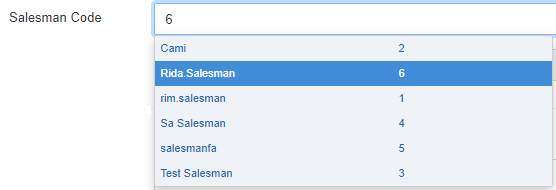
Salesman Name: This field is automatically fetched through Salesman Code.

Is Admin: In the case of Offline functionality, if “Is Admin” is checked then counter-linked offline users’ information will be downloaded with this user only, then they can make offline login. Change Salesman feature will be only available on the POS Application if “Is Admin” is checked.
Credit Sale: If the “Credit Sale” checkbox is checked then the Salesman will be allowed to make a Sales Invoice with Credit payment type.
Is Active: When this checkbox is checked the user can function on POS. POS User login can be suspended by unchecking the “Is Active” checkbox.
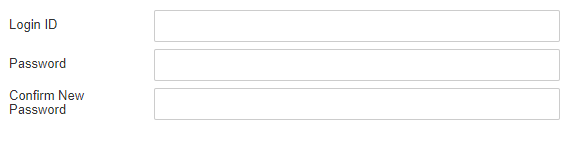
Login ID, Password, Confirm New Password: POS User credentials will be set here. “Login ID”, “Password”, and “Confirm New Password” fields are mandatory.
There are more permission options shown so that you can set the access rights for your POS User.
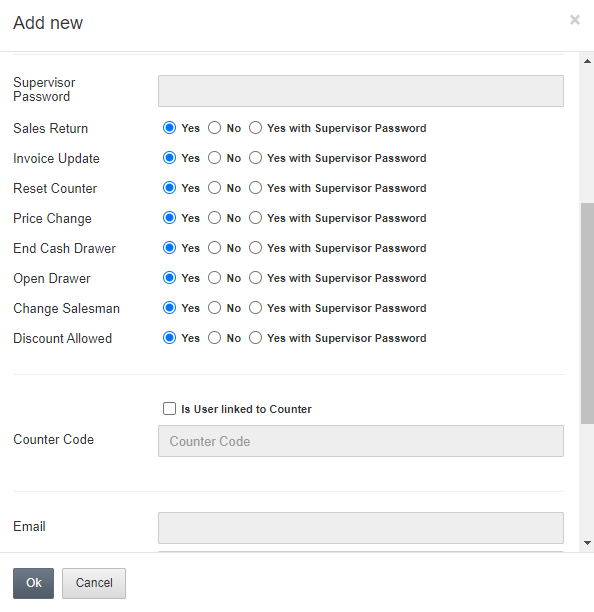
Supervisor Password: The supervisor password will be set to handle the following features against the user, there are many control checks given like Yes, No, and Yes with Supervisor Password.
1. Sales Return:
Yes: Sales Return is allowed
No: Sales Return is not allowed
Yes with Supervisor Password: Sales Return is allowed with Supervisor Password only.
2. Invoice Update Control:
Yes: The user is allowed to update or delete the invoice item information
No: The User is not allowed to update or delete the invoice item information
Yes with Supervisor Password: The user is allowed to update or delete the invoice item information with the Supervisor’s Password.
3. Reset Counter:
Yes: The User is allowed to refresh the counter information.
No: The User is allowed to refresh the counter information.
Yes with Supervisor Password: The User is allowed to refresh the counter information with the Supervisor Password.
4. Price Change:
Yes: the user is allowed to change the price of items.
No: the user is allowed to change the price of items.
Yes with Supervisor Password: the user is allowed to change the price of items with the Supervisor’s Password.
5. End Cash Drawer:
Yes: the user is allowed to end the cash drawer.
No: the user is not allowed to end the cash drawer.
Yes with Supervisor Password: the user is allowed to end the cash drawer with the Supervisor’s Password.
6. Open Drawer:
Yes: the user is allowed to open the cash drawer.
No: the user is not allowed to open the cash drawer.
Yes with Supervisor Password: the user is allowed to open the cash drawer with the Supervisor’s Password.
7. Change Salesman:
Yes: the user is allowed to change the Salesman.
No: the user is not allowed to change the Salesman.
Yes with Supervisor Password: the user is allowed to change the Salesman with the Supervisor’s Password.
Note: Only in the case of Is Admin is checked this feature will be available.
8. Discount Allowed:
Yes: the User is allowed to give the discount to customers.
No: the User is not allowed to give the discount to customers.
Yes with Supervisor Password: the User is allowed to give the discount to customers with the Supervisor’s Password.
Is User Linked to Counter:
If this option is checked then the counter code will be mandatory. This POS User will be allowed to log in on this counter only. You can select the counter code for the linking of your user.
The remaining fields of Email, Phone, Mobile, Address, Discount Allowed are fetched from the system.
Login Key: It is a unique key for your login.
Changing the User Password
To change the user password, go to POS Management > Masters > Users, the Users page is displayed.
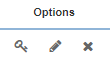
Click on the Key icon under the Options.

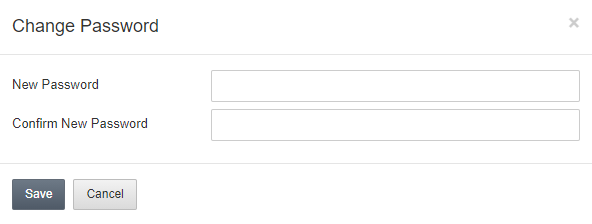
Enter the New Password and Confirm New Password and click on the Save button.
Updating the User
To update the user, go to POS Management > Masters > Users, the Users page is displayed.
Click on the Edit icon under the Options.

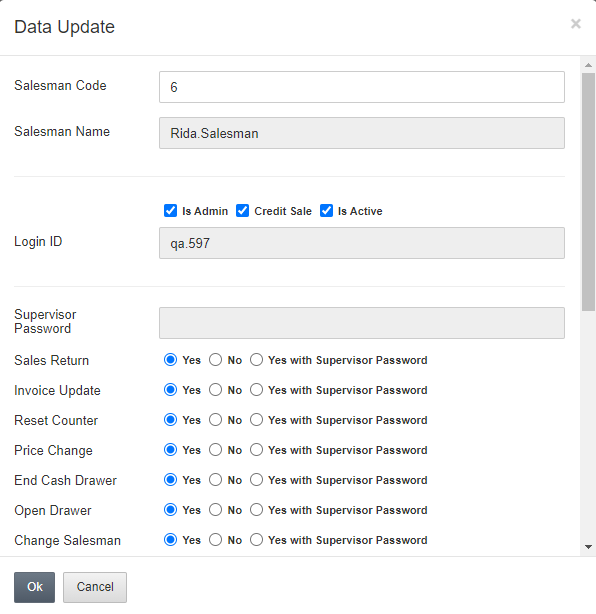
You can update the user information and click OK to save the information.
Deleting the User
To delete the user, go to POS Management > Masters > Users, the Users page is displayed.
Click on the Delete icon under the Options.
Click on Yes to delete the user information.