The damaged stock includes the expired or out of order stock that holds no more value. You can add, edit, print, and delete the damaged stock.
Adding the Damaged Stock for Simple Items
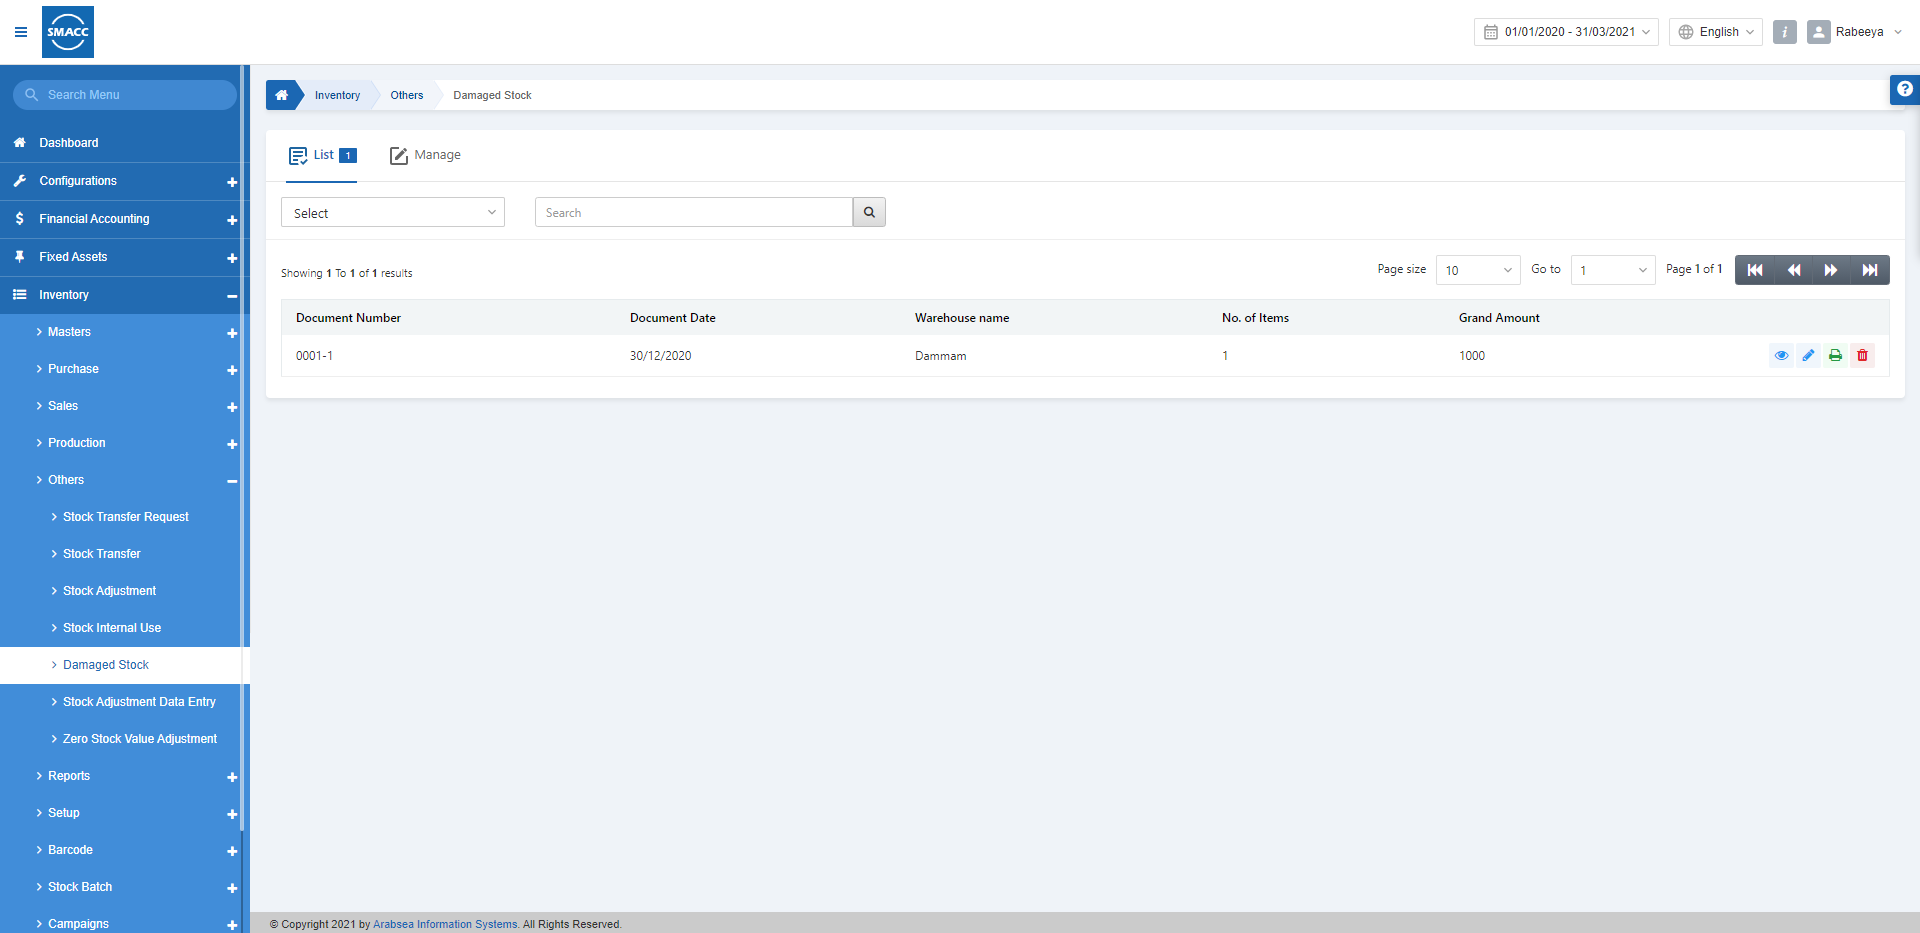
To add the damaged stock, go to Inventory > Others > Damaged Stock, the damaged stock page is displayed.
Click on the Manage icon at the top of the page.
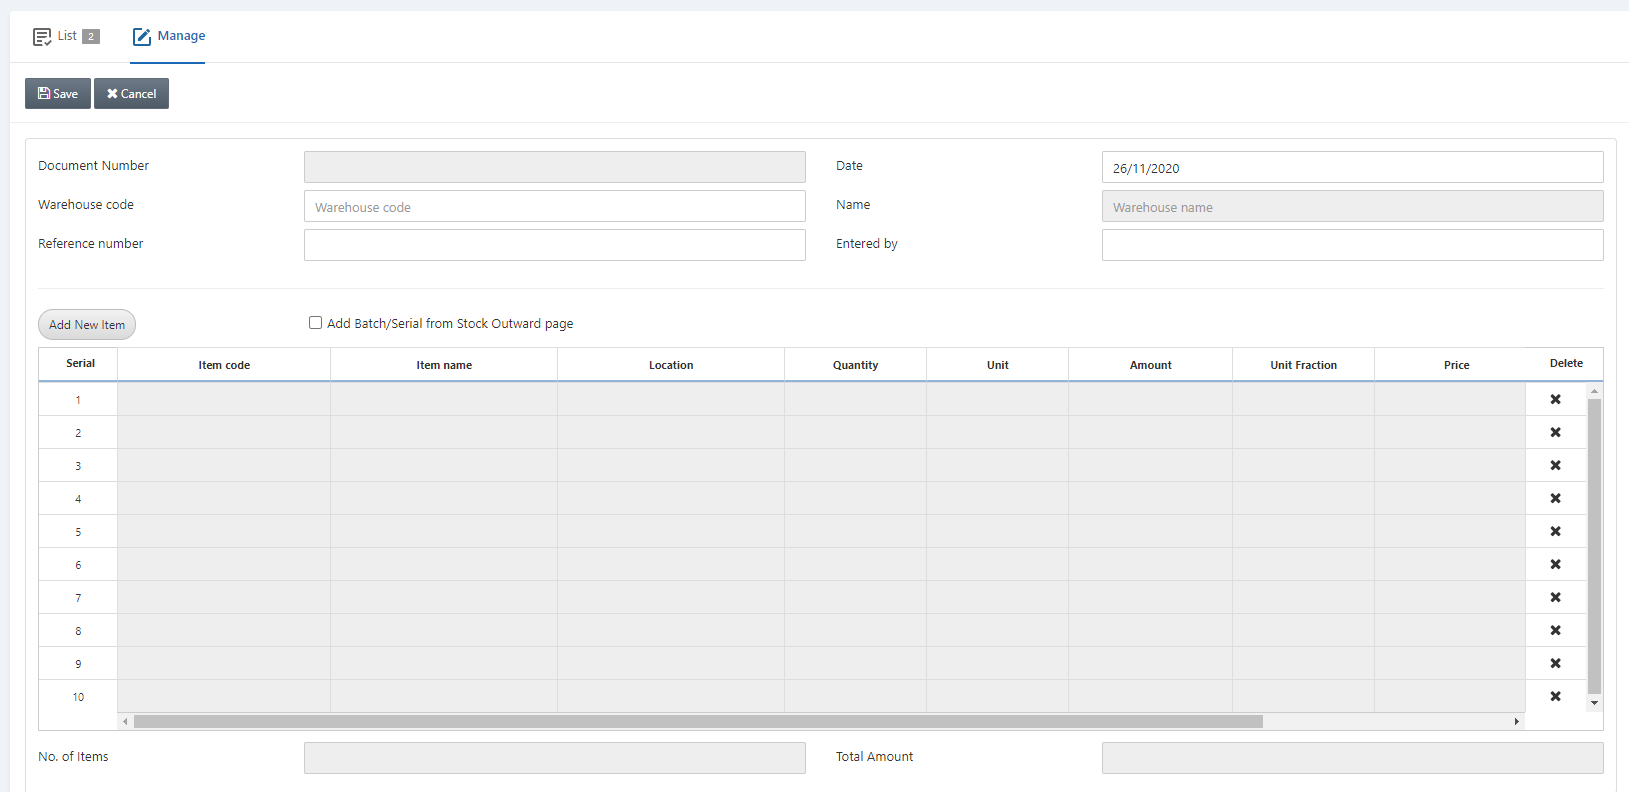
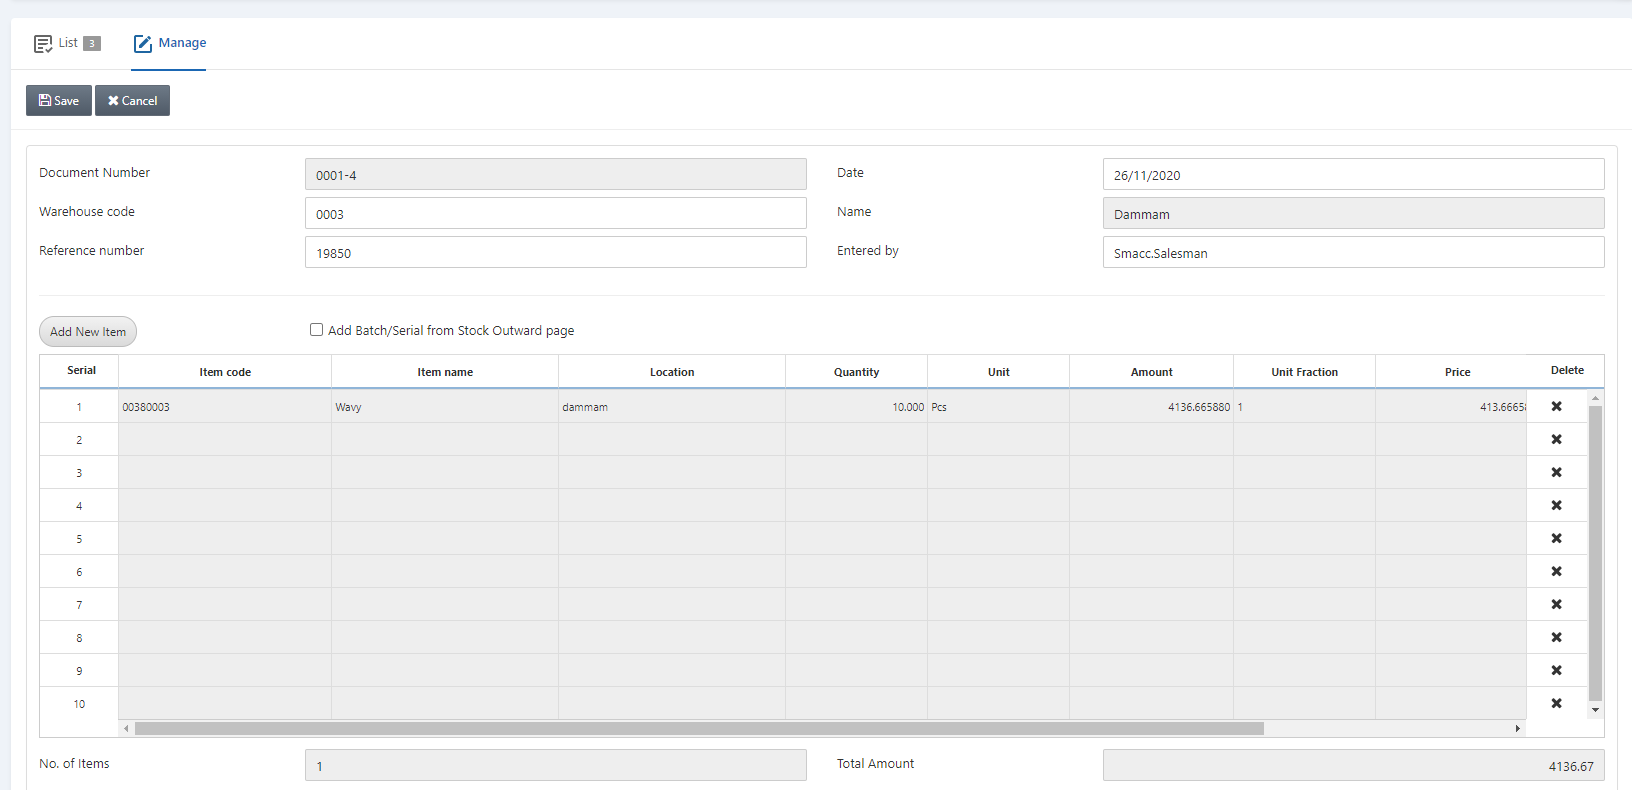
Document Number: This field is auto-generated by the system.
Date: This field sets the date of the stock internal use which is by default the current date.
Warehouse Code: This field allows the selection of the warehouse from the drop-down list.
Name: This field is auto-fetched by the system based on the warehouse code above.
Reference Number: This field sets the reference number for this particular document.
Entered by: This field sets the name of the person who enters the data.
![]()
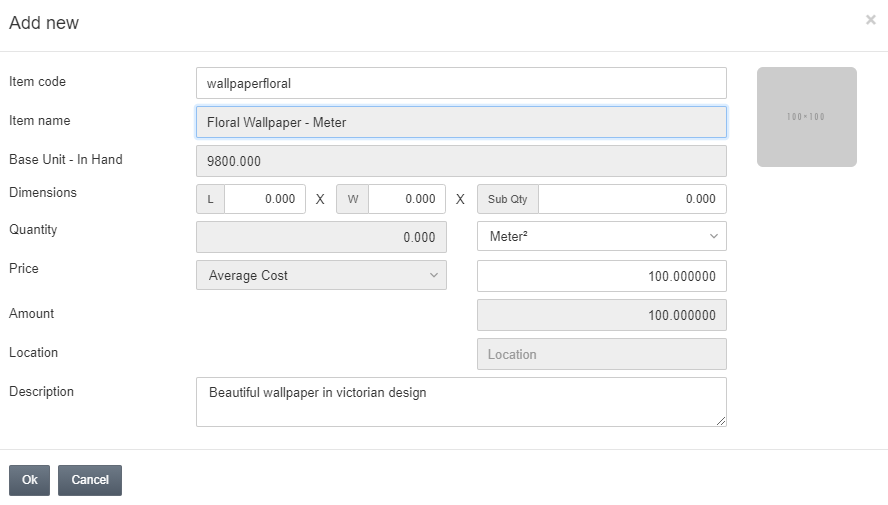
Add New Item: This button allows you the addition of new items to the damaged stock.
Add Batch/Serial from Stock Outward page: This checkbox allows the addition of the batch and serial numbers from the stock outward page automatically.
Click on the Add New Item:
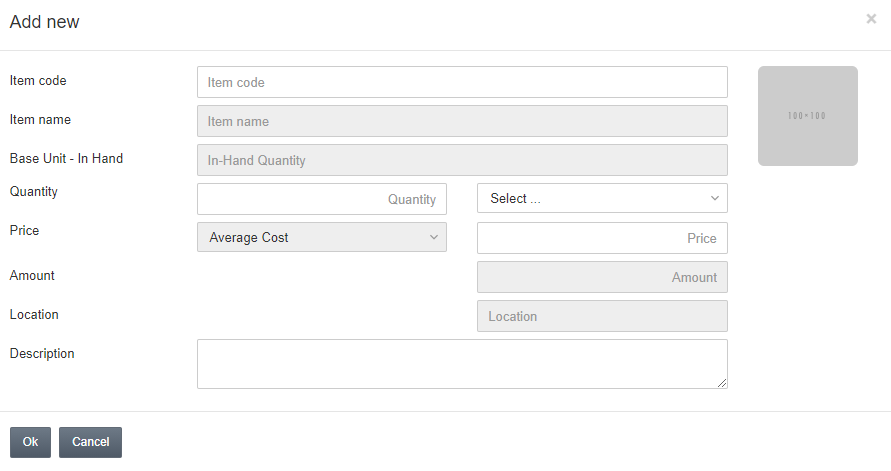
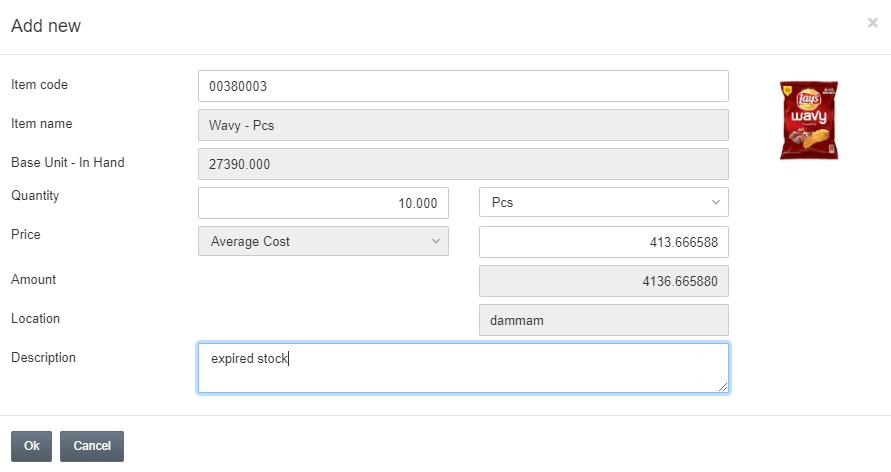
Click on the Ok button to save the information.
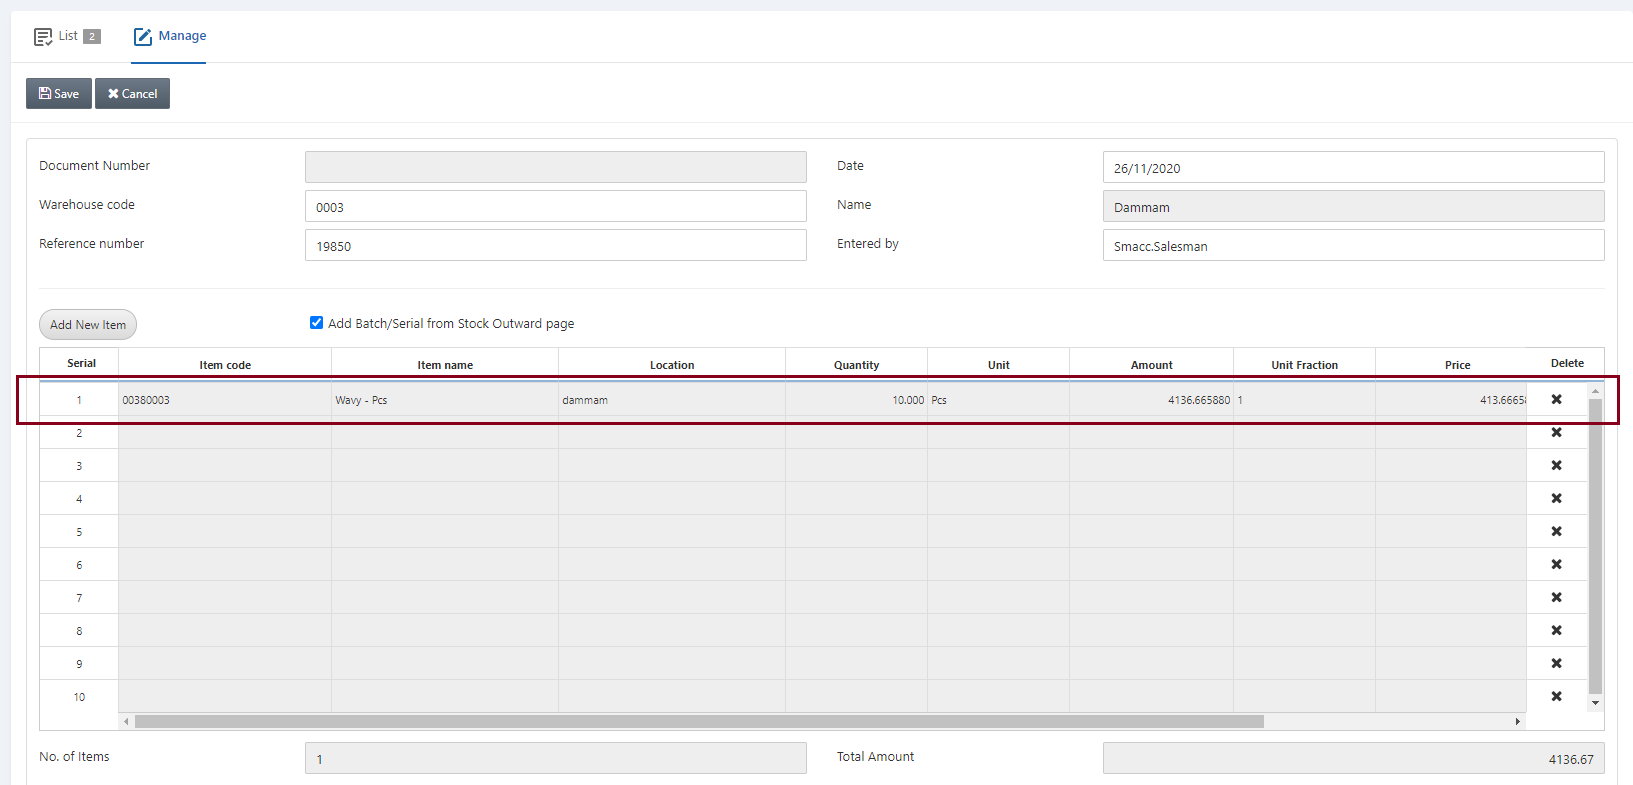
Click on the Save button at the top of the page.
Adding the Damaged Stock for Dimensional Items
To add the damaged stock, go to Inventory > Others > Damaged Stock, the damaged stock page is displayed. Dimensional items can be two or three-dimensional items.

Click on the Manage icon at the top of the page.
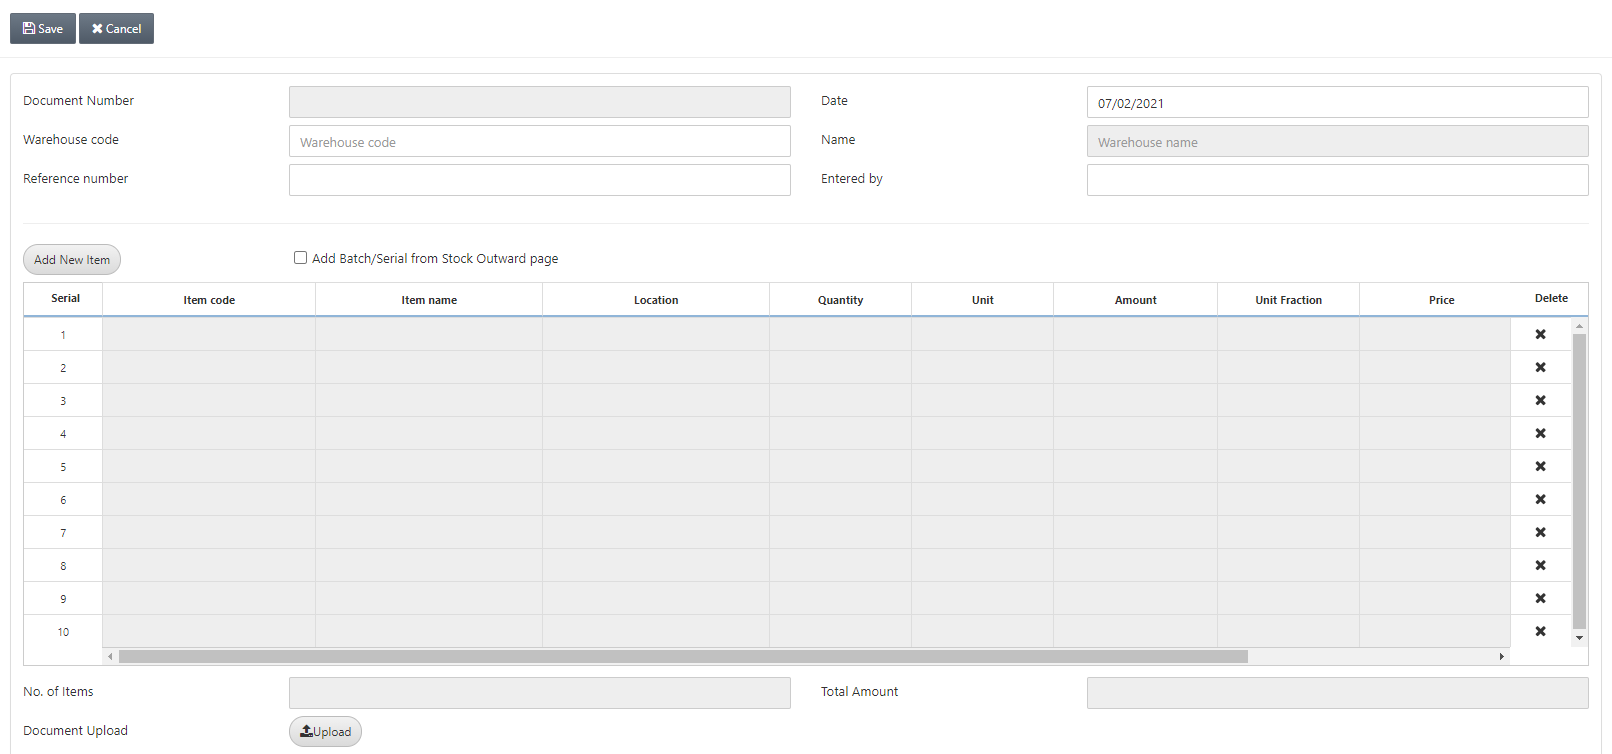
Document Number: This field is auto-generated by the system.
Date: This field sets the date of the stock internal use which is by default the current date.
Warehouse Code: This field allows the selection of the warehouse from the drop-down list.
Name: This field is auto-fetched by the system based on the warehouse code above.
Reference Number: This field sets the reference number for this particular document.
Entered by: This field sets the name of the person who enters the data.
![]()
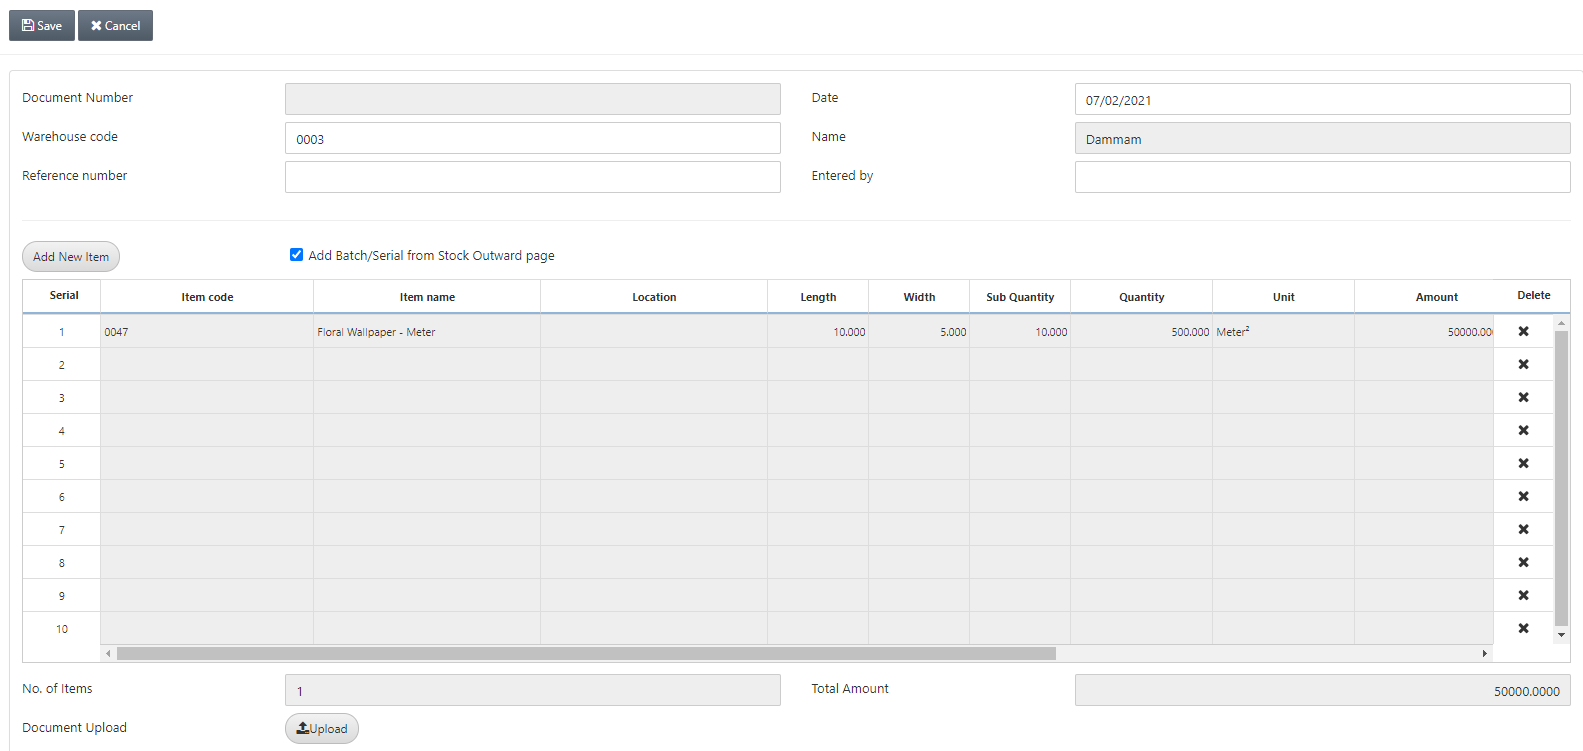
Add New Item: This button allows you the addition of new items to the damaged stock.
Add Batch/Serial from Stock Outward page: This checkbox allows the addition of the batch and serial numbers from the stock outward page automatically.
Click on the Add New Item:
Dimensions: These fields are entered on run-time. You can add the Length (L) and Width (W) and Sub Quantity (Sub Qty).
Quantity: Dimensions multiplied with Sub Qty equals the Quantity.
Note: Similarly, you can add the three-dimensional item with Length, Width and Height parameters.
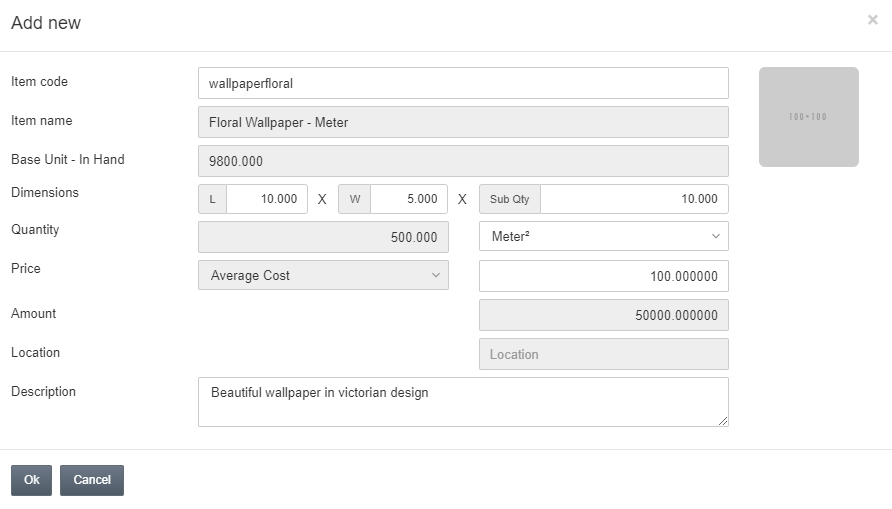
Click on the Ok button.
Click on the Save button at the top of the page.
Adding the Damaged Stock for Size and Color Items
To add the damaged stock, go to Inventory > Others > Damaged Stock, the damaged stock page is displayed.
Click on the Manage icon at the top of the page.
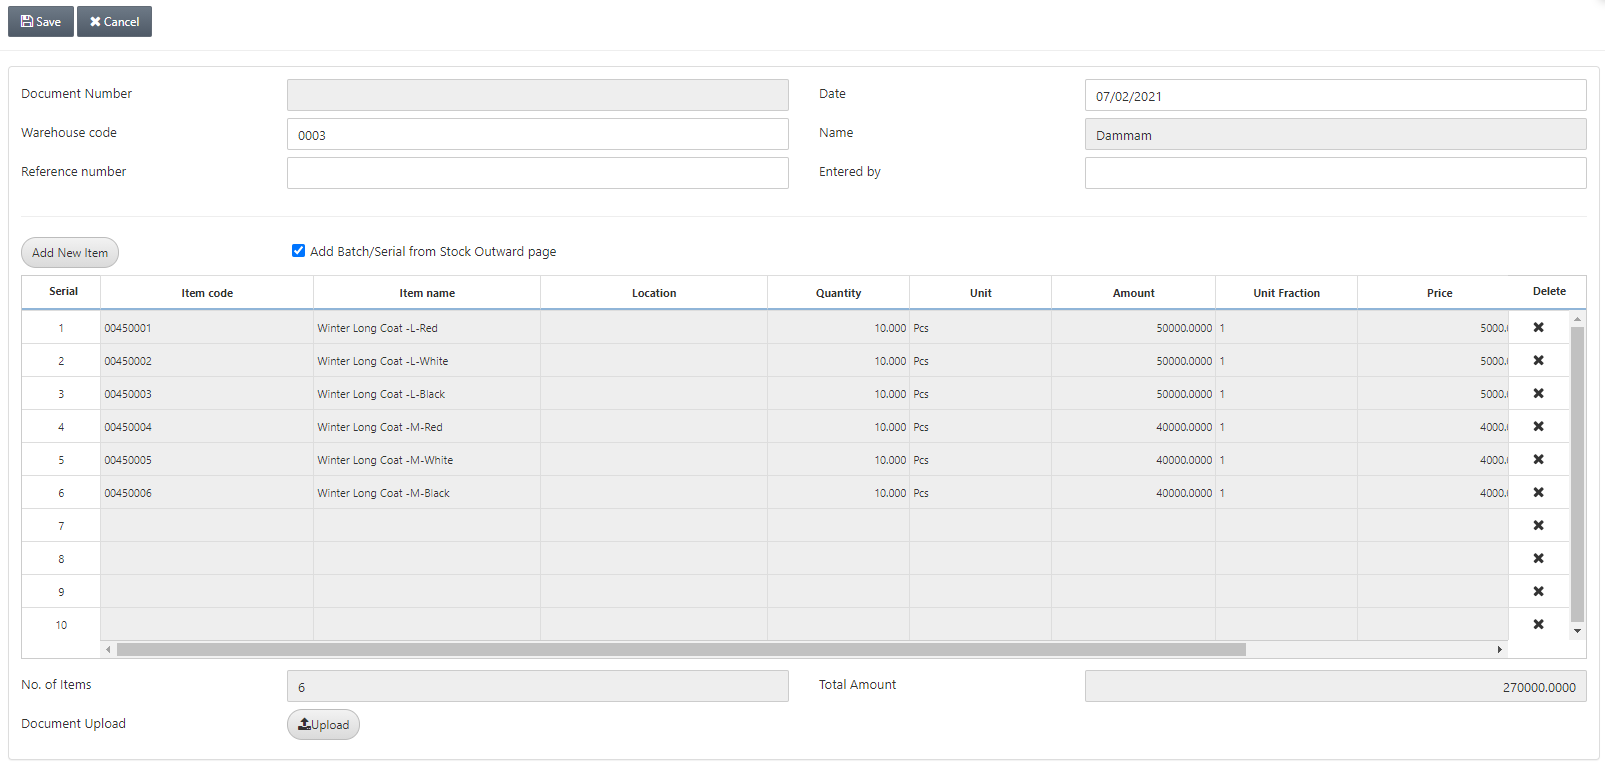
Document Number: This field is auto-generated by the system.
Date: This field sets the date of the stock internal use which is by default the current date.
Warehouse Code: This field allows the selection of the warehouse from the drop-down list.
Name: This field is auto-fetched by the system.
Reference Number: This field sets the reference number for this particular document.
Entered by: This field sets the name of the person who enters the data.
![]()
Add New Item: This button allows you the addition of new items to the damaged stock.
Add Batch/Serial from Stock Outward page: This checkbox allows the addition of the batch and serial numbers from the stock outward page automatically.
Click on the Add New Item:

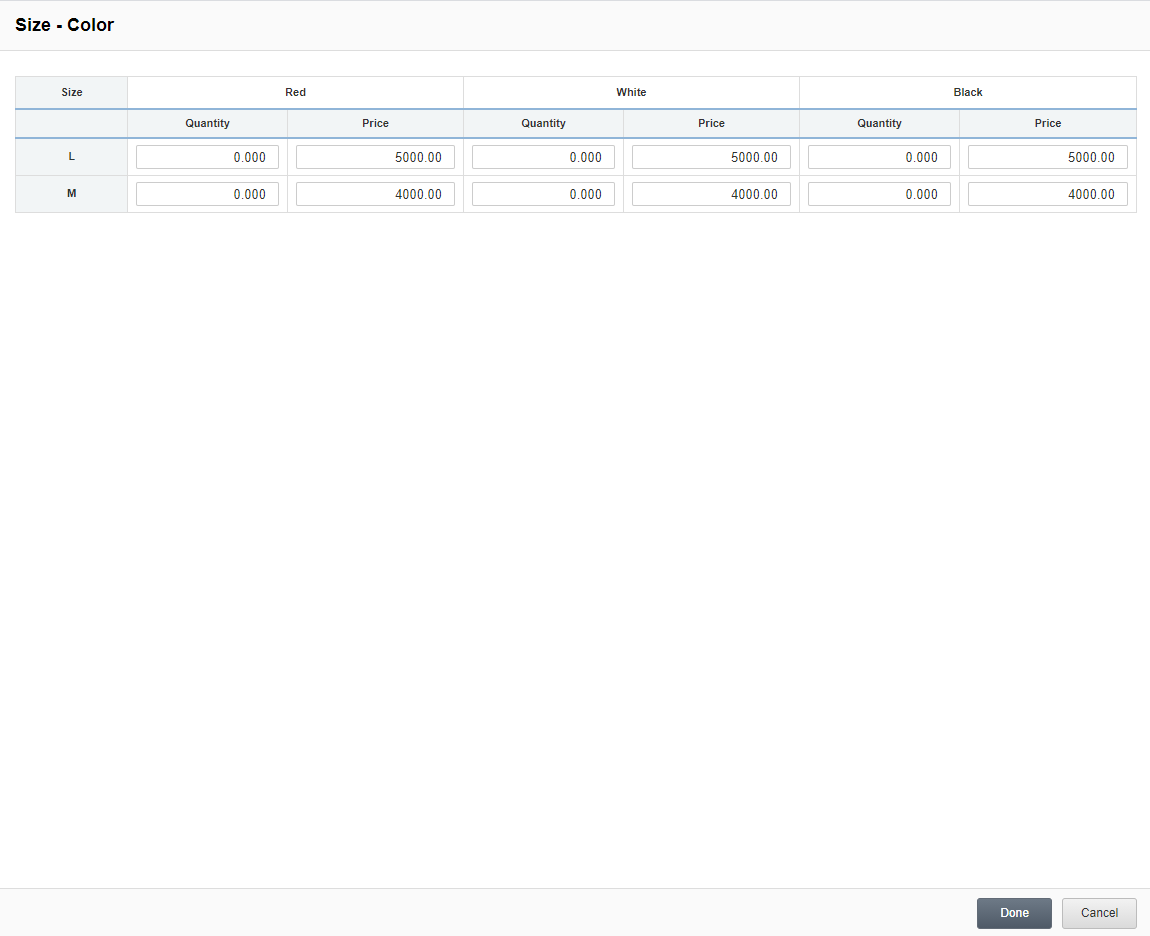
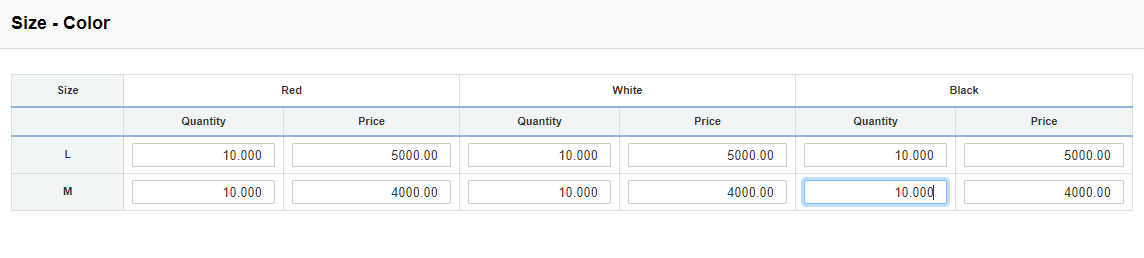
Click on the Save button at the top of the page.
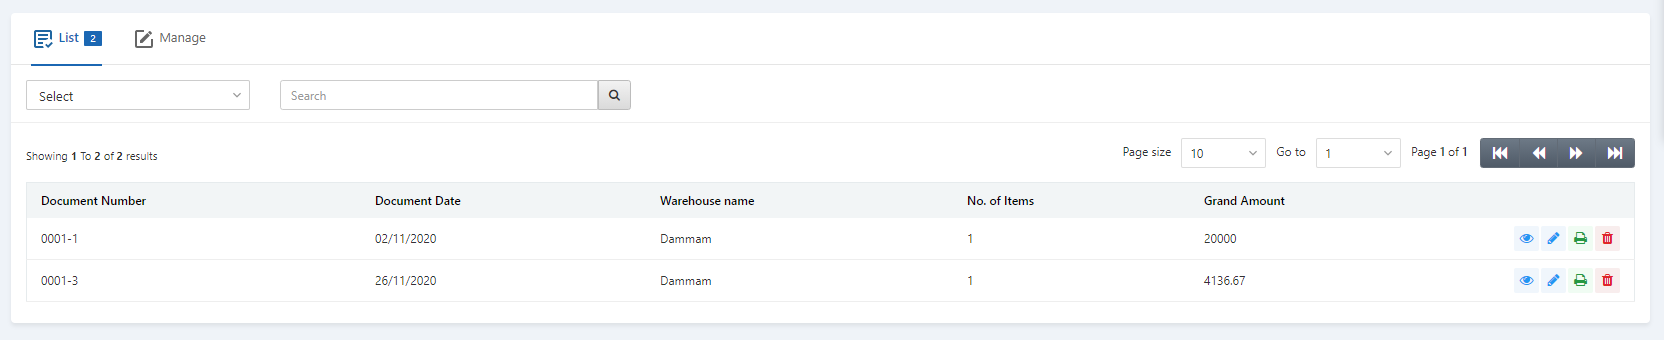
Updating the Damaged Stock
To edit/update the damaged stock, go to Inventory > Others > Damaged Stock, the damaged stock page is displayed.
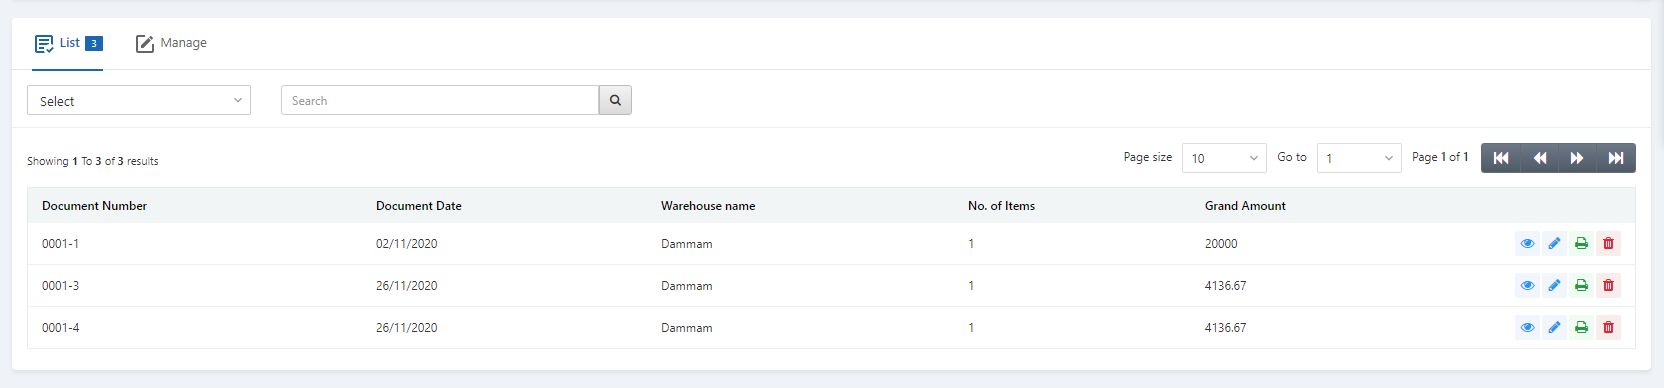
Select the desired row of the Damaged Stock’s entry.
There are four icons in front of each row that is Load, Edit, Print, and Delete.
![]()
Click on the Edit icon (blue pencil) to update the information.
You can update the data and save the information.
Deleting the Damaged Stock
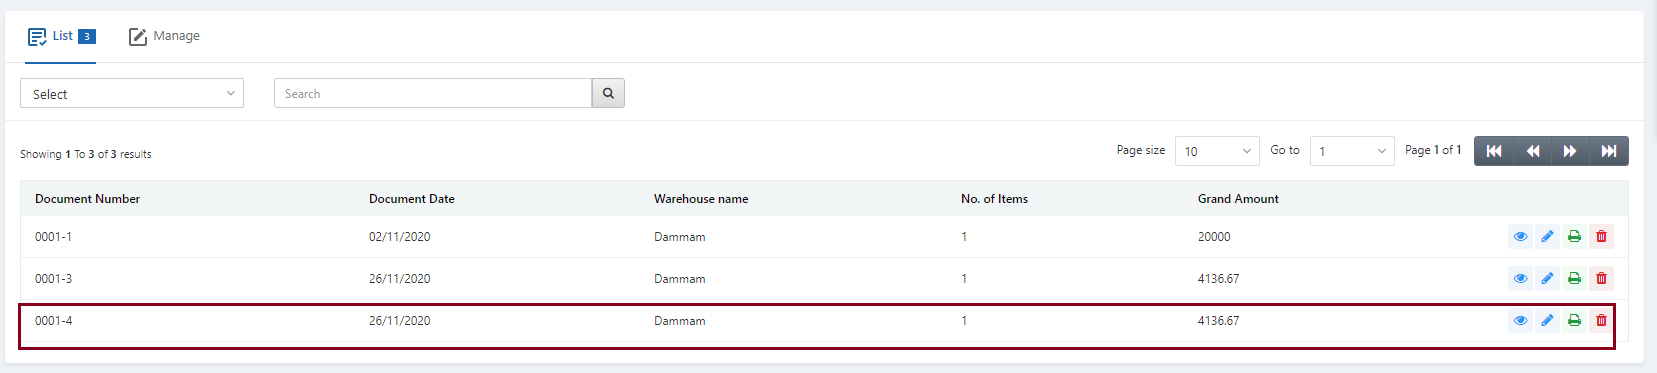
To delete the damaged stock, go to Inventory > Others > Damaged Stock, the damaged stock page is displayed.
Select the desired row of the Damaged Stock’s entry.
There are four icons in front of each row that is Load, Edit, Print, and Delete.
![]()
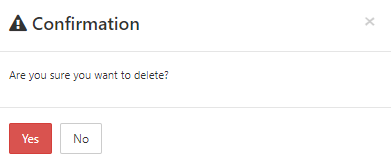
Click on the Delete icon (red) to delete the information.
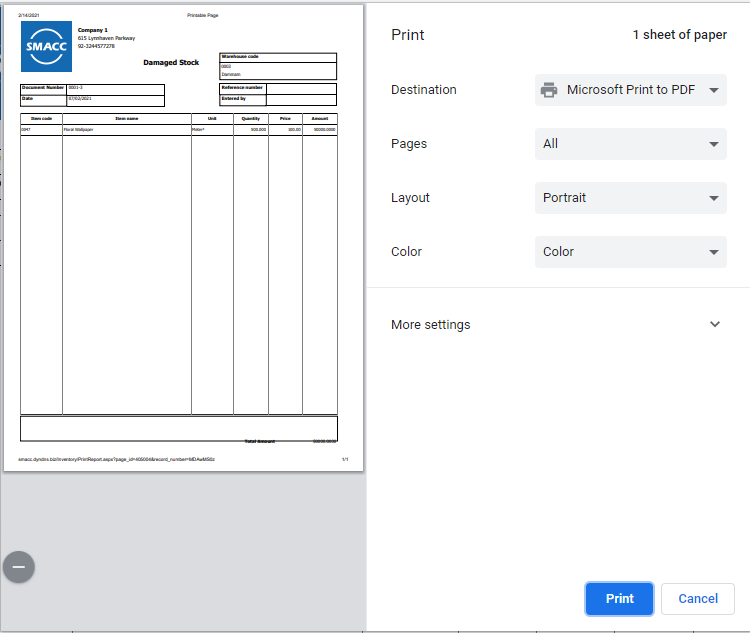
Printing the Damaged Stock
To print the damaged stock, go to Inventory > Others > Damaged Stock, the damaged stock page is displayed.
Select the desired row of the Damaged Stock’s entry.
There are four icons in front of each row that is Load, Edit, Print, and Delete.
![]()
Click on the Print icon (green) to print the information.